
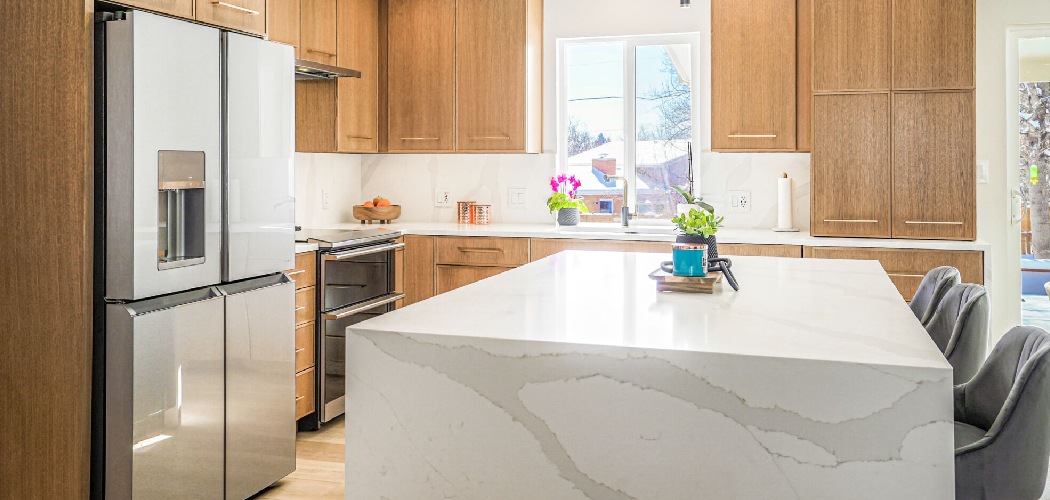
A worn countertop can make your whole kitchen feel tired, even if the rest of the space looks clean and bright. If you want a fast and budget-friendly update, contact paper gives you a simple way to change the look without tearing out the old surface. Learning how to put contact paper on kitchen counter surfaces is a beginner-friendly project that can make laminate, wood, or other smooth counters look fresh in a single afternoon.
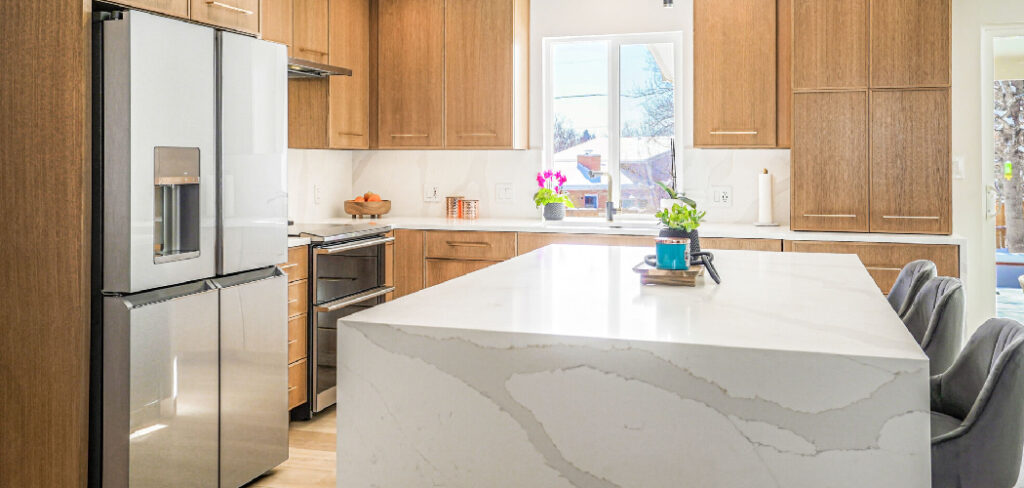
The key is not just sticking it down. You need the right prep, careful measuring, and a slow, steady hand to get a finish that looks neat instead of wrinkled or rushed. This guide will walk you through each part of the process so you can cover your counter with confidence.
Why Cover a Kitchen Counter With Contact Paper
Contact paper is a smart choice when you want a low-cost makeover without a full renovation. It can hide stains, dull spots, small scratches, and dated colors while giving your kitchen a cleaner, more modern look. For renters, it can be especially helpful because many styles are removable and do not require major tools or permanent changes.
It also helps first-time DIYers build basic home improvement skills. You learn how to measure, trim, smooth, and work around edges with care. That kind of hands-on practice makes bigger projects feel less intimidating later. If you want an affordable way to improve your space and gain confidence at the same time, this is one of the easiest places to start.
Tools and Materials You’ll Need
Before you begin, gather everything in one place so you do not have to stop in the middle of the job. A smooth workflow makes the finish look better.
- Contact paper in your chosen color or pattern
- Measuring tape
- Pencil or washable marker
- Straightedge or ruler
- Utility knife or sharp craft knife
- Scissors
- Squeegee, smoothing tool, or plastic card
- Mild cleaner or degreaser
- Microfiber cloths or lint-free towels
- Dish soap and warm water
- Cutting mat or protective board for trimming
- Optional: hair dryer for softening the paper around corners and stubborn spots
Choose a good-quality roll made for countertops or high-use surfaces if possible. Thicker paper is often easier to position and less likely to tear while you work.
Step-by-Step Guide on How to Put Contact Paper on Kitchen Counter
Step 1 – Clean the Counter Thoroughly
Start with a completely clear surface. Remove appliances, jars, cutting boards, and anything else sitting on the counter so you can reach every edge. Even tiny crumbs can show through the paper or create bumps that ruin the final look.
Wash the surface with warm water and dish soap first, then follow with a degreaser if your counter has oily residue near the stove or sink. Pay special attention to corners, seams, and the area along the backsplash where grease likes to collect. Dry the counter well with a lint-free cloth.
Let the surface air dry for a few more minutes before moving on. Contact paper sticks best to a smooth, dry, dust-free area. If the counter feels tacky, gritty, or damp, fix that now. Good prep does more for the final result than any fancy tool.
Step 2 – Measure Every Section Carefully
Take your time with measuring because this step sets up the whole project. Measure the full length and depth of the countertop, then check smaller sections around sinks, corners, or angled ends. Write each number down as you go so you do not have to rely on memory.
Add an extra inch or two on each side whenever possible. That little bit of overhang gives you room to adjust the sheet as you lay it down and helps you get cleaner cuts at the end. If your counter is long, decide whether you will use one continuous piece or work in sections.
When beginners ask about how to put contact paper on kitchen counter surfaces without wasting material, the answer often starts here. Accurate measuring prevents short edges, awkward seams, and the frustration of having to peel everything back off and start again.
Step 3 – Cut the Contact Paper to Size
Roll the contact paper out on a flat surface with the backing side facing up. Most rolls have a grid printed on the back, which makes it easier to mark straight lines. Use your ruler or straightedge and mark your dimensions clearly before cutting.
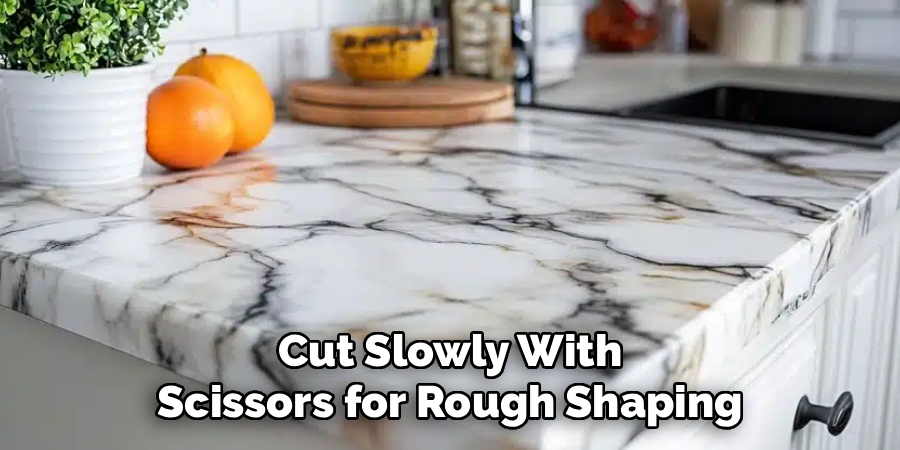
Cut slowly with scissors for rough shaping, then use a utility knife and straightedge for long, crisp lines. If your piece is large, keep it loosely rolled after cutting so it does not fold onto itself or pick up dust from the floor or table.
This is a good time to label pieces if you are covering more than one section. A small note like “left side” or “sink section” can save confusion later. Clean cuts now help you fit edges neatly and reduce the amount of trimming you need once the paper is on the counter.
Step 4 – Test the Fit Before Peeling the Backing
Lay the cut piece over the counter without removing the backing paper. Make sure it covers the surface with enough extra material at the front and sides. Check how it sits near the sink, along the backsplash, and around any corners.
This dry fit helps you spot problems while the paper is still easy to handle. Maybe the piece needs to shift slightly, or maybe one side needs a better cut before you expose the adhesive. It is much easier to adjust now than after the sticky side is loose and grabbing at the surface.
If the paper has a marble, granite, or wood-look print, stand back and look at the direction of the pattern. Sometimes turning the sheet a different way looks more natural. Small visual choices like that can make the finished counter feel more polished and realistic.
Step 5 – Apply the First Section Slowly
Peel back just a few inches of the backing from one end of the sheet. Line that exposed edge up with the back of the counter or your chosen starting point, then press it down lightly. Do not remove the full backing all at once, or the sheet can stick crooked and trap air before you have control of it.
Use your smoothing tool to press from the center outward as you slowly pull away more backing. Work in short sections and keep steady tension on the paper. If you see a bubble forming, lift that area gently and smooth it again before moving forward.
This is the part where patience matters most. If you rush, wrinkles appear fast. If you move slowly, the paper settles into place with a clean, flat look. A careful start makes the rest of the job much easier.
Step 6 – Smooth Out Bubbles and Work Across the Surface
As you continue laying the sheet down, smooth every few inches rather than waiting until the end. Push trapped air toward the nearest edge with firm, even strokes. A plastic squeegee works well, but even a wrapped credit card can help if you use light pressure.
You may notice the paper feels cool and slightly stiff at first. As your hand warms it and the adhesive settles, it often becomes easier to shape. If a crease starts to form, stop right away, peel back that section, and reapply it. Trying to flatten a hard crease after it sticks usually makes the finish look worse.
If you are learning how to put contact paper on kitchen counter areas with long spans, think of it as a series of small sections rather than one giant sheet. That approach helps you stay in control and keeps the surface smoother from end to end.
Step 7 – Trim Around the Sink, Edges, and Backsplash
Once the top surface is secure, trim the extra material. Use a sharp blade and cut slowly along the edge of the countertop for a clean line. Dull blades drag and tear, so switch to a fresh one if the cut starts to look ragged.
Around the sink, make small relief cuts rather than trying to remove a large section at once. Press the paper down gently toward the sink edge, then trim in stages. The same method works near corners, faucet bases, or curved details where precision matters.
If you want the paper to wrap slightly over the front edge, smooth it down first and then trim underneath. For tighter corners, a little heat from a hair dryer can soften the material and help it flex without puckering. Use low heat and keep it moving.
Step 8 – Seal the Finish and Check for Loose Spots
After trimming, go back over the full counter with your smoothing tool and your hands. Press firmly along seams, front edges, corners, and the area around the sink where lifting is most likely to happen. These high-touch spots need extra attention.
Look across the counter from different angles under the light. Tiny bubbles, rough edges, or loose corners are easier to see when the surface catches light. If you spot a small bubble, you can often guide it outward with the squeegee. For a stubborn trapped pocket, a tiny pinprick can release the air without being obvious.
When people want to master how to put contact paper on kitchen counter surfaces for a clean result, this final inspection is what often separates an average job from a great one. A few extra minutes here can improve the look for months.
Common Mistakes When Applying Contact Paper to a Kitchen Counter
One common mistake is applying contact paper to a dirty or greasy surface. Even if the counter looks clean, leftover oil, cleaning residue, or fine dust can weaken the adhesive. That often leads to peeling edges, raised bumps, or sections that never sit flat. Good cleaning is not a small prep task. It is the base of the whole project.
Another mistake is peeling away the entire backing sheet at once. That seems faster, but it makes the paper hard to control. Large sticky sheets can fold onto themselves, trap air, and stick crooked before you have time to adjust them. Working in small sections gives you much better control.
Many beginners also cut too little material. If you measure exactly to the edge with no extra margin, there is no room for shifting or trimming. A slight misalignment can leave exposed counter along one side. Giving yourself a little overhang makes the job much less stressful.
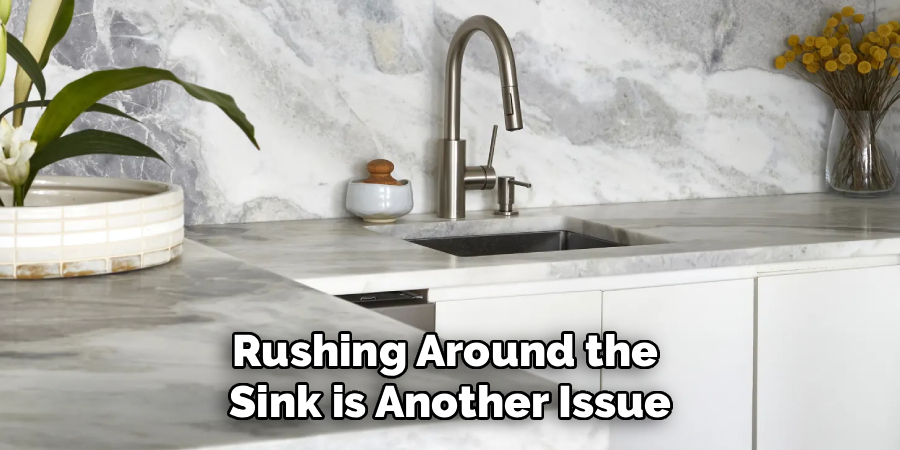
Rushing around the sink is another issue. Curves, corners, and faucet openings need careful trimming. If you force the paper into place or make one large cut too early, it can tear or leave jagged gaps. Small cuts and slow shaping produce a cleaner result.
Finally, some people choose very thin contact paper for a high-use kitchen surface. Thin material can show imperfections more easily and may wear out faster. A thicker, better-quality film usually looks smoother and lasts longer.
Expert Tips
Pick a pattern that hides daily wear. Light marble, soft stone, and subtle speckled finishes tend to disguise crumbs, water spots, and small alignment flaws better than solid colors or bold geometric prints. That makes them especially forgiving for first-time users.
Replace your blade often. A fresh knife gives you sharper lines and cleaner corners, especially around sink edges and along the front lip of the counter. Keep one hand steady and let the blade do the work rather than forcing the cut.
Try to apply the paper during a calm part of the day when the kitchen is cool, clean, and not in use. Less foot traffic means less dust, fewer distractions, and more patience. If you want the finish to last, avoid soaking the edges with water and wipe spills up quickly.
Frequently Asked Questions
Can contact paper really hold up on a kitchen counter?
Yes, it can hold up well for light to moderate use if you prepare the surface properly and choose a good-quality product. It works best on smooth counters and in kitchens where you wipe spills quickly. It is not as durable as stone or laminate, but it can still look good for months or longer with careful use.
What kind of countertop works best for contact paper?
Smooth, flat surfaces usually give the best results. Laminate counters are often ideal because they are even and easy to clean. Wood that has been sealed can also work well. Rough, damaged, heavily textured, or crumbling surfaces are harder to cover because bumps and gaps can show through the adhesive film.
Can I use contact paper around the sink area?
Yes, but you need to be more careful there. The sink area gets more water, more wiping, and more wear than the rest of the counter. Press the edges down well, trim neatly, and keep standing water from sitting on the seams. If moisture gets under the paper often, the corners may start to lift sooner.
How do I get rid of bubbles after the paper is already down?
Small bubbles can often be pushed toward the edge with a smoothing tool or your fingers. For trapped air that will not move, use a tiny pin to make a very small hole, then press the air out gently. Work slowly so you do not stretch the material or create a visible dent.
Is contact paper removable if I make a mistake?
In most cases, yes. Many contact paper products can be lifted and repositioned during installation if you work slowly. Even after longer use, you can often remove them by peeling carefully and warming stubborn areas with a hair dryer. Always test a small hidden spot first if you are worried about the original surface.
Conclusion
Updating a countertop does not have to mean a costly remodel or a weekend full of demolition. With careful prep, patient application, and precise trimming, contact paper can give your kitchen a cleaner and more current look without a big investment. The most important parts are simple: clean the surface well, measure with care, work slowly, and smooth as you go.
If this is your first DIY project, do not worry about making it perfect on the first pass. What matters most is building good habits and taking your time through each step. Once you understand how to put contact paper on kitchen counter surfaces, you can handle the project with much more confidence and get results that look neat, practical, and surprisingly polished.
A fresh counter can change the feel of the whole room. Start with one section, stay patient, and let each careful step lead you to a finish you will be happy to see every day.

About
Nick Hall has spent the last seven years working at the intersection of kitchen design and home repair — first as a design assistant at a residential renovation studio, then as a freelance writer covering everything from cabinet layouts to leaky faucet fixes.
Her approach is simple: kitchens should look good and function well. That means she’s just as comfortable talking about color palettes and counter materials as she is walking readers through how to fix a wobbly cabinet hinge or troubleshoot a garbage disposal.
Nick has worked directly with homeowners on small-space kitchen makeovers, budget-conscious renovations, and the kind of everyday repairs that don’t need a contractor — just the right instructions. She writes from experience, not theory, and tests most of the fixes and tips she shares before publishing them.
When she’s not writing, Nick is usually hunting for mid-century kitchen finds at estate sales or helping friends plan their own renovations. She lives in Columbus, Ohio.