
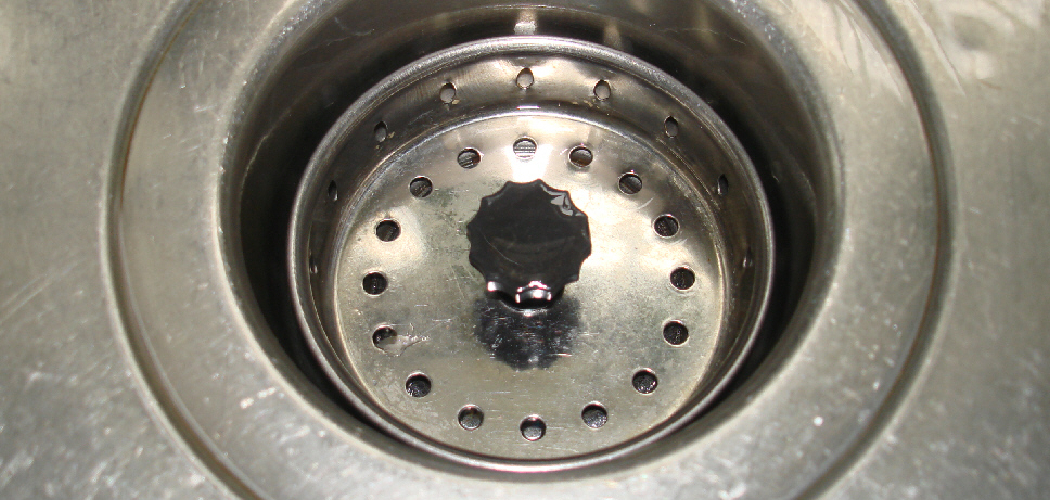
A leaking sink drain can turn a simple cleanup into a messy, frustrating job. Water stains under the cabinet, musty smells, and slow drips often start with a poor seal around the drain assembly. If you are learning how to seal a kitchen sink drain for the first time, the good news is that this is a manageable DIY task with the right tools, a little patience, and a clear process.
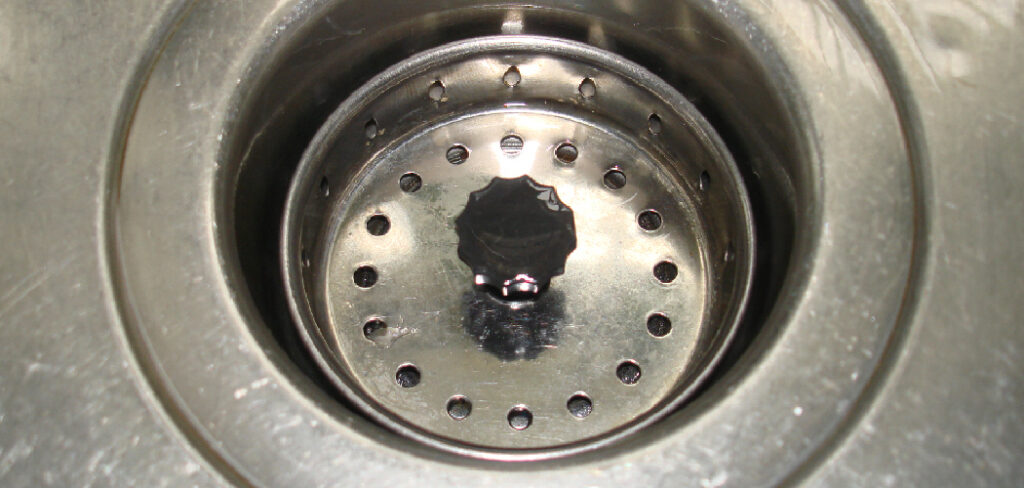
You do not need advanced plumbing skills to get a clean, watertight result. You just need to know how to prep the sink, apply plumber’s putty or silicone the right way, and tighten each part without overdoing it. This guide will walk you through each step so you can seal your drain with confidence.
Why Sealing Your Sink Matters
If you camp, travel in an RV, or spend time setting up outdoor cooking spaces, basic sink repair skills can save you time and stress. A properly sealed sink drain helps prevent leaks that can damage cabinets, stored gear, or mobile kitchen setups. In small spaces, even a slow drip can create odors, mildew, and wasted water before you notice it.
For outdoor beginners, learning this skill builds confidence. You become less dependent on quick repair calls or temporary fixes that fail when you need them most. It also helps you understand how drain parts fit together, which makes future maintenance much easier. A good seal keeps your sink clean, dry, and dependable whether you are at home, in a cabin, or on the road.
Mini takeaway: A solid drain seal protects your space and gives you one more useful repair skill you can rely on anywhere.
Tools and Materials You’ll Need
Before you begin, gather everything in one place so you can work without stopping halfway through.
- Kitchen sink drain assembly, if you are replacing the old one
- Plumber’s putty for most standard metal sink drains
- 100% silicone sealant if the manufacturer recommends it for your sink material
- Adjustable pliers or a channel-lock wrench
- Basin wrench, if the locknut is hard to reach
- Putty knife or plastic scraper
- Old rag or paper towels
- Bucket or shallow pan to catch leftover water
- Mild cleaner or dish soap
- Sponge or scrub pad
- Optional: flashlight or headlamp for better visibility under the sink
Mini takeaway: Having clean tools, the right sealant, and good access under the sink makes the job much smoother.
Step-by-Step Guide on How to Seal a Kitchen Sink Drain
Step 1 – Clear the Area and Shut Things Down
Start by removing everything from under the sink. Give yourself room to kneel, turn tools, and place a bucket beneath the drain. If the cabinet is crowded, you will fight the space the whole time and miss small leaks later.
Turn off the faucet handles and avoid using water while you work. If you have a garbage disposal connected to the same setup, switch off power at the breaker for safety. Then place your bucket under the P-trap and drain connections to catch any water left in the line.
This first stage may feel simple, but it sets the tone for the whole repair. A dry, open work area helps you move with confidence instead of rushing around puddles and clutter.
Step 2 – Disconnect the Drain Parts Carefully
Loosen the slip nuts around the P-trap and lower the curved pipe into the bucket. You may hear a soft glug and see cloudy water spill out. That is normal. Wipe the area as you go so parts do not become slippery in your hands.
Next, disconnect the drain tailpiece from the basket strainer or drain flange. If the old locknut is stubborn, use pliers and slow pressure instead of sudden force. Metal parts can twist, and plastic ones can crack if you rush.

As you remove each piece, notice how it fits together. This is useful when learning how to seal a kitchen sink drain, because the seal depends on both the sealant and the alignment of the parts below the sink.
Step 3 – Remove the Old Drain Flange and Sealant
From above the sink, lift out the old drain flange or basket strainer. If it does not move, push gently from below while twisting the top. Older putty often grips like stiff clay, especially around stainless steel sinks that have not been touched in years.
Once the flange is out, scrape away every bit of old plumber’s putty, silicone, grime, and mineral buildup. Use a plastic scraper or putty knife to avoid scratching the sink surface. Then clean the area with soap and a damp sponge until it feels smooth and looks dull rather than greasy.
This cleaning step matters more than most beginners expect. Fresh sealant sticks best to a dry, clean surface. If old residue remains, the new seal can shift, wrinkle, or leak.
Step 4 – Choose the Right Sealant for Your Sink
Most standard kitchen sink drains use plumber’s putty because it stays flexible, shapes easily, and creates a reliable seal around the flange. It feels soft in your hands and rolls into a rope with almost no effort. For many stainless steel sinks, it is the easiest choice.
Some sink materials, especially natural stone, composite, or certain manufacturer-coated finishes, may require silicone instead. Always check the drain instructions if you have a newer sink or specialty finish. Silicone bonds more firmly, but it also takes longer to cure and can be messier to remove later.
Matching the sealant to the sink material is what gives you a durable result. A good seal is not only about technique. It is also about using a product designed for that exact surface.
Step 5 – Apply the Putty or Silicone Evenly
If you are using plumber’s putty, roll it between your palms into an even rope about the thickness of a pencil. Press it around the underside of the drain flange so it forms a complete ring with no gaps. The texture should feel smooth and pliable, not dry or crumbly.
If you are using silicone, apply a thin, steady bead around the underside of the flange instead of a thick mound. More is not better here. Too much sealant creates squeeze-out, uneven seating, and extra cleanup.

This is the stage where many first-time repairs succeed or fail. When you practice how to seal a kitchen sink drain, a neat and even application gives you the best chance of making a tight seal on the first try.
Step 6 – Set the Drain Body Into Place
Lower the flange into the sink opening from above. Press it down gently and twist just a little to help the putty or silicone spread into a uniform seal. You should feel it settle into place rather than wobble on the opening.
From below the sink, slide the gasket, friction ring, and locknut into position in the correct order for your drain assembly. Hold the flange steady from above while you begin tightening the locknut underneath. This part can feel awkward because one hand is above the sink and the other is reaching into a dark cabinet below.
Take your time. The goal is to center the drain body so it sits flat. If it leans to one side, the seal may look fine at first but fail once water pressure and movement test it.
Step 7 – Tighten the Assembly Without Overdoing It
Use pliers or a wrench to tighten the locknut firmly, but stop before you force it. As the nut tightens, you will see excess putty or silicone squeeze out around the flange rim at the top of the sink. That is a good sign. It means the sealant is compressing into the gap.
Too little tightening can leave hidden channels for water. Too much can distort the gasket, crack plastic threads, or squeeze out too much sealant. Aim for snug and secure, not extreme. The flange should stay still when you touch it from above.
Once it is tight, wipe away the excess putty with your finger or a rag. If you used silicone, clean the edge neatly before it cures so the final result looks clean and professional.
Step 8 – Reconnect the Drain and Test for Leaks
Reconnect the tailpiece and P-trap, making sure washers and slip nuts are seated correctly. Hand-tighten first, then give each connection a small additional turn with pliers if needed. Straight alignment matters here. A twisted trap can drip even when the drain seal itself is perfect.
Now run a small stream of water, then a stronger flow. Watch the drain from above and below. Feel around the locknut, tailpiece, and trap with dry fingers or a paper towel. A paper towel shows moisture fast, even from a tiny leak.
If you used silicone, follow the cure time on the label before heavy use. Once the area stays dry through a full sink rinse and drain cycle, your seal is doing its job.
Mini takeaway: A successful repair ends with a dry test, not just a tight-looking assembly.
Common Mistakes
The most common mistake is skipping surface prep. If the sink opening still has old putty, soap film, or hard water buildup on it, the new seal will not sit flat. You may not notice the problem right away, but a slow leak often shows up later under the cabinet.
Another mistake is using the wrong sealant. Many people reach for whatever tube or tub they have nearby, but not every product works on every sink material. A sealant that reacts poorly with the sink finish or does not compress properly can create more trouble than it solves.
Over-tightening is another frequent issue. Beginners often think tighter always means better, but too much force can warp gaskets, crack fittings, or push out too much putty. That leaves weak spots where water can sneak through.
Some people also forget to test thoroughly. A quick glance is not enough. You need to run water, check the flange, touch the fittings, and inspect the cabinet floor after a few minutes.
Finally, rushing reassembly causes misaligned pipes. Even if the flange is sealed well, a crooked tailpiece or poorly seated slip washer can produce drips that look like a failed drain seal.
Mini takeaway: Most leaks come from prep errors, poor alignment, or overtightening rather than bad luck.
Expert Tips
Warm plumber’s putty in your hands before you roll it. Soft putty spreads more evenly and is easier to shape into a smooth ring. If your workspace is cold, this small trick makes a noticeable difference.
Use a flashlight when checking for leaks under the sink. Reflected light catches tiny beads of water that your eyes might miss in a dark cabinet. A dry paper towel is also better than your hand for final testing because it shows moisture instantly.
If you remove an old drain and find rust, pitting, or bent hardware, replace the full assembly instead of reusing worn parts. New gaskets and clean threads improve your odds of getting a tight, lasting seal. Good results usually come from careful prep, correct materials, and patient tightening.
Frequently Asked Questions
Can I use silicone instead of plumber’s putty?
Yes, but only if your sink material or drain manufacturer calls for it. Plumber’s putty is common for many metal sink drains because it stays flexible and is easy to remove later. Silicone works well for some composite, stone, or specialty finishes. Always check product guidance before choosing one over the other.
How tight should the drain locknut be?
The locknut should be snug enough to hold the drain firmly in place and compress the sealant, but not so tight that it cracks fittings or distorts the gasket. A good rule is to tighten until the flange no longer shifts, then stop once excess sealant squeezes out evenly around the rim.
Why is my sink still leaking after I sealed it?
A leak after sealing usually means one of three things: the sink surface was not fully cleaned, the drain body is off-center, or another connection below the sink is dripping. Dry everything first, then test slowly to pinpoint the source. The problem may be the P-trap or tailpiece, not the flange seal.
Do I need to let the sealant cure before using the sink?
If you used plumber’s putty, you can usually test and use the sink right away. If you used silicone, you should follow the cure time listed on the label before regular use. Early exposure to water can weaken the bond and lead to leaks, especially around the flange edge.
Should I replace the whole drain assembly or just reseal it?
If the drain parts are corroded, bent, stripped, or heavily worn, replacing the full assembly is often the better choice. If the hardware is still in good shape and the issue is only old putty or a loose seal, resealing may be enough. Inspect the threads, gaskets, and flange before deciding.
Conclusion
Sealing a kitchen sink drain is one of those small repair jobs that pays off right away. A proper seal stops leaks, protects the cabinet below, and keeps your sink setup clean and dependable. Once you understand the basic parts, choose the right sealant, and tighten everything with care, the process becomes much less intimidating.
The key steps are simple: clear the area, remove the old drain, clean the sink opening well, apply sealant evenly, center the flange, tighten the assembly carefully, and test every connection. If you stay patient and avoid common mistakes, you can get a solid result on your first try.
Now that you know how to seal a kitchen sink drain, you can handle this repair with much more confidence at home, in a cabin, or in a compact camp setup. Start with step one, work slowly, and let a dry cabinet floor be your proof that the job is done right.

About
Nick Hall has spent the last seven years working at the intersection of kitchen design and home repair — first as a design assistant at a residential renovation studio, then as a freelance writer covering everything from cabinet layouts to leaky faucet fixes.
Her approach is simple: kitchens should look good and function well. That means she’s just as comfortable talking about color palettes and counter materials as she is walking readers through how to fix a wobbly cabinet hinge or troubleshoot a garbage disposal.
Nick has worked directly with homeowners on small-space kitchen makeovers, budget-conscious renovations, and the kind of everyday repairs that don’t need a contractor — just the right instructions. She writes from experience, not theory, and tests most of the fixes and tips she shares before publishing them.
When she’s not writing, Nick is usually hunting for mid-century kitchen finds at estate sales or helping friends plan their own renovations. She lives in Columbus, Ohio.