
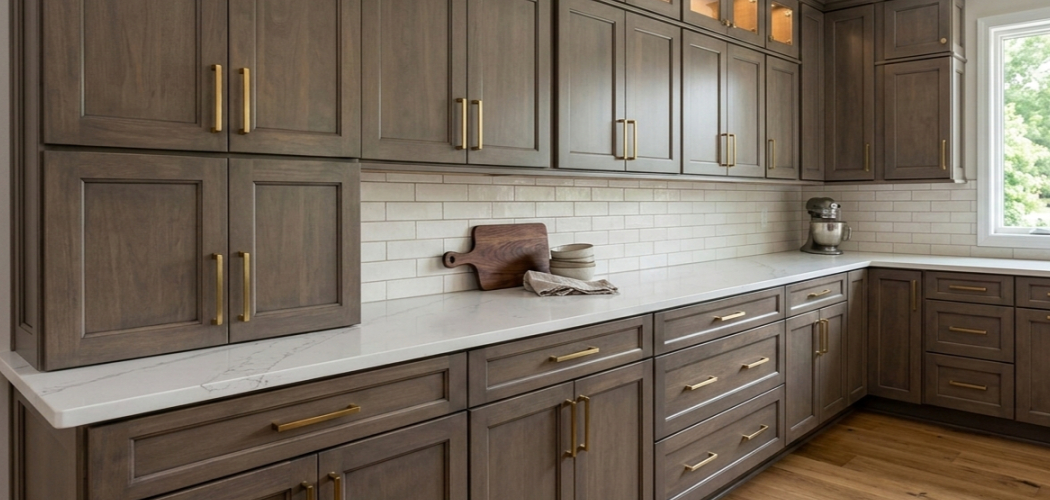
Learning how to build kitchen cabinet doors can save you money, sharpen your woodworking skills, and give your kitchen a custom look that store-bought doors rarely match. It may seem like a job for a pro, but beginners can get strong results with careful measuring, simple tools, and a clear plan.
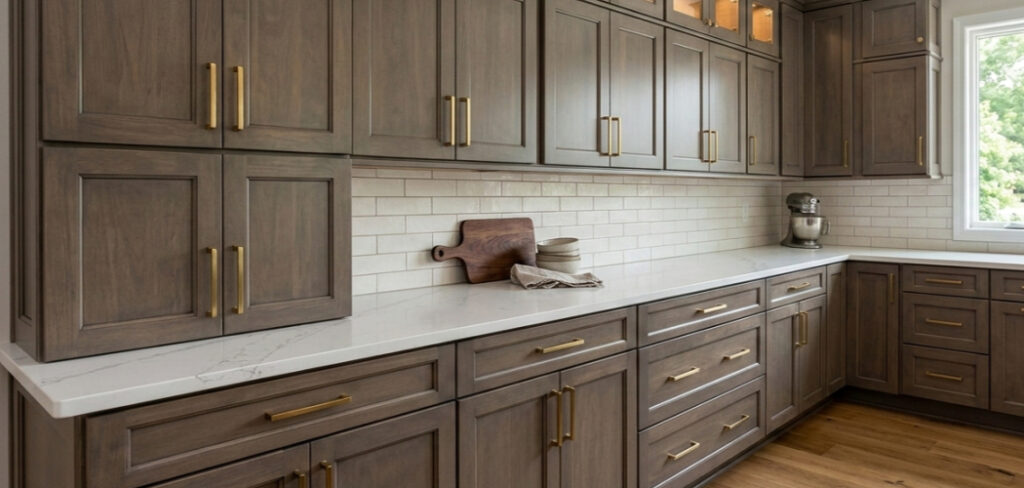
Most cabinet doors follow a basic pattern: a frame, a center panel, and clean, square joints. Once you understand that structure, the process feels much less intimidating. You do not need a full professional shop to get started, but you do need patience and accuracy.
This guide walks you through the full process of making durable, attractive cabinet doors from start to finish.
Why Build Your Own Kitchen Cabinet Doors
Building your own cabinet doors gives you more control over style, fit, and cost. You can choose the wood species, paint grade material, edge profile, and finish that match your kitchen instead of settling for limited stock options. That matters when you want a clean shaker look, a warm stained finish, or doors sized for older cabinets that are not perfectly standard.
It also helps you build practical woodworking skills. You learn to measure openings, cut parts square, assemble a face frame, and apply a finish that holds up to daily use. Those are useful skills for many home projects beyond the kitchen.
For first-time builders, cabinet doors are a great way to practice precision. The pieces are small enough to manage, but detailed enough to teach good habits that improve every project you tackle after this one.
Tools and Materials You’ll Need
- Tape measure
- Combination square
- Pencil
- Table saw or circular saw with a guide
- Miter saw
- Router with a cabinet door bit set or straight bit
- Drill and drill bits
- Pocket hole jig or clamps for glue-up
- Wood glue
- Clamps
- Sandpaper in 120, 180, and 220 grit
- Hardwood boards or paint-grade poplar for rails and stiles
- Plywood or solid wood panel stock for the center panel
- Safety glasses
- Hearing protection
- Dust mask or respirator
- Concealed cabinet hinges
- Screws for hinge installation
- Wood filler for minor touch-ups
- Primer and paint or stain and topcoat
- Optional: an orbital sander for faster, smoother prep work
Step-by-Step Guide on How to Build Kitchen Cabinet Doors
Step 1 – Measure Every Cabinet Opening Carefully
Start by measuring each cabinet opening with care. Do not assume every opening is the same, even if the cabinets look identical from a distance. Older cabinet boxes often vary by an eighth of an inch or more, and that small gap becomes obvious once the doors are hung.
Measure the width and height in two places, then write everything down. Decide whether you want full overlay, partial overlay, or inset doors before you calculate final door size. For most beginners, full overlay is the easiest because it hides minor cabinet box flaws and gives you a clean, modern look.
When learning how to build kitchen cabinet doors, this stage matters more than any fancy tool. Accurate measurements make the rest of the job smoother, while bad numbers follow you all the way to installation.
Step 2 – Choose Your Door Style and Material
Next, pick a door style that fits your skill level and kitchen design. A shaker cabinet door is the best starting point for most beginners because the lines are simple, the parts are straight, and the look works in both modern and traditional kitchens.
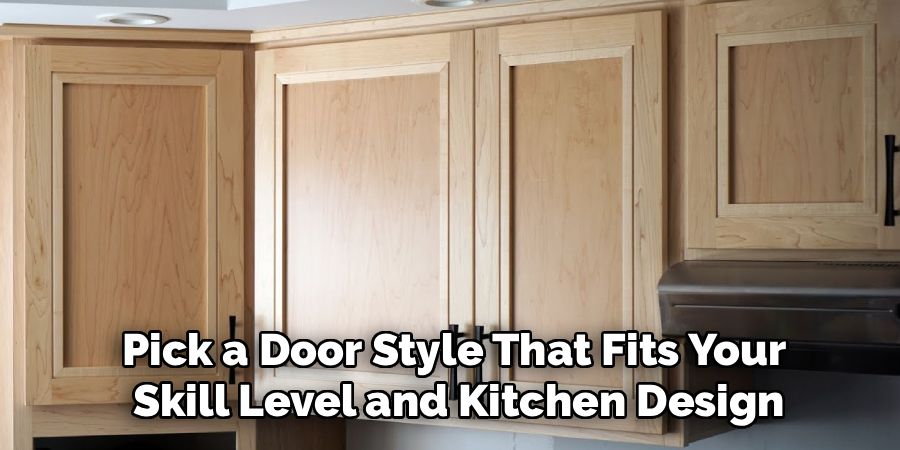
For painted doors, poplar or MDF panel material is a practical choice because it machines smoothly and gives you a clean finish. For stained doors, maple, oak, or birch are common options. Make sure your rails and stiles are straight, dry, and free of twist before you cut anything.
Think about daily use as well. Kitchen doors deal with steam, grease, and constant handling. A stable material and a durable finish will help the doors stay flat, feel solid, and look sharp for years instead of months.
Step 3 – Cut the Rails, Stiles, and Panels
Now cut the frame parts to size. The vertical pieces are the stiles, and the horizontal pieces are the rails. Use a sharp blade and support the wood well so the cuts stay crisp and square. A clean cut sounds smooth and steady, not rough or chattery.
Label each part as you go. That simple habit saves confusion during assembly, especially if you are building several doors at once. Keep paired pieces together and double-check length before moving on to the next cut.
Cut the center panels after you confirm the groove depth and joinery method. Leave the panel enough room to float inside the frame if you are using solid wood. That slight movement helps prevent cracking when humidity shifts through the seasons.
Step 4 – Mill the Grooves and Joinery
At this point, shape the grooves for the center panel and cut the joinery that will hold the frame together. Many beginners use a router table with stile and rail bits, while others prefer simpler methods like pocket screws for paint-grade doors. Both can work if done cleanly.
Feed each piece steadily and keep pressure consistent. You want grooves that are even and joints that fit snug without forcing the wood. A good fit feels firm and clean, with no wobble and no visible gaps at the corners.
If you are practicing how to build kitchen cabinet doors for the first time, make test cuts on scrap wood before touching your real parts. That extra five minutes can save expensive stock and a lot of frustration.
Step 5 – Dry Fit and Check for Square
Before you use glue, assemble every door dry. Slide the panel into place, connect the rails and stiles, and clamp lightly if needed. This is your chance to spot errors while they are still easy to fix.
Check each corner with a square and measure the diagonals from corner to corner. If both diagonal measurements match, the door is square. If they do not, adjust the frame gently until it lines up. Even a slight twist can make the door hang poorly later.
Pay attention to how the pieces feel. You should see tight shoulders, smooth edges, and a panel that sits neatly in the groove. That test fit tells you whether the final glue-up will go smoothly or turn into a rushed cleanup job.
Step 6 – Glue and Clamp the Door Assembly
Once the fit looks right, spread glue on the joints only, not on the floating panel. The panel needs room to move, especially if it is solid wood. Too much glue can squeeze into the groove, lock the panel in place, and lead to cracks over time.
Bring the frame together and apply clamps with even pressure. You want the joints closed tight, but you do not need to crush the wood. Wipe off squeeze-out with a damp rag before it hardens into a stubborn, gummy mess.
Check for square again after clamping. This step can shift the frame slightly, so stay alert. Let the glue cure fully before you move the door. Rushing here often causes loosened joints, uneven edges, or tiny shifts that show up later when you install the hinges.
Step 7 – Sand the Surface Smooth and Flush
After the glue dries, remove the clamps and sand the door flat and smooth. Start with 120 grit to level joints and soften any sharp edges. Then move to 180 and finish with 220 for a surface that feels even under your fingertips.
Take your time around the inside profile and corners. Those spots hold glue residue and small machining marks that stand out once paint or stain goes on. A properly sanded door looks calm and uniform, with no ridges catching the light.
Run your hand across the face and edges as you work. Your fingers will often find flaws before your eyes do. The goal is a door that feels solid, smooth, and ready for finish from every angle you touch.
Step 8 – Apply Finish and Let It Cure
Choose a finish that matches the look and durability you want. Paint gives you the most forgiving result on beginner-built doors, while stain highlights grain but also makes every sanding mark more visible. Either way, start with a clean, dust-free surface.
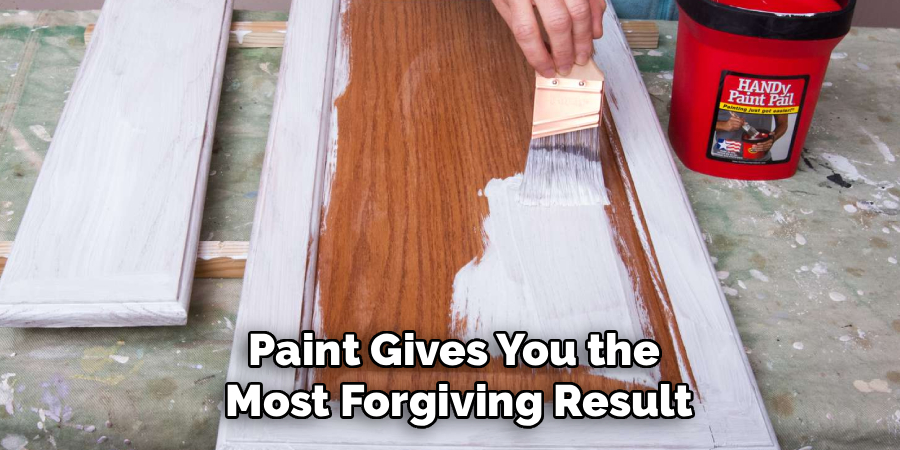
Apply thin, even coats and let each coat dry fully before the next one. Heavy coats tend to sag, pool in corners, and leave a sticky surface. Good finishing has a clean smell of fresh coating, a soft sheen, and smooth coverage without drips or dry patches.
Let the doors cure fully before installation. Dry and cured are not the same thing. A finish that feels dry to the touch may still be soft underneath, and hanging the door too soon can leave dents, fingerprints, or hinge marks in the surface.
Step 9 – Install Hinges and Hang the Doors
Mark your hinge locations carefully and drill pilot holes before driving screws. Concealed European hinges are popular because they allow easy adjustment after installation. Use a jig if you have one, since repeatable hinge placement makes the whole kitchen look more professional.
Hang each door and adjust for even gaps around the edges. Open and close it several times to check clearance, alignment, and swing. The movement should feel smooth, not tight or crooked. A well-fitted door should close cleanly without rubbing the cabinet face frame.
Stand back and look at the row as a whole. Small adjustments make a big difference in the final appearance. Once the reveals are even and the doors sit straight, your cabinets will look custom built rather than pieced together.
Common Mistakes When Building Kitchen Cabinet Doors
One common mistake is trusting old cabinet openings to be perfectly square or identical. Many beginners measure one opening, copy the number, and build several doors that do not fit. Measure each opening on its own and confirm your overlay before cutting stock.
Another problem is using warped lumber. Even a slight twist in a rail or stile can throw off the whole door. At first glance, the board may seem usable, but once you assemble the frame, the joints fight each other and the door refuses to sit flat.
Many first-time builders also rush the sanding and finishing stages. Tool marks, glue squeeze-out, and rough edges may seem minor in bare wood, but paint and stain make them more obvious. A few extra minutes of prep usually improve the final look more than any expensive material.
A fourth mistake is gluing the center panel in place. Solid wood panels need room to expand and contract. If you lock them in with glue, seasonal movement can split the panel or stress the joints.
Finally, some people install hinges before the finish is fully cured. That can leave dents, smudges, and chipped edges. Patience at the end of the job protects all the care you put in at the start.
Expert Tips
Build one test door before making a full kitchen set. That first door helps you confirm your measurements, dial in router settings, and spot weak points in your process without wasting a pile of wood.
Mill all matching parts at the same time whenever possible. Cut all stiles together, then all rails, then all panels. That keeps sizes consistent and speeds up assembly. It also helps your doors look more uniform once they are installed side by side.
Use story sticks or labeled setup blocks for repeat measurements. This reduces tape-measure mistakes and keeps hinge locations, rail lengths, and groove placements consistent. Small systems like this are what make beginner work start to look professional.
Frequently Asked Questions
What is the easiest kitchen cabinet door style for beginners?
Shaker doors are usually the easiest for beginners. They use straight parts, simple lines, and a flat center panel, so the layout is easy to follow. They also fit many kitchen styles, which makes them a safe choice if you want a clean result without learning complex raised-panel profiles right away.
What wood is best for kitchen cabinet doors?
For painted cabinet doors, poplar is a strong beginner-friendly choice because it is stable, affordable, and smooth to machine. For stained doors, maple, birch, and oak are popular because they are durable and attractive. Pick straight, dry boards with minimal warp so your joints stay tight and your doors hang flat.
Can I build cabinet doors without a router?
Yes, you can. A router makes traditional frame-and-panel joinery easier, but it is not your only option. You can build simple slab doors from plywood or use pocket screws for straightforward frame construction on paint-grade projects. The key is making square cuts, solid joints, and smooth surfaces before finishing.
How thick should kitchen cabinet doors be?
Most kitchen cabinet doors are about 3/4 inch thick. That thickness gives the door enough strength for daily use and works well with common concealed hinges. If you go thinner, the door may feel less sturdy. If you go thicker, you may need special hardware or adjusted hinge settings.
How do I keep cabinet doors from warping?
Start with dry, straight material and store it flat before building. Let solid wood panels float in the frame so they can move with humidity changes. Apply finish to both sides of the door, including the edges, to slow moisture movement. Good material, balanced finishing, and proper storage all help prevent warping.
Conclusion
Building your own cabinet doors is one of the most satisfying upgrades you can make in a kitchen. You get control over the size, style, material, and finish, and you also gain real woodworking experience along the way. With accurate measurements, square cuts, careful assembly, and patient finishing, a beginner can produce doors that look clean, feel solid, and last well under everyday use.
The process is not about working fast. It is about building carefully and correcting small issues before they grow into large ones. If you start with a simple shaker design and focus on one door at a time, your confidence will grow with every step.
Once you understand how to build kitchen cabinet doors, the project becomes much less intimidating. Take your time, trust your measurements, and keep your standards high. Your first set may not be perfect, but it can still look great and open the door to many more woodworking projects.

About
Nick Hall has spent the last seven years working at the intersection of kitchen design and home repair — first as a design assistant at a residential renovation studio, then as a freelance writer covering everything from cabinet layouts to leaky faucet fixes.
Her approach is simple: kitchens should look good and function well. That means she’s just as comfortable talking about color palettes and counter materials as she is walking readers through how to fix a wobbly cabinet hinge or troubleshoot a garbage disposal.
Nick has worked directly with homeowners on small-space kitchen makeovers, budget-conscious renovations, and the kind of everyday repairs that don’t need a contractor — just the right instructions. She writes from experience, not theory, and tests most of the fixes and tips she shares before publishing them.
When she’s not writing, Nick is usually hunting for mid-century kitchen finds at estate sales or helping friends plan their own renovations. She lives in Columbus, Ohio.