
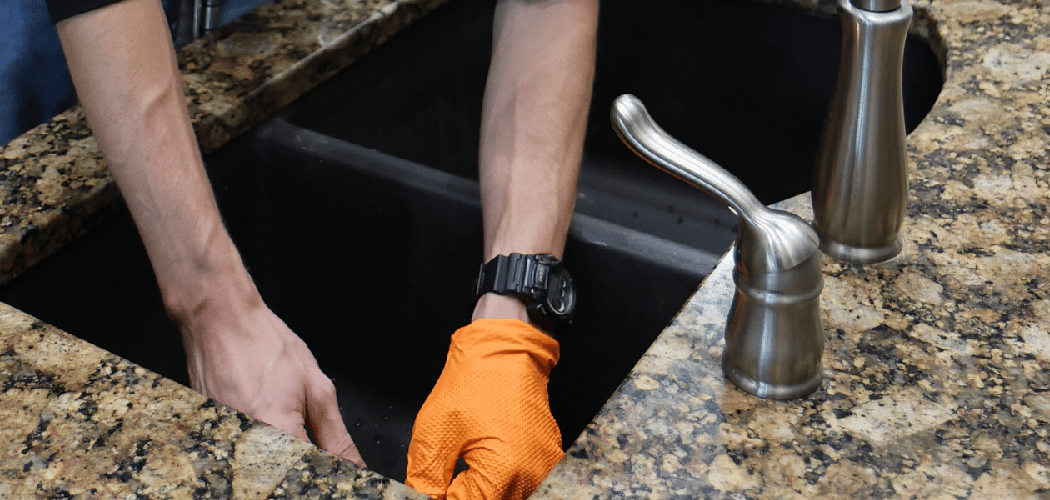
A black sink looks sleek and modern, right up until water spots, soap film, and chalky white streaks start dulling that rich, dark finish. If you’ve ever wiped your sink clean only to watch it cloud over again an hour later, you’re not alone. Black surfaces show every smudge and mineral mark, which is exactly why they need a little smart, regular care.
The good news is that bringing back that deep, even color is easier than you think. You don’t need harsh chemicals or fancy tools, just a few simple supplies and the right technique. Once you learn the routine, it takes only minutes.
This guide walks you through how to clean a black kitchen sink step by step, so you can keep it looking dark, glossy, and streak-free with very little effort.
Why Cleaning a Black Kitchen Sink Matters
Keeping a black sink clean is about more than looks. Mineral buildup and soap residue trap grime and odors, which can make your whole kitchen feel less fresh. A clean sink also protects the finish, whether you have a composite sink, a granite sink, or a smooth matte finish that scratches easily.
There’s a practical side too. A spotless washing area is faster to use and far more pleasant when you’re prepping food or scrubbing dishes.
This skill matters even more for campers and outdoor beginners working in compact setups. In a camper or tiny cabin, your sink is your one washing station, so it has to stay clean and low-maintenance. Knowing how to wipe away residue quickly with simple supplies means less scrubbing, fewer water spots, and a tidy space no matter how small your kitchen is.
Tools and Materials You’ll Need
You don’t need a cabinet full of products to get great results. The basics handle nearly everything. Start with a gentle cleaner and a little dish soap, which lift everyday grease and food residue without harming the finish. Warm water helps loosen grime, so keep it close.
For light scrubbing, reach for a soft sponge and a clean microfiber cloth. The microfiber is key for drying, since it buffs the surface to a streak-free finish without leaving lint behind. For tougher mineral buildup or water spots, baking soda and white vinegar work like a charm and cost almost nothing.
The one optional item worth keeping nearby is a small spray bottle of mineral oil or a sink-safe polish. A light wipe brings back that deep, glossy black look and makes future cleaning easier.
Step-by-Step Guide on How To Clean A Black Kitchen Sink
Step 1 – Clear and Rinse the Sink First
Start by emptying your sink completely. Remove dishes, drying racks, and any stray sponges so you have a clear surface to work with.
Run warm water over the entire basin, using your hand to splash it up the sides. You’ll feel loose crumbs and bits of food lift away as the water flows. This quick rinse softens dried-on residue and saves you scrubbing later.
Pay attention to the corners and around the drain, where gunk loves to hide. A clean starting point makes everything that follows easier and faster. Don’t add any soap yet, this is just about washing away the surface mess. Once the basin feels free of loose debris and the water runs clear, you’re ready for the real cleaning.
Step 2 – Apply Dish Soap and a Soft Sponge
Now add a few drops of dish soap to a damp soft sponge. Work it into a light lather, then wipe down the entire sink in smooth, circular motions.
You’ll notice the soap cutting through grease and leaving a slick, clean feel under your fingers. Cover the bottom, the sides, and the rim, since splashes land everywhere. Knowing how to clean a black kitchen sink really starts here, with a gentle pass that lifts daily grime without scratching the finish.
Take your time around the faucet base and drain edges, where soap film and residue tend to gather. Use light pressure, especially on a matte finish, which marks more easily than glossy surfaces. A steady, even scrub leaves the whole basin feeling fresh and ready for a rinse.
Step 3 – Rinse Away All the Soap Residue
Soap left behind is one of the biggest causes of a dull, cloudy sink, so rinse thoroughly. Run warm water over every surface you just cleaned, sweeping it down with your hand.
Watch for that slippery, soapy feel to disappear completely. If the surface still feels slick, keep rinsing until the water runs clear and the basin squeaks slightly under your fingers.
Pay special attention to the corners and the area around the drain, where residue likes to pool. On a composite sink, leftover soap dries into a chalky haze that ruins your hard work. A complete rinse now means a cleaner, darker finish later. Once everything feels clean and free of suds, you’re ready to tackle any stubborn spots that remain.
Step 4 – Tackle Water Spots and Mineral Buildup
Hard water leaves behind chalky white marks, especially on dark surfaces. To remove them, sprinkle a light layer of baking soda across the damp basin.
You’ll see it cling to the surface like a soft paste. Gently scrub with your sponge, focusing on cloudy patches and rough spots where mineral buildup has settled. The baking soda works as a mild abrasive, lifting deposits without scratching.
For really stubborn water spots, spray a little white vinegar over the baking soda. It will fizz and bubble, which is oddly satisfying and a sign it’s breaking down the minerals. Let it sit for a minute, then scrub lightly again. This combo dissolves the chalky film that plain soap can’t touch, restoring the deep, even black you love.

Step 5 – Use Vinegar for a Deeper Clean
If your sink still looks hazy, vinegar gives it a deeper refresh. Dampen a cloth with a mix of equal parts white vinegar and warm water, then wipe down the whole basin.
You’ll catch a sharp, clean scent as the vinegar cuts through leftover residue and lingering film. Let it sit for two to three minutes so it has time to dissolve any remaining mineral marks.
This step is great for sink care between deep cleans, since vinegar is cheap, natural, and gentle on most finishes. Avoid using it too often on a granite sink, though, as repeated acidic cleaning can wear the surface over time. Once or twice a month is plenty. After the vinegar has worked its magic, give the basin a thorough warm-water rinse to finish.
Step 6 – Rinse and Dry Completely
Drying is the secret step most people skip, and it makes all the difference. After your final rinse, grab a clean microfiber cloth and wipe the entire sink dry.
You’ll feel the surface go from wet and slick to smooth and matte under the cloth. Drying removes the very water droplets that turn into fresh spots the moment they evaporate.
Move from the rim down to the basin, then finish around the drain. The microfiber buffs as it dries, leaving a streak-free finish without lint. This is where your sink starts to look truly polished rather than just clean. A few extra seconds of drying now saves you from staring at new water spots later, and it keeps that dark color looking rich and even.
Step 7 – Buff for a Streak-Free Finish
Once the sink is dry, take a moment to buff it for that showroom shine. Using a dry section of your microfiber cloth, wipe the surface in long, even strokes.
You’ll watch any faint streaks or dull patches vanish as the cloth glides across the finish. This little bit of buffing pulls everything together and makes the black look deep and uniform.
Check the sink from a few angles, since light reveals streaks you might miss head-on. If you spot a haze, breathe lightly on the area and buff again. This trick works wonders on a matte finish or a glossy composite sink alike. A well-buffed basin reflects light evenly and instantly makes your kitchen feel cleaner and more cared for.
Step 8 – Add a Light Protective Polish
To keep your sink looking its best, finish with a thin protective layer. Put a few drops of mineral oil or sink-safe polish on a clean cloth and rub it gently over the dry surface.
You’ll see the black deepen instantly, taking on a rich, glossy glow. Spread it thin and even, then buff off any excess with a fresh part of the cloth.
This light coating helps water bead up and roll off, which means fewer water spots and easier cleaning next time. It also fills in tiny scratches on a composite or granite sink, evening out the look. You don’t need to do this daily, once a week keeps the finish protected and gleaming. It’s the perfect final touch for a sink that looks brand new.
Critical Mistakes When Cleaning a Black Kitchen Sink
The most common mistake is reaching for harsh, abrasive cleaners or scouring pads. Bleach, steel wool, and gritty powders might feel powerful, but they scratch and dull dark surfaces fast, leaving permanent gray marks that no polish can fix. Stick with a gentle cleaner, dish soap, and a soft sponge instead.
Another big error is skipping the drying step. Many people rinse their sink and walk away, then wonder why chalky water spots reappear within the hour. Those spots are just dried mineral deposits. A quick buff with a microfiber cloth prevents them entirely.
People also overuse acidic cleaners like vinegar or lemon on a granite sink. While vinegar is great occasionally, daily acidic scrubbing can slowly wear down the finish and create dull patches. Save it for once or twice a month.
Finally, folks often ignore the area around the drain and faucet base. Soap residue and grime build up in these spots, creating sticky film and odors that spread across the whole basin. Clean these hidden corners every time, and your sink will stay fresh, dark, and spotless for much longer.

Expert Tips
A few simple habits keep your sink looking flawless with hardly any effort. The biggest one is to wipe and dry your sink every night after the last dish. A quick buff stops water spots before they ever form.
Keep a dedicated microfiber cloth near the sink so drying feels effortless rather than like a chore. For hard-water homes, a weekly vinegar wipe and a light coat of mineral oil work wonders together.
Always rinse soap completely, since leftover film is the number one cause of that frustrating cloudy haze. Test any new product on a hidden spot first, especially on a matte finish. And avoid leaving wet sponges or metal cans sitting in the basin, as they can leave marks and rust stains that are tough to remove later.
Frequently Asked Questions
How Often Should I Clean My Black Sink?
For the best results, give your sink a quick wipe and dry every day after use. This prevents water spots and soap film from building up. Then do a deeper clean once a week with baking soda or vinegar to tackle any mineral buildup. Daily drying really is the secret, it keeps the finish dark and glossy with almost no extra effort.
Can I Use Bleach on a Black Composite Sink?
It’s best to avoid bleach on a composite sink. Bleach and other harsh chemicals can fade the color, leaving dull or grayish patches over time. Instead, reach for gentler options:
- Dish soap and warm water for daily cleaning
- Baking soda for stubborn spots
- White vinegar for occasional mineral buildup
These lift grime safely without damaging the finish or stripping its rich, dark color.
Why Does My Black Sink Look Cloudy After Cleaning?
That cloudy haze usually comes from two things: leftover soap residue or dried mineral deposits from hard water. If you rinse but don’t dry, the water evaporates and leaves chalky spots behind. Rinse thoroughly until the surface squeaks, then buff it dry with a microfiber cloth. For lingering haze, a light vinegar wipe followed by a coat of mineral oil restores that deep, even shine.
What’s the Best Way to Remove White Water Spots?
White water spots are mineral deposits, and they respond well to a baking soda and vinegar treatment. Sprinkle baking soda over the damp basin, spray a little white vinegar on top, and let it fizz for a minute. Gently scrub with a soft sponge, then rinse and dry completely. Drying right away with a microfiber cloth stops new spots from forming and keeps the finish smooth.
Is Mineral Oil Safe for My Sink Finish?
Yes, a thin layer of mineral oil is safe and works beautifully on most black composite and granite sinks. It deepens the color, helps water bead and roll off, and fills tiny scratches for a more even look. Just apply a small amount on a dry surface, then buff off the excess. Once a week is plenty to keep your sink protected and glossy.
Conclusion
A clean black sink instantly makes your whole kitchen feel sharper and more cared for. The best part is how little it takes to keep that deep, glossy look once you know the routine.
Keep the key steps in mind. Rinse away loose debris, wash with dish soap and a soft sponge, then rinse out every trace of residue. Tackle water spots with baking soda and vinegar, and never skip the drying step, since that’s what keeps chalky marks from creeping back. A quick buff and an occasional light polish seal the deal.
These habits take only a few minutes, yet they protect your finish and save you from frustrating cloudy haze down the road. Whether you have a composite sink at home or a compact washing station in a camper, the same gentle approach works every time.
Now that you know how to clean a black kitchen sink the easy way, grab your cloth and give it a try tonight. You’ll love how rich and spotless that dark finish looks.

About
Nick Hall has spent the last seven years working at the intersection of kitchen design and home repair — first as a design assistant at a residential renovation studio, then as a freelance writer covering everything from cabinet layouts to leaky faucet fixes.
Her approach is simple: kitchens should look good and function well. That means she’s just as comfortable talking about color palettes and counter materials as she is walking readers through how to fix a wobbly cabinet hinge or troubleshoot a garbage disposal.
Nick has worked directly with homeowners on small-space kitchen makeovers, budget-conscious renovations, and the kind of everyday repairs that don’t need a contractor — just the right instructions. She writes from experience, not theory, and tests most of the fixes and tips she shares before publishing them.
When she’s not writing, Nick is usually hunting for mid-century kitchen finds at estate sales or helping friends plan their own renovations. She lives in Columbus, Ohio.