
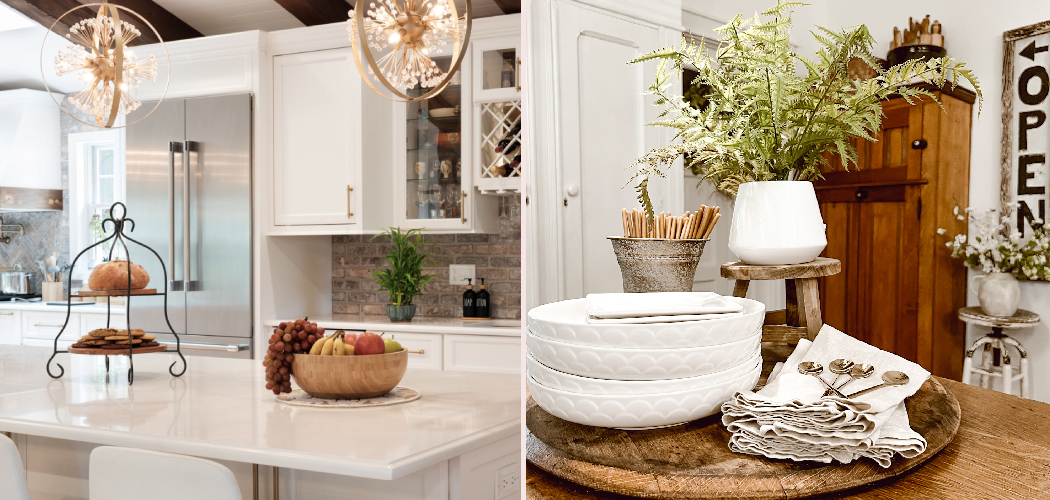
Your kitchen island is probably the busiest spot in the whole room. It catches mail, holds groceries, becomes a homework desk, and somehow ends up covered in everything by Friday night. That blank countertop has so much potential, yet it’s easy to leave it bare or buried in clutter.
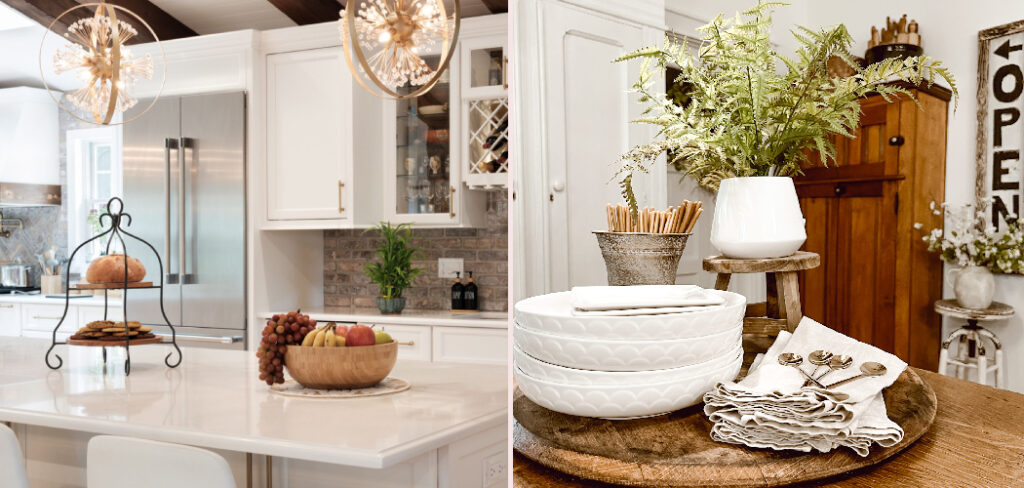
Here’s the good news: styling that surface doesn’t require a design degree or a big budget. With a few thoughtful touches, you can turn a plain slab into the heart of your kitchen. Learning how to decorate a kitchen island gives you a space that looks pulled-together and still works for daily life.
This guide walks you through every step, from clearing the surface to adding the perfect finishing accents, so you can style your island with confidence.
Why Decorating a Kitchen Island Matters
A well-styled island does more than look pretty—it sets the tone for your whole kitchen. For beginners, it’s the easiest place to practice good design without committing to a full renovation.
Small-space cooks get a lot of mileage here, too. When your island doubles as prep station, dining table, and storage hub, smart styling keeps it functional instead of chaotic. Cabin owners and RV-inspired homemakers know this well, where every surface has to earn its keep.
If you love hosting, your island often becomes the gathering spot where guests lean and chat while you cook. Outdoor entertainers use it the same way, as a casual buffet or drink station.
A thoughtfully decorated island turns a multi-purpose surface into something warm and welcoming, no matter how you use the space.
Tools and Materials You’ll Need
You don’t need much to get started, and chances are you already own half of it. Begin with a sturdy tray or two, since these anchor your decorative accents and keep small items from looking scattered. A wooden cutting board works beautifully here as well, doubling as a stylish prop and a practical surface.
Gather a vase or pitcher for greenery, a fruit bowl, and a few candles or stacked cookbooks for height. Fresh flowers, a leafy plant, or even faux greenery add life and color. Keep a microfiber cloth handy for wiping down the countertop before you style it.
One optional convenience item worth grabbing is a lazy Susan. It lets you rotate frequently used items like oils and salt within easy reach while still looking tidy and intentional.
Step-by-Step Guide on How To Decorate A Kitchen Island
Step 1 – Assess Your Island’s Purpose
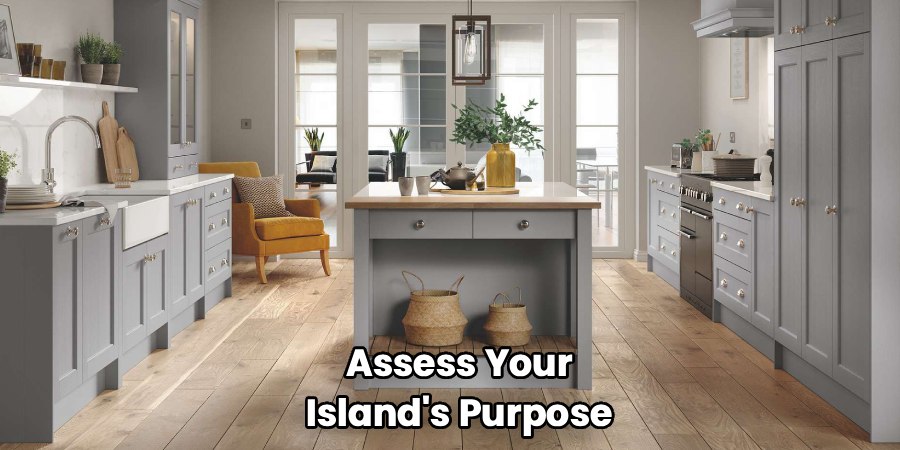
Before you place a single item, think about how you actually use this space. Do you prep dinner here every night? Do the kids do homework while you cook? Does it become a buffet when friends come over?
Walk around the island and picture a typical day. Notice where your hands naturally land and which areas stay clear. That observation tells you how much room you can give to decor versus the working surface you need to protect.
Knowing how to decorate a kitchen island starts with honoring its real job. A heavily used prep island needs lighter styling, while a mostly decorative one in an open-concept kitchen can handle a fuller display.
Function first, beauty second—they work best together.
Step 2 – Clear the Clutter Completely
Start with a blank slate. Remove everything from the countertop, even the items you think belong there. Wipe down the entire surface until it gleams and feels smooth under your palm.
This clean reset does two things. First, it shows you the true size and shape of your island, which is easy to forget when it’s always covered. Second, it forces you to decide what genuinely earns a spot back on the surface.
Sort the cleared items into three piles: keep, relocate, and toss. Be honest here. That stack of unopened mail and the random phone charger probably belong elsewhere.
A clear island feels instantly calmer, and it gives your styling room to breathe.
Step 3 – Choose a Focal Point
Every well-styled island needs one star of the show. This centerpiece anchors the eye and gives the whole arrangement a sense of purpose. Without it, even nice items can feel random and floaty.
Pick something with a little presence. A generous bowl of bright lemons or apples brings instant color and freshness. A tall vase of greenery adds height and softness. A pretty pitcher or a stack of vintage cookbooks works just as well.
Place your focal point slightly off-center if your island is long, or dead center if it’s more square. Step back and look. You should feel your eye land there first, naturally, before traveling to the smaller accents around it.
Step 4 – Balance Height and Scale
Now think about dimension. A flat arrangement reads as boring, while one with varied heights feels alive and intentional. The trick is mixing tall, medium, and low pieces in the same display.
Pair your tall vase with a medium fruit bowl and a low tray of candles. This creates a gentle staircase for the eye to climb. Avoid lining everything up at the same level, which flattens the look.
Scale matters just as much. A tiny trinket gets lost on a large island, while an oversized urn can overwhelm a compact one. Match your decor to the size of your surface.
Visual balance comes from variety, so play with proportions until the grouping feels easy and right.
Step 5 – Add Functional Decor
The best island styling does double duty. Functional decor looks lovely while staying useful, which is exactly what you want on a hardworking surface.
Think of a wooden cutting board leaning against a wall or laid flat with a knife block nearby. A ceramic crock holding your favorite cooking utensils keeps tools handy and adds rustic charm. A small dish of sea salt or a cruet of olive oil reads as both decor and prep helper.
These pieces earn their place because they get used, not just admired. That’s the sweet spot for an island that people actually live around.
Group these working items near where you cook, leaving the decorative accents toward the dining or gathering side.
Step 6 – Layer Texture and Materials
Texture is what makes a styled island feel rich instead of flat. When everything is smooth and shiny, the eye gets bored. Mixing materials adds depth and warmth you can almost feel.
Combine a rough woven runner with a glossy ceramic vase. Set a smooth glass jar beside a knobby wooden bowl. Toss in something soft, like a folded linen towel draped over the edge.
The contrast between matte and shine, rough and smooth, hard and soft is what gives the whole scene life. Layering also helps tie in the rest of your kitchen’s finishes.
Run your fingers across the grouping. If it feels varied and interesting to touch, it’ll look that way too.
Step 7 – Consider Lighting and Sightlines
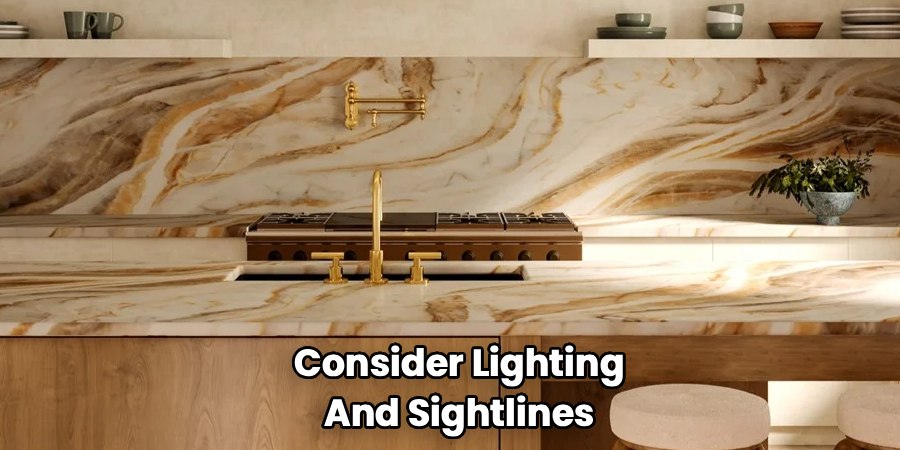
Great styling can vanish under bad lighting or poor placement. Look up at your pendant lighting first. Those fixtures frame the island and cast a warm glow over whatever you arrange below.
Make sure your tallest decor doesn’t block the light or the view across the room. In an open-concept kitchen, people see your island from the living area, so check how it reads from a distance.
Now sit on your bar stools and notice your sightlines. Decor shouldn’t crowd elbow room or hide faces during conversation. Keep the gathering side lower and more open.
Good styling respects both the light above and the people around it. Arrange with those views in mind, and your island feels welcoming from every angle.
Step 8 – Refresh by Season
Your island shouldn’t look frozen in time. A simple seasonal refresh keeps it feeling current and gives you an easy reason to switch things up throughout the year.
In spring, swap in tulips and a bowl of citrus. Summer loves a bright runner and a pitcher of wildflowers. Fall calls for small pumpkins, warm-toned candles, and a wooden bowl of apples. Winter shines with evergreen sprigs and a few twinkle lights.
You don’t need to replace everything. Just rotate one or two decorative accents to match the season. Store off-season pieces in a labeled bin so swaps take minutes.
These small updates keep your island lively and let your personality shine through all year long.
Critical Mistakes When Decorating a Kitchen Island
Even with good intentions, a few common slip-ups can undo all your hard work. Knowing them ahead of time saves you frustration and keeps your island looking sharp.
The biggest mistake is overcrowding the surface. It’s tempting to fill every inch, but a packed countertop reads as cluttered no matter how nice the pieces are. Leave plenty of open space so your decor can breathe and your prep area stays usable.
Another frequent error is ignoring scale. Tiny trinkets scattered across a large island disappear, while bulky items swallow a small one. Match your decorative accents to the size of the surface, and group small things together on a tray so they read as one intentional moment.
Many people also forget function entirely. A gorgeous display means little if you have to clear it every time you cook. Choose functional decor that earns its spot, and keep the working zone clear.
Finally, watch your sightlines. Decor that blocks pendant lighting, hides faces across the island, or crowds the bar stools frustrates everyone. Style with both beauty and daily life in mind.
Expert Tips
Want your island to look professionally styled? Follow the rule of thirds. Group items in odd numbers—threes and fives feel more natural to the eye than even, matched pairs.
Keep a consistent color story. Pick two or three shades that tie back to your kitchen and let your accents echo them. This quiet repetition reads as polished and intentional.
Use a tray as your secret weapon. It corrals smaller items, defines a tidy zone, and makes cleanup a breeze when you need the counter back.
Always leave roughly two-thirds of the surface open. That breathing room is what separates a styled island from a cluttered one.
Finally, trust your eye. Step back often, squint a little, and adjust until the arrangement simply feels right to you.
Frequently Asked Questions
How much of my kitchen island should I decorate?
A good rule is to style only about one-third of the surface and leave the rest open. This keeps your island looking intentional while protecting the prep space you actually need. If your island is large, you can create two small groupings instead of one. The goal is balance, so the decor enhances the space without crowding your everyday tasks.
What can I use as a kitchen island centerpiece?
Plenty of everyday items make beautiful centerpieces. Try one of these:
- A bowl of fresh fruit like lemons or apples
- A tall vase with greenery or seasonal flowers
- A wooden tray holding candles and a small plant
- A stack of cookbooks topped with a decorative object
Pick something with a bit of height or color so it naturally draws the eye and anchors your display.
How do I keep my island decor from looking cluttered?
Less is almost always more. Group small items together on a tray so they read as a single piece rather than scattered bits. Stick to two or three shades for a cohesive look, and leave most of the surface clear. Vary the heights of your pieces for visual interest, then step back regularly to check whether anything feels like too much.
Can I decorate an island I use for cooking every day?
Absolutely. The trick is choosing functional decor that does double duty. A crock of utensils, a wooden cutting board, and a small dish of salt all look charming while staying useful. Keep these near your cooking zone and place purely decorative accents toward the dining side. That way your island stays beautiful and fully workable at the same time.
How often should I update my island styling?
Refreshing with the seasons works well for most homes, so about four times a year. You don’t need to overhaul everything—just swap one or two accents like flowers, candles, or a runner to match the time of year. Many people also do a quick refresh for holidays or gatherings. Small, frequent tweaks keep your island feeling current without much effort or expense.
Conclusion
Styling your island really does come down to a handful of simple habits. Start by understanding how you use the space, clear the clutter, and choose one strong focal point. From there, play with height and scale, mix in functional decor, layer your textures, and keep an eye on lighting and sightlines.
The beauty of learning how to decorate a kitchen island is that it costs little and rewards you every single day. You don’t need fancy gear or a designer on call—just a willingness to edit, arrange, and trust your own eye.
Remember the golden rules: leave two-thirds of the surface open, group items in odd numbers, and stick to a simple color story. Refresh a piece or two with the seasons, and your island will always feel fresh and inviting.
So clear off that countertop, grab a tray and a bowl of fruit, and start playing. The more you experiment, the more natural it becomes. Before long, your island will be the warm, welcoming heart of your kitchen. Happy styling!
