
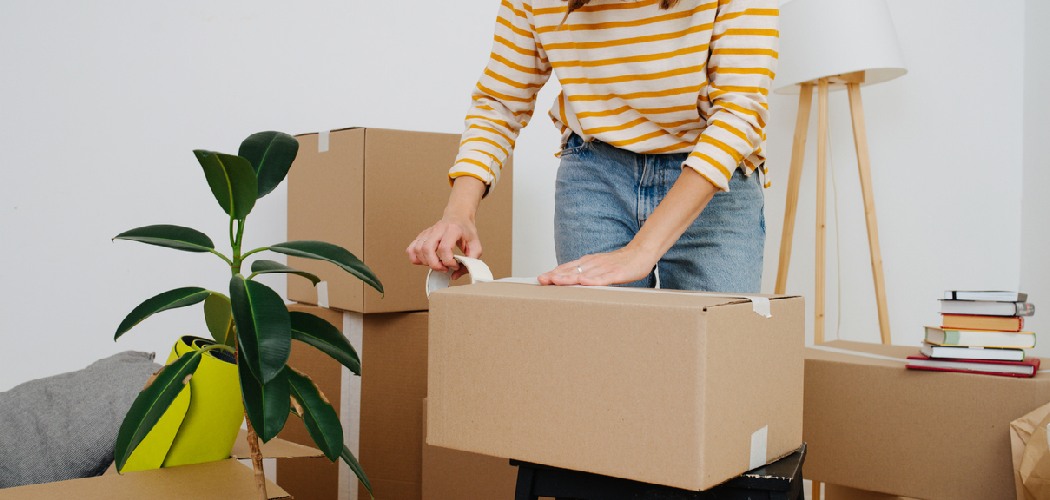
Your kitchen holds more breakable, awkward, and just plain weird-shaped stuff than any other room in your home. From wine glasses to that heavy cast iron skillet, packing it all can feel overwhelming. One wrong move and you arrive at your new place to find shattered plates and a box of mystery items. The good news? With a little planning and the right method, you can protect everything and stay sane in the process.
Learning how to pack kitchen items for moving saves you money, prevents heartbreaking breakage, and makes unpacking so much easier on the other side. You don’t need to hire pros or spend a fortune on supplies, either. This guide walks you through every step, from decluttering to loading boxes, so your dishes, cookware, and gadgets arrive at your new kitchen safe and sound.
Why Packing Kitchen Items for Moving Matters
Packing a kitchen well matters because these items are fragile, valuable, and used every single day. A careless box can cost you a full set of dishes or a beloved appliance, and replacing it all adds up fast.
This skill helps beyond a house move, too. RV owners and van lifers constantly secure cookware in tight spaces where every bump on the road tests your packing. Campers and outdoor beginners loading a car for a weekend trip learn the same tricks for protecting fragile items in transit.
Cabin users hauling supplies up rough roads benefit from smart cushioning and secure boxes. Anyone setting up a compact or temporary kitchen uses these same methods to keep gear safe and organized. Master packing once, and you’ll protect your kitchen wherever you take it, on the road or across town.
Tools and Materials You’ll Need
Gather your supplies before you start, so you’re not scrambling for tape mid-box. Most of these are cheap and easy to find at any hardware or moving store.
- Sturdy moving boxes in small and medium sizes
- A few dish pack boxes with thick walls for fragile items
- Plenty of packing paper and a roll or two of bubble wrap
- A reliable tape gun with extra tape rolls
- Cardboard dividers for glasses and stemware
- A box cutter for clean opening later
- Permanent markers and labels for clear marking
- Clean dish towels and rags for extra cushioning
- Rubber bands or twist ties for bundling
One optional convenience item worth grabbing is a roll of stretch wrap. It bundles loose items, holds drawers shut, and keeps small parts together without any tape residue. It speeds up the whole job and saves you a surprising amount of fuss.
Step-by-Step Guide on How to Pack Kitchen Items for Moving
Step 1 – Sort and Declutter First
Before you wrap a single plate, empty your cabinets and drawers onto the counter. Seeing everything at once is eye-opening, and you’ll quickly spot duplicates, chipped mugs, and gadgets you forgot you owned.
Make three piles: keep, donate, and toss. Be honest with yourself here. That fondue set you’ve used once in five years? Let it go. Fewer items means fewer boxes, less weight, and a faster unpack.
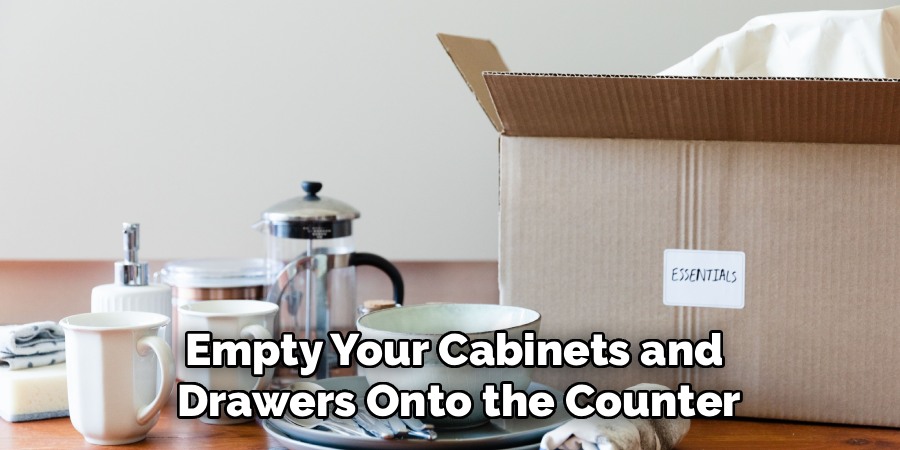
Check expiration dates on pantry staples while you’re at it, and clear out anything stale or expired. Knowing how to pack kitchen items for moving starts with packing less, not more. Run your hand through each drawer and ask whether each piece earns its spot in your new kitchen. This quick edit saves real time and effort.
Step 2 – Gather and Prep Your Packing Supplies
Now set up a simple packing station on a clear counter or table. Lay out your packing paper, bubble wrap, tape gun, and a stack of flattened moving boxes within easy reach.
Build your boxes properly before filling them. Tape the bottom seam, then run a second strip across it for strength. A heavy box with a weak bottom is a disaster waiting to happen, especially with cookware inside.
Keep your markers and labels nearby so you can mark each box the moment you seal it. Tear off a pile of packing paper sheets ahead of time, too. Having everything prepped and within arm’s reach keeps you in a rhythm, and the whole job moves faster when you’re not hunting for the tape every two minutes.
Step 3 – Wrap Fragile Dishes and Glassware
Start with your most breakable pieces while your energy and focus are high. Stack a few sheets of packing paper, place a plate in the center, and fold the corners over snugly. Wrap each dish individually, then bundle them in pairs for extra protection.
Pack plates on their edges, standing upright like records in a crate, not stacked flat. This position resists pressure far better and dramatically cuts breakage.
For stemware and glasses, slide each one into cardboard dividers after wrapping it in bubble wrap. Nestle the rims down and fill any gaps with crumpled paper so nothing shifts. Give the box a gentle shake before sealing. If you hear movement, add more cushioning. Silence means your fragile items are snug and ready for the road.
Step 4 – Pack Pots, Pans, and Cookware
Cookware is heavy, so reach for small or medium moving boxes here. A giant box full of pots becomes impossible to lift and risks blowing out the bottom.
Nest your pots inside each other to save space, but slip a sheet of packing paper between each one to prevent scratches and that awful metal-on-metal screech. Wrap glass lids separately in bubble wrap, since they crack easily.
Stand heavier pans upright when you can, and fill empty corners with dish towels for cushioning. Those towels need packing anyway, so they pull double duty. Keep the total weight manageable, around what you can comfortably carry. Tape the box well and label it clearly. Your back will thank you when it’s time for unloading at the new place.
Step 5 – Handle Knives and Sharp Tools Safely
Sharp tools demand respect, both for your safety and your fingers during unpacking. Never toss loose knives into a box where they can slice through cardboard or surprise you later.
Wrap each blade in a folded dish towel or several layers of packing paper, then secure it with a rubber band or tape. For a full set, slide the knives back into their block and stretch wrap the whole thing so nothing slips out.
Bundle graters, peelers, and skewers the same careful way. Once a sharp item is wrapped, label it boldly so everyone knows to open with caution. Place these bundles toward the top of a box, never buried at the bottom. A little care here prevents a nasty cut and keeps your blades sharp.
Step 6 – Secure Small Appliances
Dig out the original boxes for your small appliances if you saved them, since they fit perfectly and offer built-in protection. No original box? A snug moving box with plenty of cushioning works just fine.
Wrap each appliance in bubble wrap, paying special attention to glass parts, cords, and any sticking-out pieces. Coil cords neatly and tape them down or tuck them inside, so they don’t tangle or snag.
Remove loose parts like blender blades or carafes and wrap them separately. Fill the box with crumpled paper until everything sits firm and quiet. Stand the box upright if the appliance is meant to sit that way, and mark which side is up. Snug, padded, and clearly labeled appliances survive the bumpiest move.
Step 7 – Box Up Pantry Items
Pantry staples are simple but sneaky heavy, so keep these boxes small. Group dry goods like pasta, rice, and canned items together, and stand bottles upright to avoid leaks.
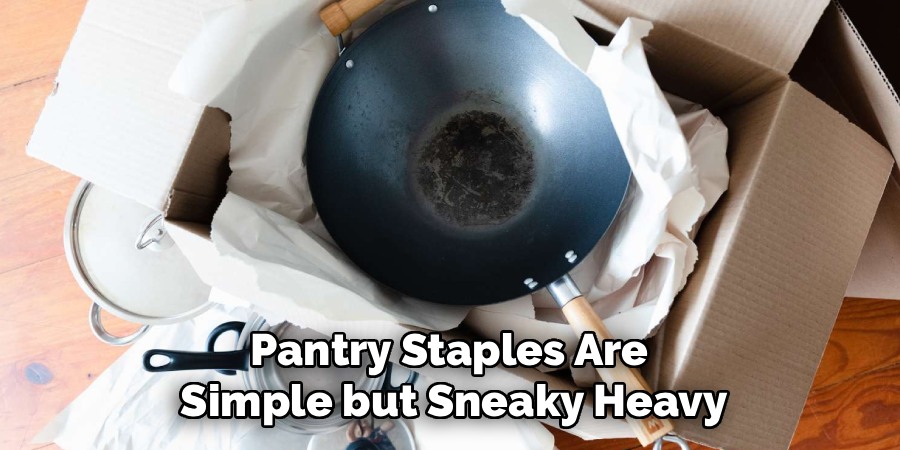
Seal opened bags with clips or tape, then slip them into zip bags as a spill barrier. Tape the lids on oils, vinegars, and sauces, and wrap each bottle in a dish towel for extra cushioning against breakage.
Toss anything expired or nearly empty rather than hauling it across town. Pack heavier cans at the bottom and lighter boxes of goods on top so nothing crushes. Knowing how to pack kitchen items for moving means treating your pantry as carefully as your dishes, because a leaking oil bottle can ruin a whole box of food in transit.
Step 8 – Label and Load Boxes Strategically
Labeling is where future-you gets rewarded. Write the contents and the room on at least two sides of every box, and mark fragile boxes boldly so they get gentle handling.
Note which boxes you’ll need first, like your coffee maker, a few plates, and basic utensils. Tag these “open first” so day one in your new home isn’t a frantic treasure hunt.
When loading the truck, place heavy cookware boxes on the bottom and stack lighter, fragile ones on top. Keep fragile items away from anything that might shift and crush them. Wedge boxes snugly so they can’t slide during the drive. Smart loading is the final piece of breakage prevention, and it makes unloading at the other end smooth and stress-free.
Critical Mistakes When Packing Kitchen Items for Moving
The most common mistake is overloading boxes until they’re too heavy to lift safely. A box crammed with pots and canned goods can blow out its bottom or hurt your back. Stick to small boxes for heavy items and keep each one to a weight you can carry comfortably.
Another frequent error is skimping on cushioning. People rush and stack plates flat with nothing between them, then wonder why half arrive cracked. Wrap fragile items individually, pack plates on edge, and fill every gap with paper or towels so nothing shifts in transit.
Forgetting to label boxes causes serious headaches later. An unmarked sea of brown boxes turns unpacking into a guessing game, and fragile items get tossed around because no one knew what was inside. Mark contents and “fragile” warnings clearly on multiple sides.
Many movers also handle knives carelessly, leaving them loose where they slice cardboard or cut careless hands. Always wrap and secure sharp tools.
Finally, packing leaky liquids without sealing them ruins entire boxes. Tape every lid and bag bottles separately. These small habits prevent the biggest moving-day disasters.
Expert Tips
Pack a clearly marked “first night” box with the essentials you’ll want immediately, like a kettle, two mugs, a knife, a cutting board, and a few plates. You’ll skip the chaos of digging through a dozen boxes after a long moving day.
Use what you already own as packing material. Dish towels, oven mitts, and even clean socks make great cushioning for fragile items, and they save you money on bubble wrap.
Take a quick photo of how your appliances are assembled before you take them apart. Reassembly becomes effortless when you have a reference.
Finally, color-code your boxes by room with colored tape or markers. A quick glance tells you and your helpers exactly where each box belongs, which speeds up unloading dramatically.
Frequently Asked Questions
How Far in Advance Should I Start Packing My Kitchen?
Start about two weeks before your move for the average kitchen. Begin with items you rarely use, like holiday dishes, specialty gadgets, and backstock pantry goods. Save daily essentials for the final day or two. This staggered approach keeps your kitchen functional while you pack, prevents last-minute panic, and gives you time to wrap fragile items carefully instead of rushing and risking breakage.
What’s the Best Way to Pack Dishes Without Breakage?
Wrap each dish in packing paper, then pack plates standing on their edges rather than stacked flat. This vertical position resists pressure far better. Other tips:
- Use a sturdy dish pack box with thick walls
- Add a layer of crumpled paper at the bottom for cushioning
- Fill all gaps so nothing shifts
- Bundle bowls and plates in small groups, never one giant stack
Do I Really Need Special Moving Boxes?
You don’t always, but they help a lot. Dish pack boxes have reinforced walls built for fragile items, and uniform moving boxes stack neatly and safely in a truck. Free grocery boxes can work for lightweight goods, but check them for strength and avoid any that are damp or flimsy. For heavy cookware and breakables, investing in a few proper boxes is well worth the breakage prevention.
How Do I Pack Knives So Nobody Gets Hurt?
Wrap each blade in a folded dish towel or thick packing paper, then secure it with tape or a rubber band. For a full set, leave the knives in their block and wrap the entire block in stretch wrap. Always label the bundle clearly and place it near the top of the box. Never drop loose knives into a box where they can cut through cardboard or surprise you during unpacking.
Should I Empty Small Appliances Before Packing Them?
Yes, always empty and dry them first. Leftover water in a kettle or coffee maker can leak and damage other items or grow mold. Remove loose parts like carafes, blades, and filters, then wrap them separately. Coil and secure the cords, wrap the appliance in bubble wrap, and cushion it well inside the box. A clean, dry, well-padded appliance arrives ready to use.
Conclusion
Packing your kitchen well comes down to planning and patience. Start by decluttering, so you only pack what you truly want in your new home. Gather sturdy supplies, build your boxes properly, and wrap fragile dishes and glassware with care. Keep cookware boxes light, handle knives safely, and cushion small appliances snugly. Seal your pantry liquids, then label and load every box strategically so unpacking feels easy instead of overwhelming.
Take it one cabinet at a time, and the whole job becomes far less daunting than it first looks. With these methods, your dishes, gadgets, and gear arrive safe, organized, and ready to use. Better still, these same packing tricks protect your kitchen anywhere, from a cross-town move to a weekend in the camper.
So grab your boxes and tape, and tackle one shelf at a time. Now that you know how to pack kitchen items for moving with confidence, you can protect everything you love and settle into your new kitchen without a single cracked plate. You’ve got this.

About
Nick Hall has spent the last seven years working at the intersection of kitchen design and home repair — first as a design assistant at a residential renovation studio, then as a freelance writer covering everything from cabinet layouts to leaky faucet fixes.
Her approach is simple: kitchens should look good and function well. That means she’s just as comfortable talking about color palettes and counter materials as she is walking readers through how to fix a wobbly cabinet hinge or troubleshoot a garbage disposal.
Nick has worked directly with homeowners on small-space kitchen makeovers, budget-conscious renovations, and the kind of everyday repairs that don’t need a contractor — just the right instructions. She writes from experience, not theory, and tests most of the fixes and tips she shares before publishing them.
When she’s not writing, Nick is usually hunting for mid-century kitchen finds at estate sales or helping friends plan their own renovations. She lives in Columbus, Ohio.