
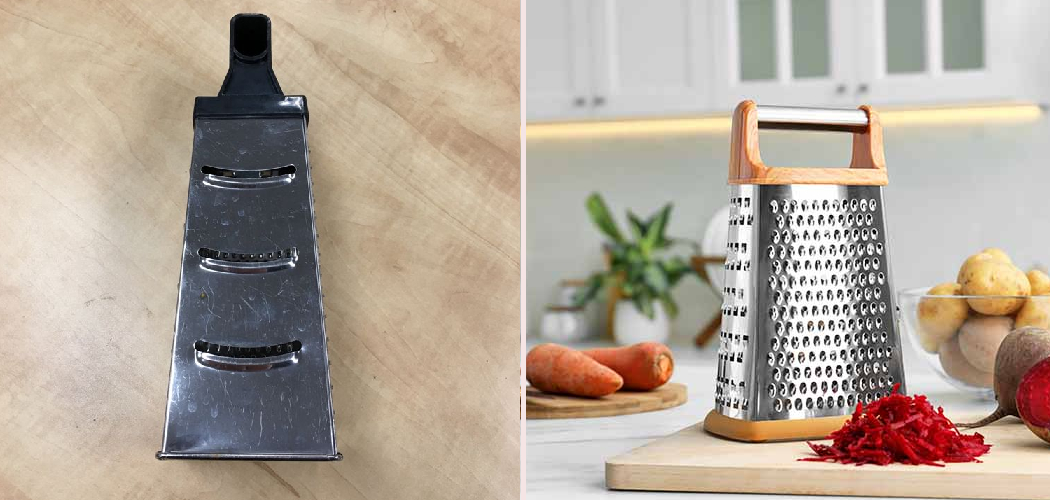
A grater looks harmless. A box. Some holes. A few sharp edges. Yet most people fight it instead of working with it.
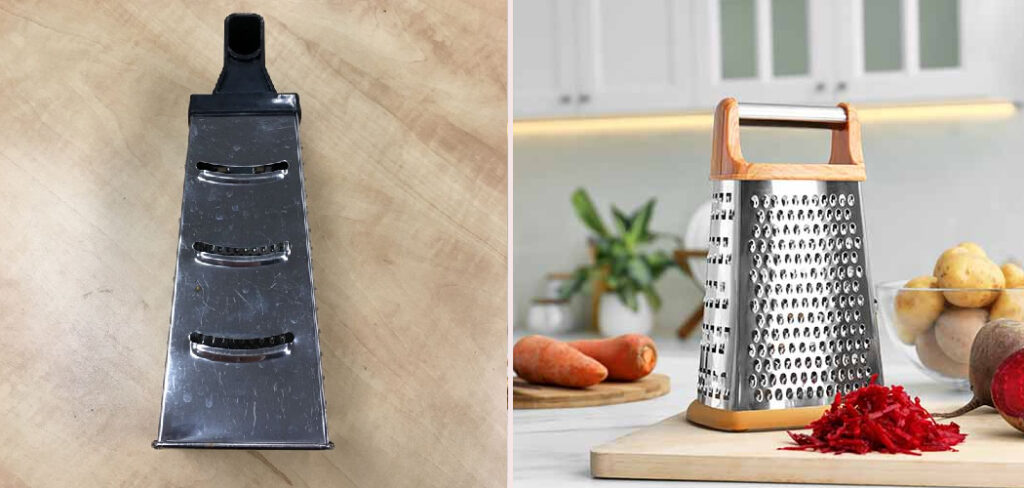
They push too hard. They scrape their knuckles. They end up with uneven shreds and a sore hand.
It doesn’t have to go that way.
A grater works best when you let it do the cutting. You guide. It shreds. Cheese, carrots, ginger, chocolate — all of it turns soft and even in seconds.
Learning how to use grater the right way changes your whole prep routine. Less mess. Less waste. No scraped fingers.
This guide walks you through each step, so you grate with confidence, speed, and clean results every single time.
Why Using a Grater Matters
You already own knives. So why bother with this tool?
Because a grater does what a knife can’t. A knife slices. A grater shreds. It breaks food into fine, even pieces in one quick motion.
It saves time. One steady stroke fills your bowl faster than careful chopping ever could.
It saves effort. Soft cheese, hard ginger, firm carrots — they all surrender to those little blades.
And it builds confidence. Once your hand learns the rhythm, no ingredient slows you down.
That control matters. Especially when dinner is waiting and your hands are full.
A knife gives you slices. A grater gives you texture. And texture is what makes a dish feel finished.
Tools and Materials You’ll Need
Set up before you start. A little prep makes the whole job smooth.
- A grater – box, flat, or rotary, sharp and clean
- The food you want to grate – cheese, carrots, ginger, chocolate, and more
- A cutting board or large plate – to catch the shreds as they fall
- A clean bowl – to collect what you grate
- A damp cloth – placed under the grater to stop it sliding
- A clean towel – to dry slippery food before you start
Optional but helpful: a cut-resistant glove. It costs little and protects your hand while you learn the motion. Worth it for beginners who want to grate without fear.
Step-by-Step Guide on How to Use Grater
Step 1 – Choose the Right Grater Side
Start with the right side. Not every surface suits every food.
A box grater gives you choices. The large holes shred cheese and carrots into thick strips. The medium holes handle softer cheese and vegetables. The fine holes turn ginger, garlic, and hard cheese into a soft pile.
Pick the side that fits your dish. Hold the grater. Feel its weight settle in your hand.
Run a finger lightly near the edge — not across it. Sharp blades catch food fast. Dull ones drag and slip.
Knowing how to use grater well starts with matching the surface to the food in front of you. Choose first. Grate second.
Step 2 – Prepare and Dry Your Food
Get your food ready before you touch the grater. A little prep saves you trouble.
Rinse fresh produce under cool water. Rub off any grit with your fingers. Carrots and ginger hide dirt in their grooves, so give them a good scrub.
Now dry everything. This step matters more than people think. A wet carrot turns slippery, and a slippery piece twists in your grip.
Pat each piece with a clean towel until it feels dry and steady.
For cheese, chill it first. Cold cheese stays firm and shreds clean, while warm cheese smears and clogs the holes.
Dry food. Cold cheese. Steady grip. That’s your foundation.
Step 3 – Set Up a Stable Base
Your base decides everything. Get it steady and the rest feels easy.
Place the grater on a cutting board or a large plate. Lay a damp cloth underneath to stop it sliding around.
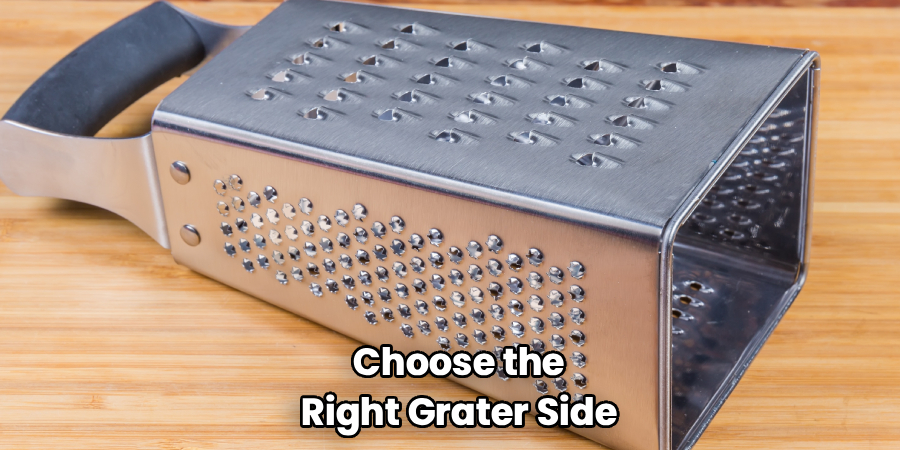
For a box grater, hold the top handle firmly with your weaker hand. Press it down so it stays planted.
For a flat grater, rest one end on the board and tilt the other up toward you at a slight angle.
A grater that wobbles is a grater that slips. And a slip is how knuckles get caught.
So lock it down before you start. Test it with a small push. Does it hold? Good. Now you’re ready.
Step 4 – Hold the Food Correctly
Your grip on the food matters as much as your grip on the grater.
Hold the piece in your stronger hand. Press it flat against the grating surface, near the top.
Keep your fingers spread back, away from the blades. Curl your fingertips up and back as the food gets smaller.
For cheese, hold the block at one end and leave room to work.
For ginger or a carrot, grip it firmly so it doesn’t twist.
Keep a firm but relaxed hold. Squeeze too hard and your hand tires. Hold too loose and the food slides.
Find that middle ground where the piece stays put without strain. That’s the sweet spot.
Step 5 – Push Down in Steady Strokes
Here comes the main move. Smooth and steady wins.
Press the food against the top of the grater. Push it down and across the blades in one firm stroke. Let the blades do the cutting while you simply guide the food.
You’ll hear a soft rasp and feel a gentle drag as the shreds fall away. That sound means you’ve found the right pressure.
Don’t saw back and forth in tiny jerks. One long, confident stroke shreds better than ten nervous scrapes.
Lift the food at the end of each stroke. Bring it back to the top. Push down again.
Keep the rhythm even. Down, lift, down, lift. Your hand settles into it fast.
Step 6 – Watch Your Hand as the Food Shrinks
The first half is easy. The last bit needs care.
As the food gets smaller, your fingers move closer to the blades. This is where most cuts happen.
Slow down here. Curl your fingertips inward so the flat of your knuckles faces the surface, not the tips.
Keep your eyes on your hand, not the bowl. The shreds will fall where they fall.
When the piece gets too small to hold safely, stop. A small nub of cheese isn’t worth a cut.
Set those last bits aside for melting or snacking. Knowing how to use grater safely means knowing when to put it down.
Your fingers will thank you.
Step 7 – Clear the Blades as You Go
Clogged holes slow you down. Clear them often.
Soft cheese and ginger love to wedge into the blades. When the grater starts to drag, pause and clean it.
Tap the grater gently against the board to knock loose shreds free. Or push a clean fingertip — from the smooth side, never the sharp side — to clear a stubborn hole.
For a box grater, work from the inside where the blades are flat and safe to touch.
A clear grater glides. A clogged one fights you and forces you to press harder.
Pause. Clear. Continue. That small habit keeps every stroke smooth and your shreds light and even.
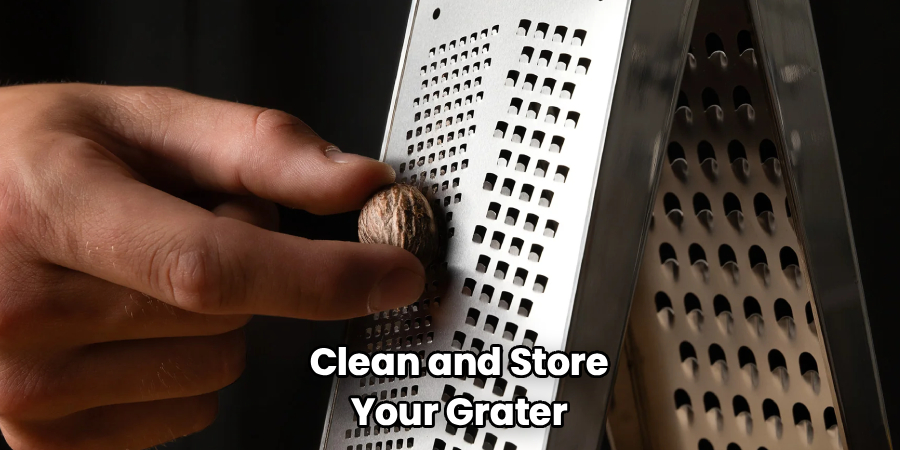
Step 8 – Clean and Store Your Grater
A clean grater lasts for years. A neglected one rusts and dulls.
Rinse it right after use, before bits dry onto the blades. Run warm water through both sides and scrub with a brush, keeping your fingers away from the sharp edges.
A small brush clears food trapped behind the blades far better than a sponge, which can snag and tear.
Dry it fully before you put it away. A wet grater spots and dulls over time.
Store it in a drawer with the blades guarded, or hang it by the handle. Loose graters in a crowded drawer chip and catch on other tools.
A clean, dry, sharp grater is ready the moment you need it.
Critical Mistakes When Using a Grater
The biggest mistake is gripping food too close to the blades. People hold on until the very last bit, then the knuckle catches an edge. One slip, and you’re reaching for a bandage. Stop while the piece is still big enough to hold safely. A small nub of cheese is never worth a cut. Curl your fingertips back and watch your hand as the food shrinks.
Another common error is pressing too hard. Beginners think force makes the job faster, but heavy pressure crushes soft cheese and clogs the holes. A sharp blade barely needs pressure. Let it glide. Light hands give you cleaner, fluffier shreds.
Many people also fight a wet or warm ingredient. Wet produce twists mid-stroke and throws off your aim. Warm cheese smears into a paste. Dry your produce. Chill your cheese. Both small steps save you frustration.
Then there’s the unstable grater. A wobbling base slides across the counter and pulls your hand toward the blades. Set a damp cloth underneath and hold it firm.
Finally, don’t skip the cleanup. Dried food behind the blades dulls the edge and breeds grime. Rinse right away, every time.
Expert Tips
A few small habits turn an everyday tool into a kitchen workhorse.
Grate over a sheet of parchment or a wide plate. Cleanup takes seconds, and your counter stays clear.
Chill soft cheese in the freezer for ten minutes before you start. Firm cheese shreds clean and never smears.
Rub a little oil on the blades before grating sticky foods like ginger or citrus zest. The shreds slide off instead of clinging.
For chocolate, keep your hands cool and work fast. Warm fingers melt the edges and turn fine shreds into a mess.
And always grate hard cheese fresh. The pre-shredded bags can’t match the flavor or the melt.
Small moves. Big difference in your daily prep.
Frequently Asked Questions
Why Does My Grater Keep Slipping?
Usually it’s one of two things: an unstable base or wet food. A grater with nothing under it slides across the counter, and slippery food twists mid-stroke. Try these quick fixes:
- Place a damp cloth under the grater to hold it steady
- Dry your produce fully before you start
- Hold the top handle firmly with your free hand
- Press the food flat for a steadier grip
Steady base, dry food, firm hold — slipping stops fast.
How Do I Grate Soft Cheese Without It Clogging?
Soft cheese clogs because it’s warm and sticky. The fix is simple: chill it first. Pop the block in the freezer for ten to fifteen minutes until firm but not frozen solid. Cold cheese holds its shape against the blades and falls away in clean shreds. Use the large holes, keep your strokes light, and tap the grater now and then to clear any buildup.
Which Side of a Box Grater Should I Use?
Each side does a different job. Match the holes to your food:
- Large holes – cheese, carrots, potatoes, cabbage
- Medium holes – softer cheese, zucchini, firm vegetables
- Fine holes – ginger, garlic, hard cheese, nutmeg
- Slicing side – thin, even slices of cucumber or onion
When unsure, start with the large holes and adjust from there.
How Do I Protect My Fingers While Grating?
Fingers get caught when the food gets too small. The safest move is to stop while the piece is still big enough to hold comfortably. Curl your fingertips back so your knuckles face the blades, not your nails. A cut-resistant glove adds extra protection while you learn. And always watch your hand, not the bowl, especially during those final strokes.
Can I Put My Grater in the Dishwasher?
Most metal graters are dishwasher safe, but hand washing keeps them sharper for longer. The dishwasher’s heat and harsh detergent can dull the blades over time. If you do wash by hand, use a small brush to clear the holes and dry it fully before storing. Check the manufacturer’s note if your grater has a wooden handle or non-stick coating.
Conclusion
A grater rewards a steady base and a light touch. Set it firm. Dry your food. Chill your cheese. Press down in long, even strokes and let the blades do the work.
That’s the whole rhythm. Stable base. Steady stroke. Light pressure.
Your first carrot might feel slow. That’s fine. By your third, your hand moves on its own. By your fifth, you won’t even think about it.
You now know how to use grater like someone who’s done it for years. No clogs. No slips. No scraped knuckles.
So grab a grater this week. Pick a block of cheese or a fresh carrot. Push one clean stroke and feel how little effort it really takes.
The tool does the work. You just guide it. And every meal that starts with fresh, hand-grated ingredients tastes a little better from here.
Will you give it a try tonight?
