
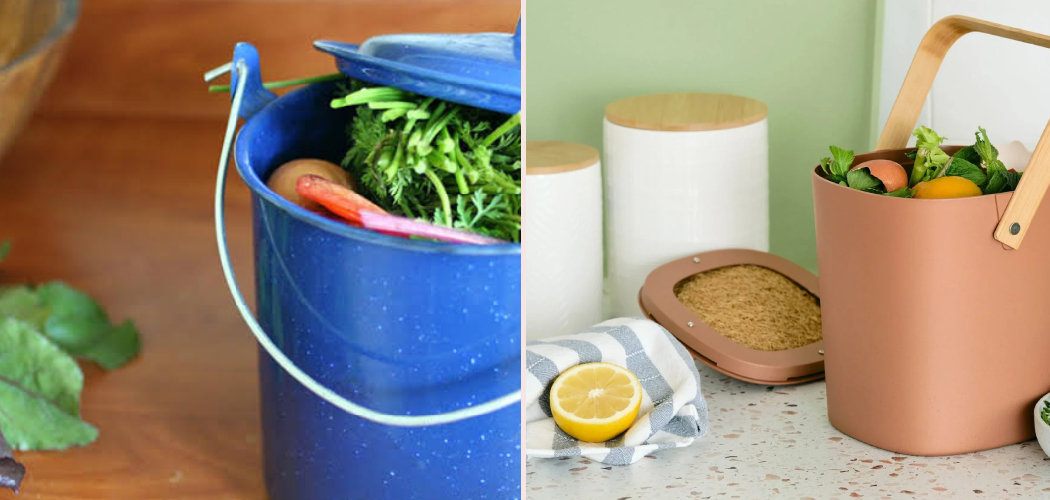
Tossing vegetable peels, coffee grounds, and eggshells into the trash feels normal until you realize how much good stuff you’re throwing away. A kitchen compost bin lets you turn those daily food scraps into something useful instead of sending them to a landfill. The best news? It’s simple, tidy, and beginner-friendly, even if you’ve never composted a thing in your life.
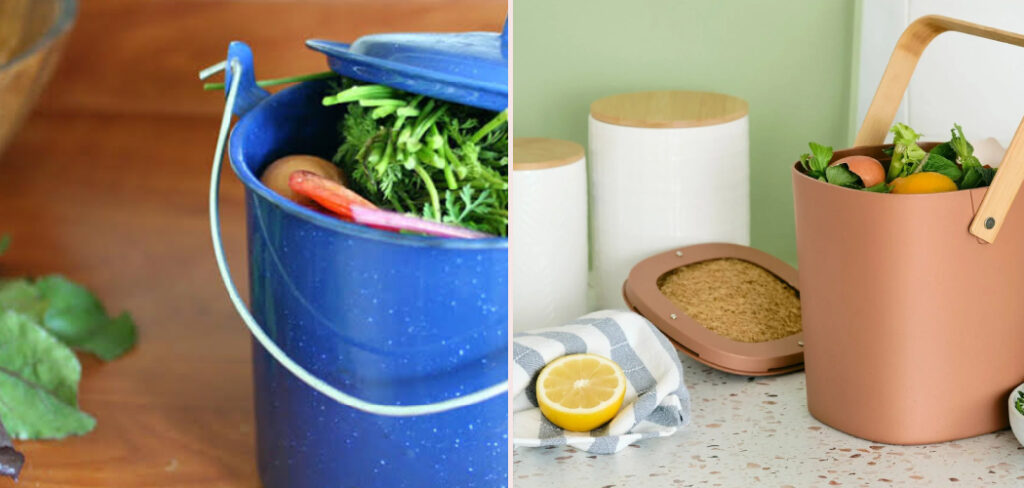
You don’t need a big yard, fancy gear, or any special skills. A small countertop compost bin and a few basic habits do the trick. With a little practice, scraps become rich material for your garden or community compost program.
In this guide, you’ll learn how to use a kitchen compost bin from setup to cleanup, with clear steps that fit easily into your everyday cooking routine.
Why Learning To Use A Kitchen Compost Bin Helps
Composting at home does more than shrink your trash bag. It cuts down on smelly garbage, keeps your prep area cleaner, and gives you nutrient-rich material for plants. Once you build the habit, dealing with food scraps feels second nature.
This skill travels surprisingly well, too. Campers and outdoor beginners living in RVs, cabins, or working with small outdoor cooking setups face the same challenge: where do all those scraps go? A compact bin helps you manage compostable waste at a campsite, reduce odors that attract bugs and critters, and keep tight cooking spaces tidy.
Whether you’re at your kitchen counter or grilling beside a tent, knowing how to handle scraps responsibly makes life easier. You waste less, smell less, and clean less. That’s a win for both your home and the great outdoors.
Tools and Materials You’ll Need
Gathering your supplies first makes the whole process smoother. Start with a sturdy kitchen compost bin with a tight-fitting lid. A countertop compost bin around one gallon works well for most homes, since it holds a few days of scraps without taking over your counter.
You’ll also want compostable liners or a bin liner if you prefer easy cleanup, though they’re optional. Keep some carbon-rich brown material nearby, like shredded paper or dry leaves, to balance out wet scraps. A separate food scrap container or caddy helps if you cook in batches.
For maintenance, grab a pair of gloves, a washable cloth, and mild soap for your cleaning routine. As one optional convenience item, a charcoal filter or odor-absorbing pod keeps your bin smelling fresh between empties.
Step-by-Step Guide on How To Use A Kitchen Compost Bin
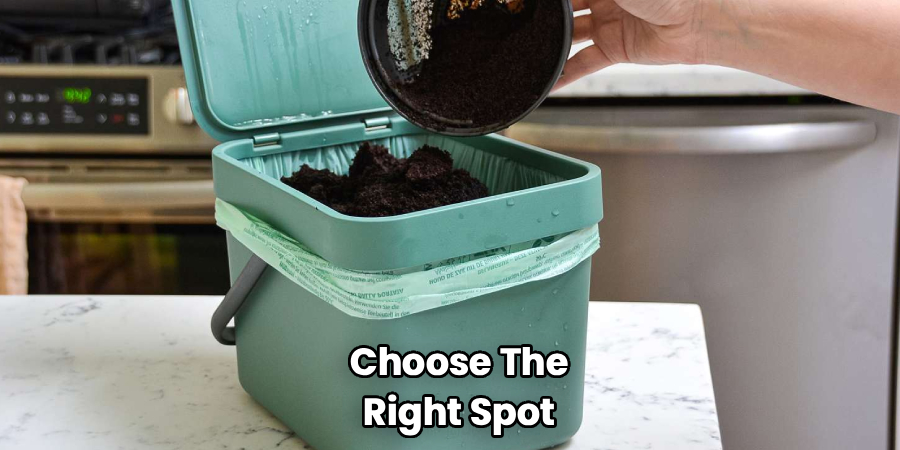
Step 1 – Choose The Right Spot
Pick a convenient location before anything else. Set your bin somewhere you naturally chop, peel, and prep, like beside the sink or next to your cutting board. If scraps have to travel across the room, you’ll skip composting on busy days.
Keep it away from direct heat, since warmth speeds up odors and breaks scraps down faster than you want indoors. A shaded corner of the counter is ideal.
Make sure the lid opens easily with one hand, because you’ll often have messy fingers. Listen for that reassuring click as it shuts, sealing smells inside.
A well-placed bin becomes part of your flow. When it’s right there, dropping in fruit peels and coffee grounds feels effortless rather than like an extra chore.
Step 2 – Add A Liner Or Base Layer
Before you toss in a single scrap, prepare the bottom of the bin. If you’re using compostable liners, fit one snugly inside so it hugs the walls without bunching. This makes emptying quick and keeps the bin walls cleaner.
Prefer to go liner-free? Lay down a handful of brown material instead, such as shredded paper or dry leaves. This base soaks up moisture and stops wet scraps from sticking to the bottom.
Run your fingers across the dry paper, then imagine the damp coffee grounds landing on top. That balance of dry and wet is exactly what you’re aiming for from the very start.
A good base layer sets the tone for an odor-free, easy-to-clean bin throughout the week.
Step 3 – Know What You Can Compost
Learning what goes in matters most when figuring out how to use a kitchen compost bin well. Stick to plant-based food scraps like fruit peels, vegetable trimmings, coffee grounds, tea leaves, and crushed eggshells.
Smell the difference as you go. Fresh vegetable peels have a clean, earthy scent, while sour, slimy scraps signal something that’s been sitting too long. Add scraps while they’re fresh for the best results.
Avoid meat, dairy, oily foods, and anything greasy. These create strong odors indoors and attract pests, which defeats the purpose of a tidy bin.
When in doubt, keep it simple with green material like produce scraps. Once you recognize the right items at a glance, sorting becomes automatic during everyday cooking.
Step 4 – Balance Green And Brown Material
Great compost comes down to balance. Your wet, fresh scraps count as green material, while dry items like shredded paper, cardboard, or dry leaves are brown material. You need both.
After adding a layer of fruit peels or coffee grounds, sprinkle a little brown material on top. This soaks up extra moisture and keeps things from turning into a soggy, smelly mess.
Look for a mix that appears damp but not wet, like a wrung-out sponge. If it looks soupy, add more brown. If it looks dry and dusty, you’ve added too much.
This simple habit transforms your bin. Balanced layers control odors naturally, improve airflow, and make the whole composting process far more pleasant indoors.
Step 5 – Manage Moisture And Airflow
Moisture control keeps your bin fresh. Too much wetness invites bad smells and slimy buildup, while too little slows everything down. Aim for that damp-sponge feel every time you add scraps.
Give the contents a gentle stir or shake every couple of days. This lets air move through the material, which keeps things breaking down evenly and cuts down on sour odors.
If your bin has vent holes, make sure they stay clear. Good airflow is your best friend for odor control with indoor composting.
Notice how the smell shifts when you stir. A balanced bin gives off a mild, earthy scent, while a neglected one turns sharp and unpleasant. That smell is your easy daily checkup.
Step 6 – Empty The Bin Regularly
Don’t wait until your bin overflows. Empty it every three to five days, depending on how much you cook and how full it gets. Frequent emptying prevents odors and keeps fruit flies away.
Transfer the compostable waste to your outdoor pile, garden bed, community compost drop-off, or curbside collection. Slip on your gloves first, since wet scraps can be messy and a little slippery.
Pull out the liner if you used one, or tip the loose contents straight into your larger system. Give the bin a quick shake to release any stuck bits.
Building this into your routine makes a huge difference. A regularly emptied bin stays light, fresh, and ready for the next round of scraps.
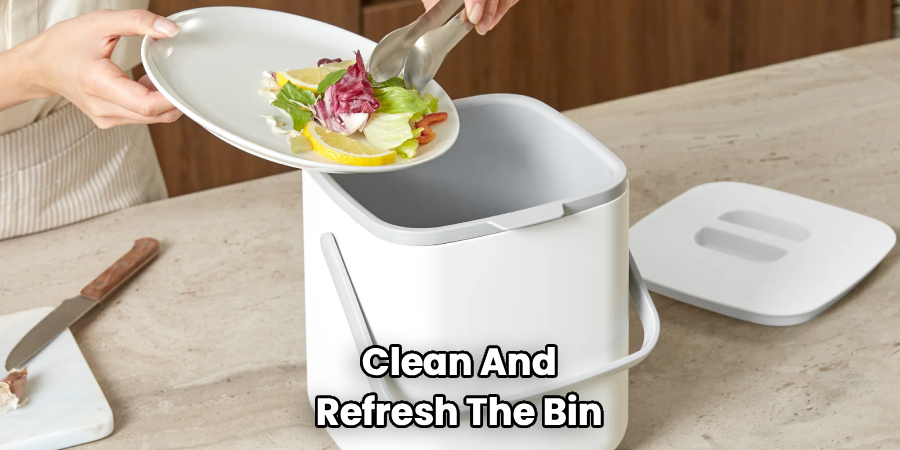
Step 7 – Clean And Refresh The Bin
A quick rinse after emptying keeps your bin in great shape. Take it to the sink, add a squirt of mild soap, and scrub the inside with a washable cloth. Pay attention to corners where residue hides.
Rinse thoroughly, then let the bin air-dry fully before adding a new liner or base layer. A dry bin resists mold and slows odor buildup.
Wipe down the lid and any vent holes too, since scraps love to splatter there. If your bin uses a charcoal filter or odor-absorbing pod, check whether it needs replacing.
This little cleaning routine takes just a few minutes. Run your hand along the fresh, clean walls, and you’ll feel ready to start the cycle again with confidence.
Step 8 – Build A Daily Composting Habit
The final step is making composting stick. Keep your bin visible and within arm’s reach so dropping in scraps feels automatic during meal prep. The easier it is, the more you’ll do it.
Tie it to tasks you already do. Peeling carrots? Straight into the bin. Finishing your morning coffee? Add the grounds right then.
Within a week or two, you’ll stop thinking about it altogether. The lid clicks shut dozens of times a day without a second thought.
That’s the real secret to success. Composting works best as a quiet background habit, not a big project. Once it blends into your daily cooking routine, your countertop compost bin practically runs itself.
Critical Mistakes to Avoid When Using A Kitchen Compost Bin
The biggest mistake beginners make is adding the wrong materials. Meat, dairy, and oily leftovers seem harmless, but they create powerful odors and draw pests almost immediately. Stick to plant-based scraps like fruit peels, vegetable trimmings, coffee grounds, and eggshells, and your bin stays fresh and manageable indoors.
Another common slip-up is ignoring the green and brown balance. When you pile in nothing but wet scraps, the bin turns into a soggy, smelly soup fast. Always tuck a little brown material, such as shredded paper or dry leaves, on top of fresh additions to soak up moisture and improve airflow.
Letting the bin sit too long causes trouble, too. Forgotten scraps go sour, attract fruit flies, and make emptying an unpleasant chore. Set a regular schedule and empty it every few days, even if it isn’t full.
Many people also skip cleaning. Residue clings to the walls and breeds bacteria, leaving lingering smells no filter can mask. A quick wash after each empty solves it.
Finally, don’t bury your bin in a far corner. An inconvenient spot guarantees you’ll forget it. Keep it close, and composting becomes effortless.
Expert Tips
After years in the kitchen, I’ve learned that small tricks make composting genuinely enjoyable. First, freeze your scraps if you can’t empty the bin often. Tossing fruit peels and vegetable trimmings into a freezer container completely stops odors and buys you extra time.
Keep a stash of brown material right beside the bin. When it’s within reach, you’ll actually remember to add it, and that single habit prevents most smell problems.
Crush your eggshells before adding them. They break down faster and won’t leave sharp bits behind when you empty.
Line the bottom with a paper towel or napkin for easy cleanup, even without full liners. And if odors still creep in, a charcoal filter or a sprinkle of baking soda works wonders for odor control between cleanings.
Frequently Asked Questions
How Often Should I Empty My Kitchen Compost Bin?
Empty your bin every three to five days for the best results. The exact timing depends on how much you cook and the weather, since warmth speeds up breakdown and odors. If you notice fruit flies or sour smells, empty it sooner. Frequent emptying keeps the bin light, fresh, and pleasant, and it prevents that unpleasant buildup that makes composting feel like a chore.
What Can’t I Put In A Compost Bin?
Keep these items out of your bin to avoid odors and pests:
- Meat, fish, and bones
- Dairy products like cheese and milk
- Oily or greasy foods
- Cooked leftovers with sauces or fats
- Pet waste
Stick to plant-based scraps such as fruit peels, vegetable trimmings, coffee grounds, tea leaves, and crushed eggshells. These break down cleanly and keep your indoor composting setup fresh and easy to manage.
How Do I Stop My Compost Bin From Smelling?
Odor control comes down to balance and airflow. Add a layer of brown material, like shredded paper, on top of wet scraps to soak up moisture. Stir the contents every couple of days so air moves through, and empty the bin regularly. A charcoal filter or a pinch of baking soda also helps. Keeping the lid sealed between additions traps smells inside until you’re ready.
Do I Need Compostable Liners?
Liners are optional but handy. They make emptying quick and keep your bin walls cleaner, which shortens your cleaning routine. If you skip them, simply lay down brown material like dry leaves or shredded paper as a base layer instead. This absorbs moisture and prevents scraps from sticking. Both methods work well, so choose whatever fits your budget and habits best.
Can I Compost If I Live In An Apartment?
Absolutely. A countertop compost bin is perfect for small spaces and indoor composting. Collect your food scraps, then drop them at a community composting site, a curbside collection program, or a friend’s garden. Some apartment dwellers use worm bins or electric composters too. You don’t need a yard to compost, just a tidy bin and a plan for where your scraps go.
Conclusion
Composting at home is one of those simple habits that pays you back every single day. You shrink your trash, cut down on smells, keep your prep area tidy, and turn everyday food scraps into something genuinely useful for the earth.
Keep the essentials in mind. Place your bin somewhere convenient, add a good base layer, and balance green material with brown material to control moisture and odors. Stir for airflow, empty every few days, and give the bin a quick clean each time. Most importantly, build it into your cooking routine so it feels automatic rather than like extra work.
Don’t stress about getting everything perfect at first. Composting is forgiving, and you’ll find your rhythm within a week or two. Each small choice adds up to a cleaner kitchen and a lighter footprint.
Now that you know how to use a kitchen compost bin, you’ve got everything you need to start today. Grab your scraps, set up your bin, and enjoy the satisfying feeling of wasting less with every meal you make.
