
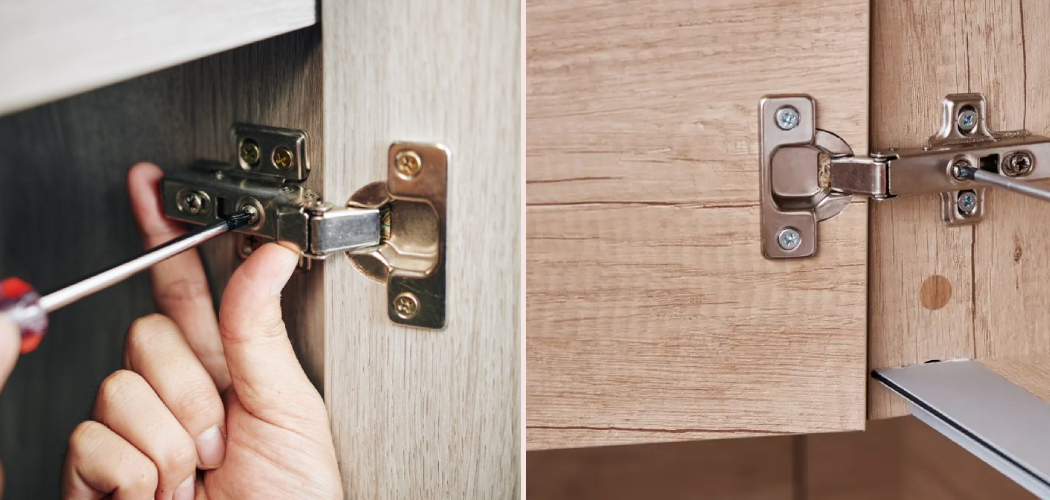
A cupboard door that hangs crooked, rubs its neighbor, or refuses to sit flush can drive you a little crazy every time you walk past it. The good news? You don’t need a handyman or a single power tool to set it right.
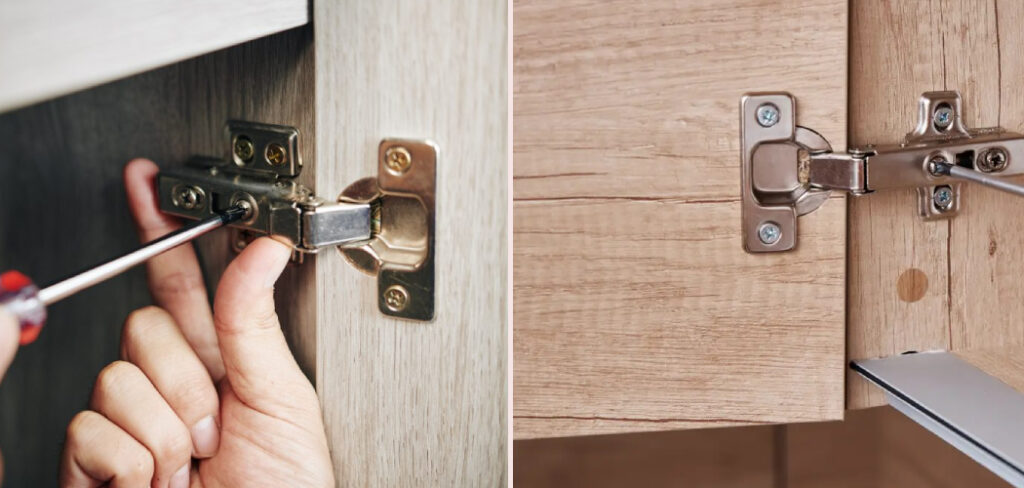
Most kitchen cabinet doors ride on small, clever hinges that you can tweak in minutes with nothing more than a screwdriver and a steady hand. Once you understand how those hinges move, fixing a sagging door or an uneven gap feels almost satisfying.
Learning how to adjust a kitchen cupboard door saves you money, restores that clean, lined-up look, and gives you a quick win you’ll be proud of. This guide walks you through every step, from spotting the problem to fine-tuning the final reveal, so you can fix it yourself with confidence.
Why Learning To Adjust A Kitchen Cupboard Door Matters
This skill follows you far beyond the family kitchen. If you own an RV, live in a tiny home, or travel the van-life route, cabinet alignment matters even more, since constant motion loosens screws and knocks doors out of true over rough roads.
For campers and outdoor beginners, a door that won’t latch can swing open and spill your gear mid-trip. Knowing how to nudge a hinge back into place means your compact storage stays secure wherever you park.
In small or mobile living spaces, every inch counts. A door that rubs or sags wastes room and wears down faster. Mastering a quick screw adjustment keeps your setup tidy, functional, and quiet. You skip costly callouts, handle repairs on the road, and keep your living space working hard in the smallest of footprints.
Tools and Materials You’ll Need
You won’t need much, which is part of the fun. Start with a Phillips screwdriver, since most cabinet hinge screws use that crosshead shape, and keep a flathead screwdriver handy too for any slotted screws or for gently prying a hinge cap loose.
Good light makes a real difference, so grab a torch or a small work light to see inside the dark cabinet frame. A spirit level helps you check whether the door sits truly plumb and level, and a tape measure lets you compare reveal gaps from top to bottom.
Keep a soft cloth nearby to wipe away grease and fingerprints, plus a pencil to mark hinge positions before you change anything. One optional convenience item worth grabbing is a magnetic parts tray, which stops loose screws from rolling off the counter and vanishing.
Step-by-Step Guide on How To Adjust A Kitchen Cupboard Door
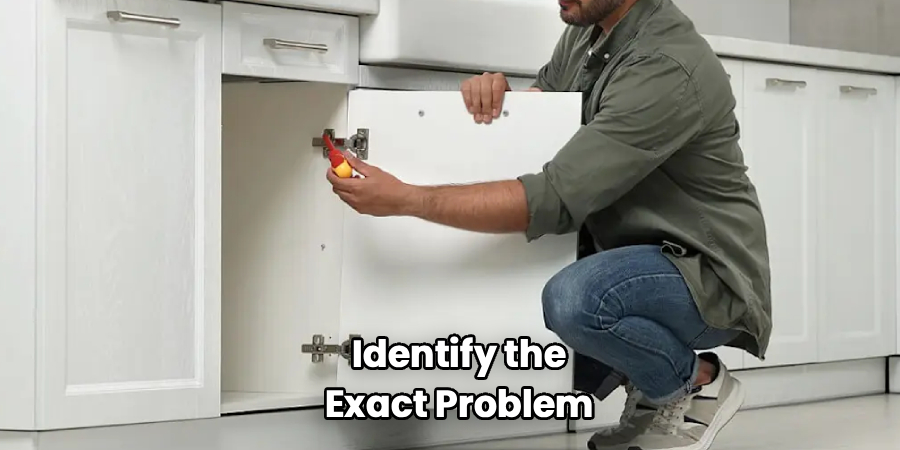
Step 1 – Identify the Exact Problem
Before you touch a screw, stand back and study the door closely. Open and close it a few times and watch how it moves. Does it sag at one corner, rub against the cabinet next to it, or sit proud of the frame?
Look at the reveal gap, that thin line of space around the door. An even gap looks crisp; an uneven one tells you which way the door has drifted.
Run your finger along the edges and listen for any scrape or catch. A faint rubbing sound usually means two doors are touching.
Pinpointing the real issue first saves you from random adjustments. Once you know whether it’s height, depth, or side-to-side, the fix becomes simple and direct.
Step 2 – Check Your Hinge Type
Now open the door fully and peer at the hinges inside. Most modern kitchens use a concealed hinge, that hidden European style with a round hinge cup sunk into the door and a hinge plate screwed to the cabinet frame.
Look closely and you’ll spot two or three adjustment screws on each hinge. One usually controls side-to-side movement, another handles depth, and the mounting screws manage height. Many soft-close models snap shut gently and use the same screw layout.
Knowing how to adjust a kitchen cupboard door starts with reading these hinges correctly. Take a quick photo with your phone so you remember the starting position.
If your hinges look older or simpler, the principle stays the same: small turns, big results.
Step 3 – Tighten Any Loose Screws First
Before fine-tuning anything, deal with the basics. A door that wobbles or droops often just has loose mounting screws where the hinge plate meets the cabinet frame.
Hold the door steady with one hand, then snug up each screw with your Phillips screwdriver. Turn clockwise until firm, but don’t force it, since stripping the screw hole in the wood or particleboard only creates a bigger headache.
If a screw spins freely and won’t bite, the hole has worn loose. Pop a wooden toothpick or matchstick with a dab of glue into the hole, let it set, then drive the screw again for a fresh grip.
You’ll often find this single step fixes a sagging door on its own, no further adjustment needed.
Step 4 – Adjust the Side-to-Side Alignment
With everything tight, look at how the door lines up with its neighbors. If it leans left or right and the reveal gap looks lopsided, the side-adjustment screw is your fix.
This is usually the screw closest to the door, sitting in the center of the hinge arm. Turn it slightly clockwise or counterclockwise and watch the door shift sideways by a hair.
Make small turns, maybe a quarter turn at a time, then close the door and check the gap. Adjust the top and bottom hinges together to keep the door straight.
You’re aiming for a clean, even reveal down both sides. When the lines look parallel and the door no longer kisses its neighbor, you’ve nailed the alignment.
Step 5 – Adjust the Height
If your door sits too high or too low compared to the one beside it, you’ll fix that with the mounting screws on the hinge plate. These hold the plate to the cabinet frame and let the whole door slide up or down.
Loosen both the top and bottom screws just enough to move the door, not so much that it drops free. Hold the door level with one hand, nudge it up or down to match its neighbor, then retighten.
A spirit level laid across the top edge helps you judge when the door sits truly level. Step back and compare the top edges of adjacent doors.
When they form one straight, unbroken line, your height adjustment is spot on.
Step 6 – Adjust the Depth
Sometimes a door sits proud at one edge or sinks too far into the cabinet frame, leaving an uneven overlay. The depth screw fixes how close the door rests against the frame.
You’ll usually find this screw toward the back of the hinge arm, nearest the cabinet. Turning it moves the door in or out, pulling it snug or pushing it forward.
Adjust both hinges evenly so the door sits flat, not tilted. Close it slowly and watch the edge meet the frame. You want it flush, with no corner jutting out and no gap where it should seal.
Small tweaks work best here. A fraction of a turn often makes the difference between a sloppy fit and a crisp, satisfying close.
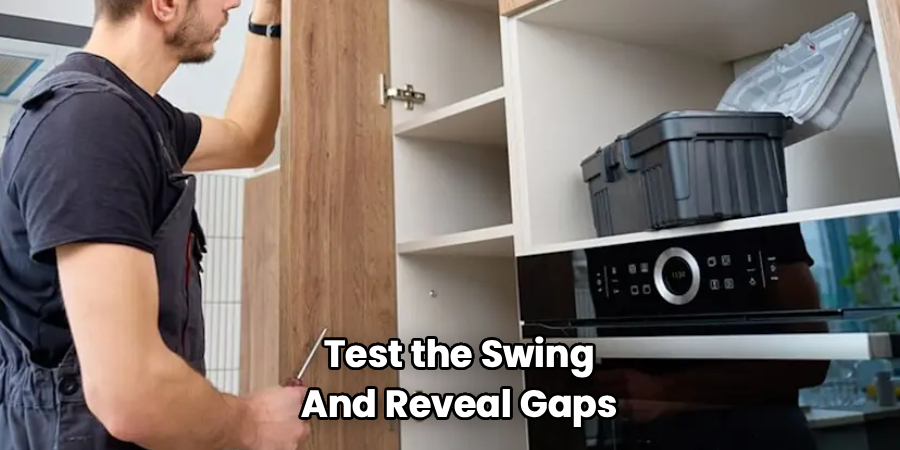
Step 7 – Test the Swing and Reveal Gaps
Time to put your work to the test. Open and close the door several times and feel how it moves. A well-adjusted door swings smoothly, closes without scraping, and settles quietly into place.
Look at the reveal gaps all around. Pull out your tape measure and compare the space at the top, bottom, and sides. They should match closely, giving you that tidy, factory-fresh look.
Listen too. A soft-close door should glide shut with a gentle hush, not a clunk or a bounce. If it still rubs or catches, note exactly where and circle back to the matching screw.
Patience pays off in this step. A minute of testing now means a door that behaves perfectly for years.
Step 8 – Make Final Refinements and Clean Up
Once the door looks and feels right, do a final pass on every screw. Confirm each one is snug, since the act of adjusting can loosen things slightly.
Step back and view the whole run of cabinets together. Your eye will catch any door that still sits a touch off. Make those last tiny tweaks until the lines flow evenly across the kitchen.
Now grab your soft cloth and wipe away fingerprints, grease, and dust from the door and hinges. Clip any hinge caps back into place if you removed them.
Drop your tools into the magnetic tray, count your screws, and you’re done. Stand back and enjoy that clean, aligned look, knowing you fixed it with your own two hands.
Critical Mistakes When Adjusting A Kitchen Cupboard Door
A few common slip-ups can turn a five-minute fix into a frustrating afternoon, so let’s clear them up.
The biggest mistake is over-tightening screws. It feels like firmer is better, but cranking too hard strips the screw hole in soft particleboard, leaving you with a screw that spins uselessly and a door that won’t hold. Snug is enough, so stop the moment you feel resistance.
Another frequent error is turning multiple screws at once. When you adjust height, depth, and side-to-side all together, you lose track of what changed what. Move one screw at a time, test the door, then move to the next. This methodical approach keeps you in control.
Many beginners also skip the simple step of tightening loose mounting screws first. They dive straight into fine adjustments when the door was merely wobbly, wasting effort on a problem that a quick tighten would have solved.
Finally, people often make huge turns and expect perfection. These hinges respond to tiny movements, so a full turn usually overshoots. Work in quarter turns, check often, and you’ll dial in a clean reveal gap without endless back-and-forth.
Expert Tips
Want professional-looking results? Always adjust the door in the direction it needs to move, and make small changes you can easily reverse. If a tweak makes things worse, simply turn the screw back.
Mark the starting position of each hinge with a pencil before you begin. This gives you a reference point and a way home if an adjustment goes sideways.
When two doors meet in the middle, adjust them as a pair so the reveal gap between them stays even. Treating them separately almost always leaves one looking off.
Keep a level handy and trust it over your eyes, since kitchen lighting can fool you. And clean the hinges while you’re in there. A quick wipe removes grease that attracts grime and helps soft-close mechanisms move freely.
Frequently Asked Questions
Why Does My Cabinet Door Keep Sagging?
A sagging door usually means the hinge screws have worked loose or the screw holes have worn out in the cabinet frame. To fix it:
- Tighten the mounting screws on the hinge plate first
- If a screw won’t grip, plug the hole with a glued toothpick and re-drive it
- Use the height adjustment screws to lift the door back into line
Heavier doors sag faster, so check them every few months.
How Do I Fix Two Doors That Rub Together?
When two doors touch in the middle, the side-to-side adjustment screw on each hinge is your answer. Turn the screw on one door to shift it slightly away from its neighbor, then check the gap. Adjust both doors a little rather than moving one a lot. Aim for a small, even reveal gap between them so they close without scraping or catching.
Can I Adjust A Door Without Special Tools?
Yes, and that’s the beauty of it. Most concealed hinges need only a Phillips screwdriver, and sometimes a flathead. A spirit level and tape measure help you check your work, but they’re not strictly required. You won’t need any power tools or specialist kit. A torch to see inside the dark cabinet and a soft cloth for cleanup round out everything most people will ever use.
My Soft-Close Door Slams. What’s Wrong?
A soft-close door that slams usually has a worn or disengaged damper, or the door sits slightly out of alignment. First, check that the hinges are tight and the door closes squarely against the frame. Many soft-close hinges have a small switch or screw to adjust the closing tension. If the mechanism feels dead and won’t dampen at all, the hinge itself may need replacing.
How Often Should I Check My Cabinet Hinges?
For a stationary home kitchen, a quick check twice a year keeps everything aligned and quiet. If you live in an RV, van, or tiny home where motion loosens hardware, inspect them monthly. Watch for these signs that a hinge needs attention:
- A door that sags or sits crooked
- Scraping or rubbing sounds
- An uneven reveal gap
- A latch that no longer holds
Conclusion
Fixing a wonky cabinet door turns out to be one of the most satisfying little jobs in the kitchen, and now you know exactly how to tackle it. With a single screwdriver and a few careful turns, you can banish sagging doors, even out gaps, and silence that annoying rub for good.
Remember the rhythm. Identify the problem first, check your hinge type, then tighten loose screws before fine-tuning. Adjust side-to-side, height, and depth one screw at a time, testing as you go and working in small turns. Finish with a clean wipe and a final check across the whole run of cabinets.
Knowing how to adjust a kitchen cupboard door is a skill that pays off everywhere, whether you’re squaring up the family kitchen, securing storage in a van, or keeping a tiny-home setup neat. You save money, skip the technician, and earn that quiet pride of a job done right.
So grab your screwdriver, find that crooked door, and give it the quick fix it deserves. Which one will you straighten first?
