
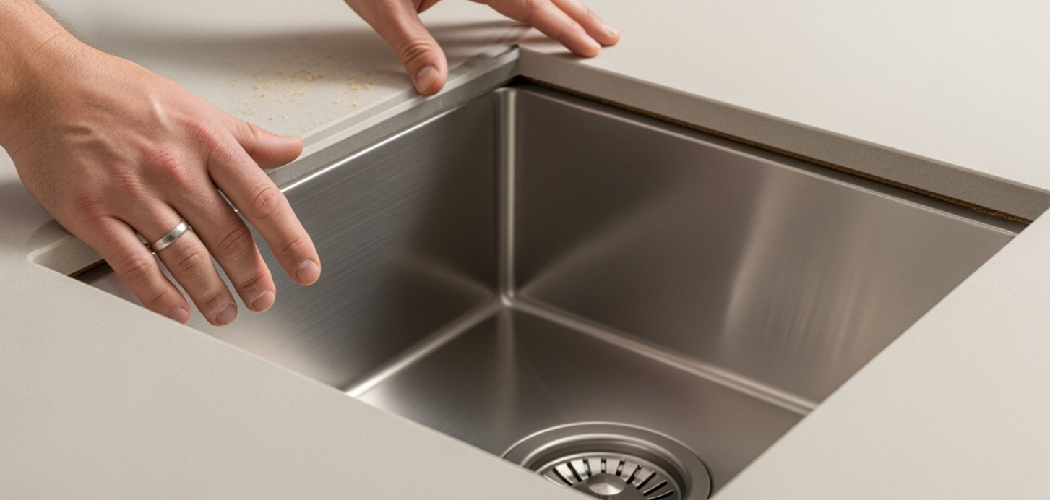
A cracked, moldy, or peeling seal around your sink can let water slip into places it should never go. That can lead to stains, bad smells, swollen countertops, and slow damage inside the cabinet below. The good news is that learning how to caulk kitchen sink is one of the easiest DIY fixes you can tackle in an afternoon.
You do not need advanced skills or a truck full of tools. You need the right caulk, a clean surface, and a steady approach. In this guide, you’ll learn what supplies to gather, how to remove old sealant, how to apply a smooth bead, and how to avoid the mistakes that frustrate most first-time DIYers.
Why Learning to Caulk is Vital
Caulking a kitchen sink does more than make the area look neat. It creates a waterproof seal where the sink meets the countertop, which helps stop leaks before they turn into bigger problems. Even a thin gap can let water drip under the rim day after day.
For a first-time DIYer, this is a smart skill to learn because it saves money and builds confidence. Instead of calling for a simple repair, you can handle it yourself with basic supplies and a little patience. It also helps you protect one of the busiest spots in your home.
If you notice loose sealant, dark mildew spots, or dampness around the sink edge, that is your signal to act. Fixing it early is easier, cleaner, and much cheaper than dealing with water damage later.
Tools and Materials You’ll Need
Before you start, gather everything in one place so you do not have to stop halfway through the job.
- Silicone kitchen and bath caulk labeled waterproof and mold-resistant
- Caulk gun
- Utility knife or caulk removal tool
- Putty knife or plastic scraper
- Paper towels or clean rags
- Rubbing alcohol or mineral spirits for cleanup
- Mild cleaner or dish soap
- Painter’s tape
- Small bucket of warm water
- Disposable gloves
- Vacuum or handheld brush for debris
- Optional: caulk smoothing tool for a cleaner finish
Choose a caulk made for kitchens, not a general-purpose product. A quality silicone sealant stays flexible, resists moisture, and holds up better around constant splashes and temperature changes.
Step-by-Step Guide on How to Caulk Kitchen Sink
Step 1 – Inspect the Sink and Plan the Job
Start by looking closely at the seam where the sink meets the countertop. Check for cracked caulk, black mildew, loose sections, or spots where the seal has pulled away. Run your finger lightly along the edge. If it feels rough, brittle, or hollow in places, it is time to replace it.
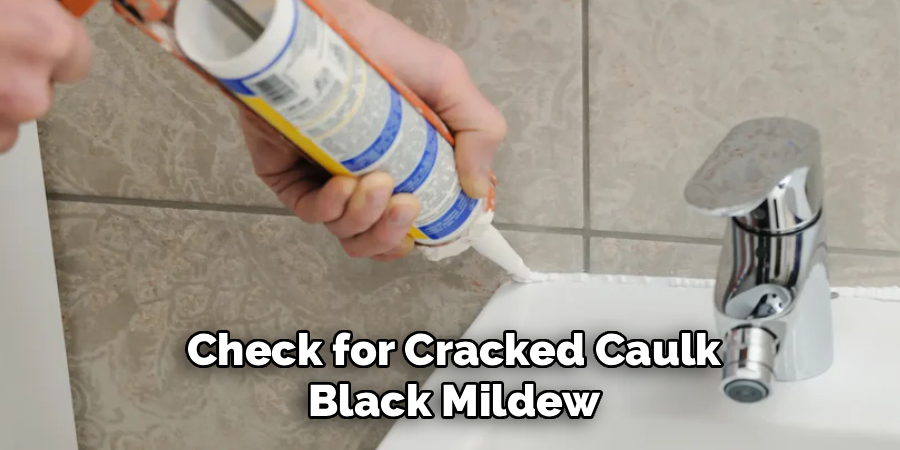
Take a minute to see how wide the gap is and whether the old bead runs all the way around the sink. This helps you estimate how much new caulk you need and where to work carefully. Good lighting matters here. When you can clearly see the joint, you are less likely to miss damaged sections or leave bits of old sealant behind.
If you are preparing to learn how to caulk kitchen sink surfaces the right way, inspection is not wasted time. It sets up every step that follows.
Step 2 – Remove the Old Caulk Completely
Old caulk must come out before new caulk goes in. If you apply fresh sealant over a worn or dirty bead, it will not bond well and the repair may fail fast. Use a utility knife or caulk removal tool to cut along both sides of the old line. Then lift it away in strips.
Work slowly and keep the blade angled away from the countertop and sink finish. You want to slice the caulk, not scratch the surface. Some pieces may peel out easily, while stubborn spots may break into crumbs. That is normal. A plastic scraper helps lift leftovers without digging into laminate, stone, or stainless steel.
Once the large pieces are gone, vacuum or wipe away the debris. The seam should look bare, even if it is not perfectly clean yet. That comes next.
Step 3 – Clean and Dry the Joint Area
A clean surface is what makes caulk stick. Any grease, soap film, dust, or moisture can weaken the bond and cause gaps later. Wipe the seam thoroughly with a mild cleaner first. Then follow with rubbing alcohol or mineral spirits to remove residue and help the area dry faster.
Pay close attention to the corners behind the faucet and the tight spots near the sink clips. Those areas often hold grime you cannot see at first glance. Use a rag wrapped around a finger or a small brush to get into the narrow channel.
After cleaning, let everything dry fully. This matters more than many beginners realize. Silicone does not like damp surfaces. If the seam feels cool or looks shiny with moisture, wait longer. A dry seam gives you a stronger, cleaner seal.
Step 4 – Tape the Edges for a Cleaner Line
Painter’s tape is not required, but it makes a big difference for first-time DIYers. Place a strip of tape along the countertop side of the seam and another along the sink edge. Leave a narrow, even gap where the new caulk bead will go. This creates a guide and helps keep the line neat.
Try to keep the spacing consistent around the entire sink. If the tape wanders, the finished bead will look uneven. Press the tape down firmly so caulk does not seep underneath. This step takes a few extra minutes, but it makes cleanup easier and reduces stress while you work.
If you have ever worried about messy lines, this is your safety net. A controlled path helps you focus on steady movement instead of trying to fix mistakes in real time.
Step 5 – Prepare the Caulk Tube and Test the Flow
Cut the caulk tube tip at a 45-degree angle with a small opening. Start smaller than you think you need. A large hole dumps too much sealant too fast, which makes the bead hard to control. Load the tube into the caulk gun and squeeze gently until the product reaches the tip.
Before applying it to the sink, test the flow on cardboard or a paper towel. This lets you feel the trigger pressure and see how thick the bead will be. You want a smooth, steady line, not blobs or sudden bursts. If the caulk comes out too thick, trim the tip more carefully or adjust your hand pressure.
This practice run helps a lot when learning how to caulk kitchen sink edges without wasting material or making a mess on the actual surface.
Step 6 – Apply a Smooth, Even Bead
Now it is time to lay the bead. Hold the caulk gun at a consistent angle and move slowly along the seam. Keep even pressure on the trigger as you guide the tip around the sink edge. The goal is one continuous line that fills the gap without piling up too high.
It often helps to pull the gun toward you rather than push it away. That gives you better control and helps the caulk settle into the seam. Do not stop and start too often unless you have to reposition. Breaks can create lumps and visible overlaps.
If a section looks thin, you can add a little more before smoothing. Stay calm if the line is not perfect. Fresh caulk almost always looks rough before the next step shapes it into a clean seal.
Step 7 – Smooth the Bead and Remove Excess
Smoothing presses the caulk into the joint and gives it a finished look. Wet your finger lightly with water, or use a caulk smoothing tool if you prefer. Then glide along the bead with gentle, even pressure. You are shaping it, not scraping it all away.
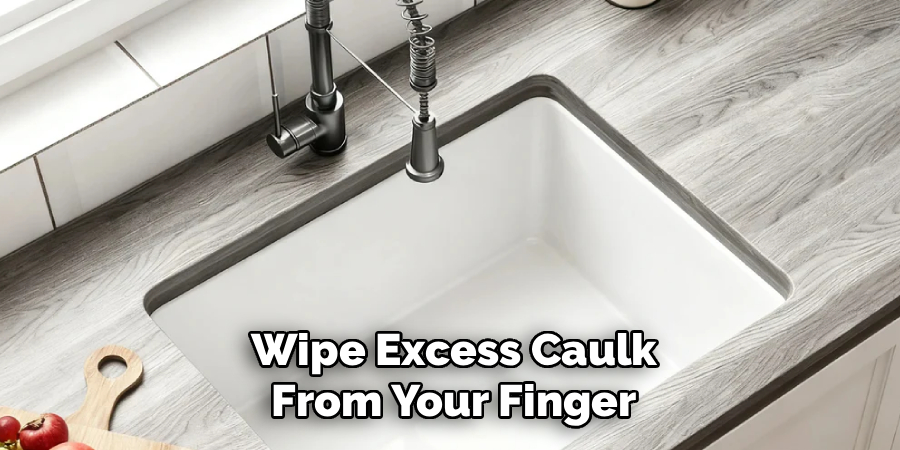
You should feel the surface change as it settles into place. A good bead looks slightly rounded, with full contact on both sides of the seam. Wipe excess caulk from your finger or tool after each pass. If you drag too much buildup along the line, it can smear across the tape or countertop.
Once the bead looks even, pull off the painter’s tape right away. Remove it slowly at an angle while the caulk is still wet. That leaves a sharper edge and a more professional finish.
Step 8 – Let the Caulk Cure Before Using the Sink
This final step is where patience pays off. Fresh caulk may feel dry on the surface before it is fully cured underneath. Check the label on your product for the recommended curing time. Many kitchen and bath silicones need at least 24 hours before they can handle regular water exposure.
Do not wipe the seam, splash the area, or set wet sponges against the edge during this time. If possible, use another sink or limit activity in the area. It may feel inconvenient, but disturbing uncured caulk can ruin the seal and force you to redo the job.
When the cure time has passed, inspect the bead in good light. It should look firm, even, and tightly bonded to both surfaces. If so, your sink is ready for normal use.
Common Mistakes
The most common mistake is leaving behind bits of old caulk. Even tiny scraps can keep the new sealant from bonding well, especially in corners or around the back edge of the sink. Another problem is rushing the cleaning step. Kitchen surfaces collect grease, soap residue, and moisture, and new silicone will not grip a dirty seam for long.
Many beginners also cut the caulk tube opening too wide. That leads to a fat, messy bead that is hard to smooth and even harder to clean up. It is better to start with a smaller opening and add more only if needed. Uneven trigger pressure can cause the same issue, so move slowly and stay steady.
A fourth mistake is trying to use the sink too soon. Caulk needs time to cure, not merely dry on the surface. If water hits it early, the bead can separate or wrinkle. Finally, some people skip painter’s tape because they want to save time. That often backfires. Tape helps control the line and gives you cleaner edges, especially on your first attempt.
Expert Tips
Use a mold-resistant silicone made for kitchens and baths, even if a cheaper product is tempting. It lasts longer and handles moisture much better. If the room is cold, warm the caulk tube in a bowl of lukewarm water for a few minutes before use. That makes the material flow more smoothly through the gun.
Work in good light and start at the back of the sink where mistakes are less noticeable. By the time you reach the front edge, your hand will feel steadier. Keep paper towels close and clean small smears right away before they cure.
Here is a helpful checkpoint: if the seam is clean, dry, and evenly taped, you are ready to caulk. If not, fix that first. Most caulking problems begin before the bead is even applied.
Frequently Asked Questions
What type of caulk should I use around a kitchen sink?
Use 100% silicone caulk labeled for kitchen and bath use. It is waterproof, flexible, and resistant to mold and mildew. Avoid painter’s caulk or general indoor sealants because they do not hold up as well around constant moisture and splashing. Clear, white, and color-matched options are all common.
How long does kitchen sink caulk take to dry?
Dry time and cure time are not always the same. Many products feel dry within a few hours, but full curing often takes about 24 hours. Some formulas may take longer depending on humidity and temperature. Always read the label and avoid water contact until the product has fully cured.
Do I need to remove all the old caulk first?
Yes, you should remove all of it if possible. New caulk sticks best to a clean, bare surface. If old material remains, the fresh bead may not bond evenly and could peel away sooner than expected. A complete removal also helps you spot hidden grime, mildew, or small gaps around the sink rim.
Can I caulk a sink without painter’s tape?
Yes, but tape makes the job easier, especially for beginners. It creates a clean path for the bead and reduces smears on the sink and countertop. If you skip tape, move slowly and be ready to smooth the line with care. Many experienced DIYers work without tape, but it takes practice.
How do I know when the caulk needs to be replaced?
Look for cracks, peeling edges, gaps, discoloration, or mildew that keeps returning after cleaning. You may also notice dampness under the sink or around the countertop seam. A healthy bead should look smooth, flexible, and firmly attached. If it feels brittle or loose, it is time to replace it.
Conclusion
A neat line of caulk around your sink does more than improve appearance. It protects your countertop, cabinet, and sink base from slow water damage that can become expensive over time. Once you understand the basics of surface prep, careful application, and proper curing, this project becomes very manageable.
The key is not speed. It is patience. Remove the old seal completely, clean the seam well, use the right silicone product, and give the new bead time to cure. Those simple habits make the difference between a repair that lasts a few weeks and one that holds up for years.
If you have been putting off this fix, now is a good time to start. Gather your tools, clear the sink area, and follow each step in order. Learning how to caulk kitchen sink spaces correctly is a practical skill that saves money, builds confidence, and helps you take better care of your home.

About
Nick Hall has spent the last seven years working at the intersection of kitchen design and home repair — first as a design assistant at a residential renovation studio, then as a freelance writer covering everything from cabinet layouts to leaky faucet fixes.
Her approach is simple: kitchens should look good and function well. That means she’s just as comfortable talking about color palettes and counter materials as she is walking readers through how to fix a wobbly cabinet hinge or troubleshoot a garbage disposal.
Nick has worked directly with homeowners on small-space kitchen makeovers, budget-conscious renovations, and the kind of everyday repairs that don’t need a contractor — just the right instructions. She writes from experience, not theory, and tests most of the fixes and tips she shares before publishing them.
When she’s not writing, Nick is usually hunting for mid-century kitchen finds at estate sales or helping friends plan their own renovations. She lives in Columbus, Ohio.