
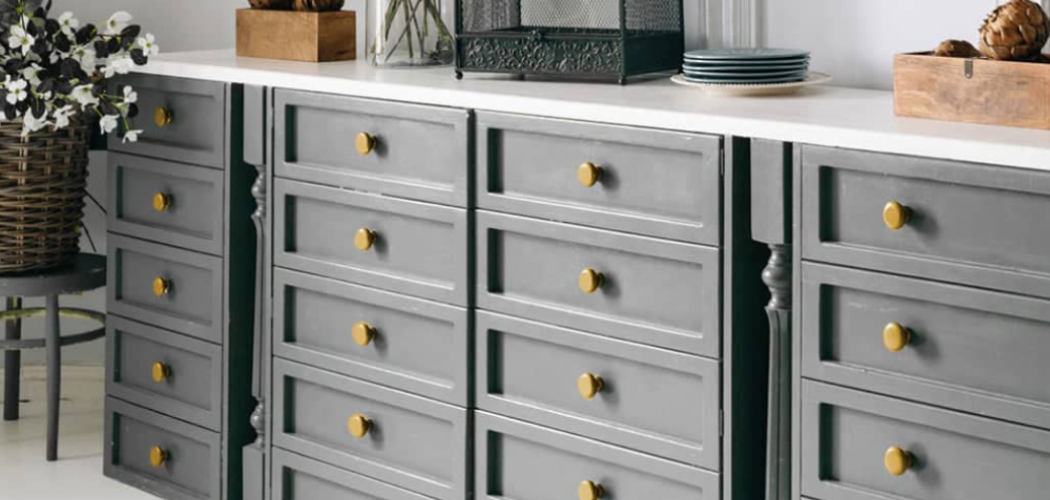
Cabinet hardware is the jewelry of your kitchen. It’s small, but the right knobs and pulls pull the whole room together, while the wrong ones make even beautiful cabinets feel a little off.
The good news? Learning how to choose hardware for kitchen cabinets is far easier than most people think. You don’t need a designer or a big budget. You just need a clear plan, a measuring tape, and a willingness to compare a few options before you commit.
This upgrade is one of the cheapest, fastest ways to refresh your space without replacing a single cabinet. In this guide, I’ll walk you through every step in plain, friendly language so you can pick hardware that looks great, feels comfortable, and fits your kitchen perfectly.
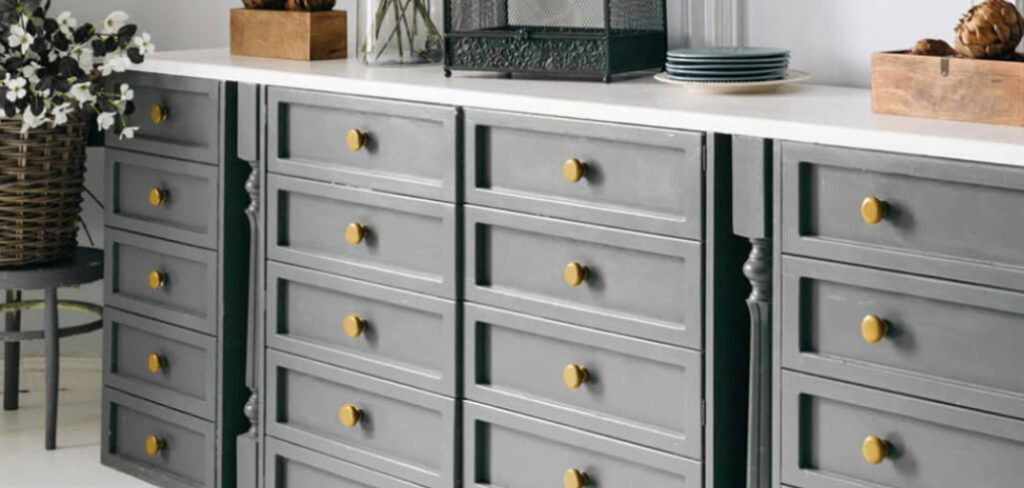
Why Choosing Hardware for Kitchen Cabinets Matters
Hardware does more than look pretty. It’s what you touch dozens of times a day, every time you grab a snack, fill a pot, or reach for a plate.
For homeowners, picking the right knobs and pulls instantly modernizes a tired kitchen. You get a fresh, custom feel without the cost or chaos of new cabinetry.
For DIY beginners, this is the perfect confidence-building project. You’ll learn to measure center-to-center spacing, match finishes, and test placement, and those skills carry into bigger jobs later.
And if you’re updating cabinets without replacing them, hardware is your secret weapon. Swapping dated brass for matte black or brushed nickel transforms shaker cabinets and slab doors alike. The right choice ties your whole kitchen update together and makes daily tasks feel smoother and more pleasant.
Tools and Materials You’ll Need
Gather everything before you start shopping so your choices stay organized and accurate. You’ll want a measuring tape to capture your existing hinge and handle measurements, plus a notebook to jot down sizes, finishes, and ideas as they come. Snap a few cabinet sample photos on your phone so you can compare options against your real kitchen, not just the showroom.
Bring home finish samples in brushed nickel, matte black, brass, or oil-rubbed bronze to see how each looks in your light. Painter’s tape lets you mark sample placement on doors and drawers without leaving marks. A drill template or hardware jig keeps your holes straight and even, and a basic screwdriver handles installation later.
One optional convenience item, a small tray for your sample pulls and knobs, keeps everything together and saves you from chasing loose pieces across the counter.
Step-by-Step Guide on How To Choose Hardware For Kitchen Cabinets
Step 1 – Study Your Cabinet Style
Start by really looking at your cabinets. Are they classic shaker cabinets with a recessed panel, or sleek slab doors with a flat, modern face?
The cabinet style guides everything that follows. Shaker doors pair beautifully with both round knobs and clean bar pulls, while slab doors often look sharpest with long, simple pulls.
Run your hand along the door edges and notice the detailing. Ornate cabinets call for softer, more traditional shapes, and minimalist cabinets shine with straight lines.
Take a slow walk around your kitchen and snap a few photos. Seeing your cabinets on screen helps you spot the overall vibe more clearly. Once you know your style, every later decision feels easier and far less overwhelming.
Step 2 – Match Finishes With Your Appliances
Now look at the metals already in your kitchen. Your appliances, faucet finish, and lighting fixtures all set the tone.
If your stove and fridge wear stainless steel, brushed nickel hardware blends in smoothly. Love a bold, dramatic look? Matte black hardware pops against lighter cabinets and warms up cooler spaces.
Hold a finish sample next to your appliances and faucet. Notice how the light catches it in the morning versus the evening, since finishes shift with the room’s glow.
You don’t have to match everything perfectly. A little contrast adds character, like brass pulls against a soft white cabinet. The goal is finish matching that feels intentional, so your hardware looks chosen, not random.
Step 3 – Compare Knobs and Pulls in Your Hand
Pictures only tell you so much. Pick up a few cabinet knobs and drawer pulls and really feel their weight.
A quality piece feels solid and substantial, not hollow or flimsy. Cheap hardware often gives itself away the second it lands in your palm.
Roll each one over in your hand and notice the shape. Some knobs feel round and friendly, while bar pulls feel crisp and architectural. Cup pulls have a lovely scooped grip that suits drawers wonderfully.
This is exactly where you start to feel how to choose hardware for kitchen cabinets that truly fits your life. The piece that feels best in your hand is usually the one you’ll love using every single day.
Step 4 – Check Grip Comfort
Comfort matters more than people expect. You’ll touch this hardware thousands of times a year, so grip comfort should never be an afterthought.
Wrap your fingers around each knob and pull as if you’re opening a drawer full of heavy pots. Notice whether your fingers fit easily behind a pull or feel cramped against the door.
Long bar pulls suit big drawers and busy hands, while small knobs work nicely on light upper cabinets. If you have kids or anyone with limited grip strength, larger, rounded pulls are far easier to use.
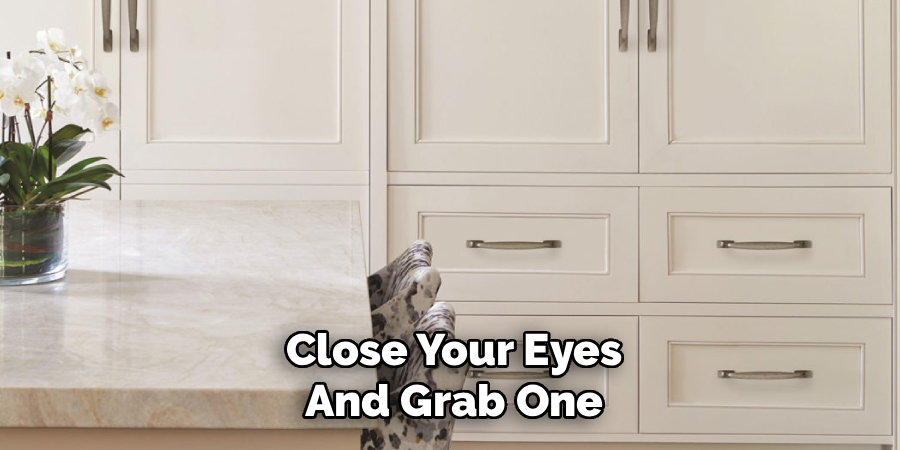
Close your eyes and grab one. The best choice feels natural and effortless, with smooth edges that never dig into your palm or catch a sleeve.
Step 5 – Measure Center-to-Center Spacing
Here’s where accuracy saves headaches. For pulls, the center-to-center measurement is the distance between the two screw holes.
Grab your measuring tape and measure your existing pulls if you’re replacing them. Matching this spacing means you can reuse the current holes, which saves drilling and patching.
Write each measurement in your notebook, noting which drawers and doors they belong to. Common sizes include three inches and five inches, but always confirm your own.
Measure twice before you buy anything. A pull that’s even a half-inch off won’t line up with existing holes, leaving you with extra work and visible mistakes. Careful measuring now keeps installation smooth and your finished cabinets looking clean and professional.
Step 6 – Test Sample Placement With Painter’s Tape
Before committing, mock up your choices right on the cabinets. Tear off small strips of painter’s tape and mark where each knob or pull would sit.
For doors, hardware usually goes near the bottom corner of upper cabinets and the top corner of lower ones. For drawers, centered placement looks classic and balanced.
Step back across the room and look. Does the placement feel natural as your eye moves around the kitchen? Try shifting a piece an inch or two and notice the difference.
Tape lets you experiment freely without a single drilled hole. Live with your mock-up for a day if you can. Seeing it during real cooking and cleaning reveals what truly works for your daily flow.
Step 7 – Consider Traffic Flow and Clearance
Think about how you move through your kitchen. Hardware that sticks out too far can snag clothing or bump hips in tight walkways.
Check the projection, meaning how far each pull extends from the door. In narrow spaces or near a busy island, lower-profile knobs or flat pulls prevent painful catches.
Open nearby drawers and doors at the same time to test clearance. You want them to swing freely without handles clashing into each other.
Pay special attention to corners and appliance edges. A handle that hits the dishwasher every time it opens gets old fast. Picking hardware that respects your traffic flow keeps your kitchen comfortable, safe, and snag-free for everyone who cooks and gathers there.
Step 8 – Coordinate With Hinges and Faucets
Finish strong by tying every metal together. Glance at your hinge finish, faucet finish, and any open shelving brackets.
When these elements share a tone, your kitchen feels calm and pulled together. Mismatched metals can look accidental unless you blend them with real intention.
If your faucet is matte black, echoing that in your pulls creates a confident, cohesive look. Oil-rubbed bronze hinges pair beautifully with warm bronze hardware.
This final check is the heart of how to choose hardware for kitchen cabinets that looks designed rather than thrown together. Stand in the doorway and let your eyes travel across the whole room. When the finishes harmonize, you’ll feel that satisfying sense of a complete, polished kitchen update.
Critical Mistakes to Avoid When Choosing Hardware for Kitchen Cabinets
The biggest mistake is buying hardware before measuring. Beginners fall in love with a pull online, order a full set, then discover the center-to-center measurement doesn’t match their existing holes. Always measure your current hardware first, write it down, and confirm sizes before you spend a dime.
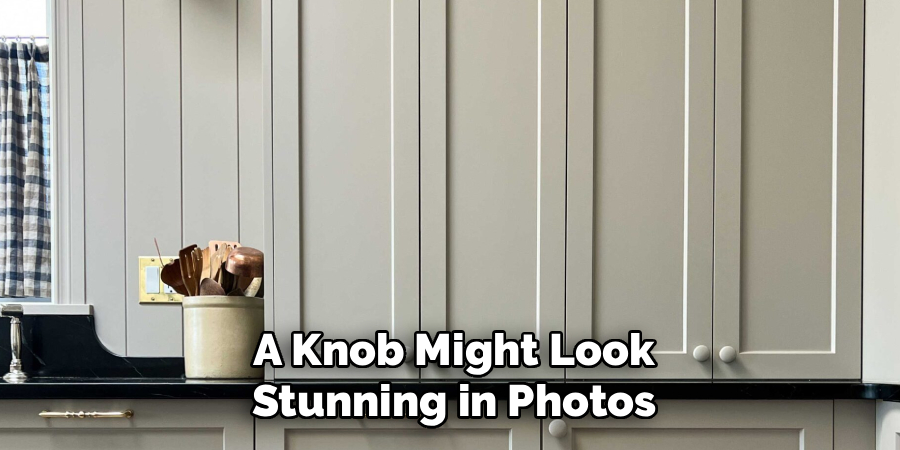
Another common slip is ignoring grip comfort. A knob might look stunning in photos but feel sharp, tiny, or awkward in daily use. Since you’ll touch these pieces constantly, always handle samples before committing to a whole kitchen’s worth.
Many people also clash their finishes by accident. Mixing brushed nickel, brass, and matte black without a plan looks chaotic rather than charming. Choose a dominant finish that ties to your appliances and faucet, then add contrast deliberately.
Buying too few pieces trips up plenty of folks too. Always count every door and drawer, then add a couple of spares, since styles get discontinued fast. Finally, skipping the painter’s tape mock-up leads to handles in awkward spots. Testing placement first saves you from drilling holes you’ll regret and patching later.
Expert Tips
Want your kitchen to look professionally styled? Order one sample of each finalist before buying in bulk. Living with the real piece in your own lighting beats guessing from a screen every time.
Buy a few extra knobs and pulls beyond what you need. Hardware lines get discontinued constantly, and matching a single replacement years later is nearly impossible.
Mix knobs on doors with pulls on drawers for a timeless, balanced look that designers love. It feels intentional and reads as custom.
Use a hardware jig for installation. It keeps every hole perfectly aligned and turns a nerve-wracking task into a quick, confident one. And don’t forget backplates if your old holes don’t line up. They hide imperfections beautifully and add an elegant finishing touch.
Frequently Asked Questions
Should I Use Knobs Or Pulls On My Cabinets?
It depends on the cabinet type. A reliable rule:
- Knobs: great for cabinet doors and small drawers
- Pulls: ideal for larger drawers and heavy doors
- Cup pulls: perfect for a classic, farmhouse drawer look
Many kitchens combine both for balance, using knobs on upper doors and pulls on lower drawers. Handle a few samples first, since comfort and your daily routine should guide the final choice.
How Do I Measure Center-To-Center For Drawer Pulls?
Measure the distance between the centers of the two screw holes, not the total length of the pull. Use your measuring tape and write the number down for each size you need. Common center-to-center measurements include three, four, and five inches. Matching your existing spacing lets you reuse current holes, saving you from drilling, patching, and touch-up paint.
What Finish Is Best For A Modern Kitchen?
Modern kitchens love clean, understated finishes. Matte black brings bold contrast against light cabinets, while brushed nickel blends smoothly with stainless steel appliances. Brass adds warmth for a softer modern look. The key is finish matching with your faucet finish and appliances so everything feels coordinated. There’s no single “best,” only what suits your style, lighting, and the metals already in your space.
How Much Hardware Do I Need To Buy?
Count every cabinet door and every drawer, then total them up. Each door usually needs one knob or pull, while wide drawers sometimes take two pulls for balance. Always add two or three spares, since hardware lines get discontinued and matching later is tough. A quick walk through your kitchen with a notebook prevents the frustrating mid-project shortage that stalls so many installations.
Can I Change Hardware Without Damaging My Cabinets?
Yes, easily. If your new pieces match the existing center-to-center measurement, you simply unscrew the old hardware and install the new. When holes don’t line up, backplates cover the old marks neatly, or you can fill and touch up the spots with matching paint or stain. A screwdriver and a little patience handle most swaps in an afternoon.
Conclusion
Choosing cabinet hardware is one of the most rewarding upgrades you can tackle, and it costs a fraction of new cabinetry. The right knobs and pulls refresh your whole kitchen and make daily tasks feel smoother and more comfortable.
Remember the essentials. Study your cabinet style first, then match your finishes to your appliances, faucet, and hinges. Hold samples in your hand to test grip comfort, measure center-to-center spacing carefully, and mock up placement with painter’s tape before drilling. Mind your projection and clearance so handles never snag or clash.
The payoff goes beyond looks. You’ll save money, build real DIY confidence, and gain skills that carry into future projects. There’s genuine pride in transforming your space with choices you made yourself.
So grab your measuring tape, collect a few samples, and approach how to choose hardware for kitchen cabinets one calm step at a time. Take it slow, trust your hands and your eye, and soon you’ll stand back admiring a kitchen that feels brand new. You’ve absolutely got this.
