
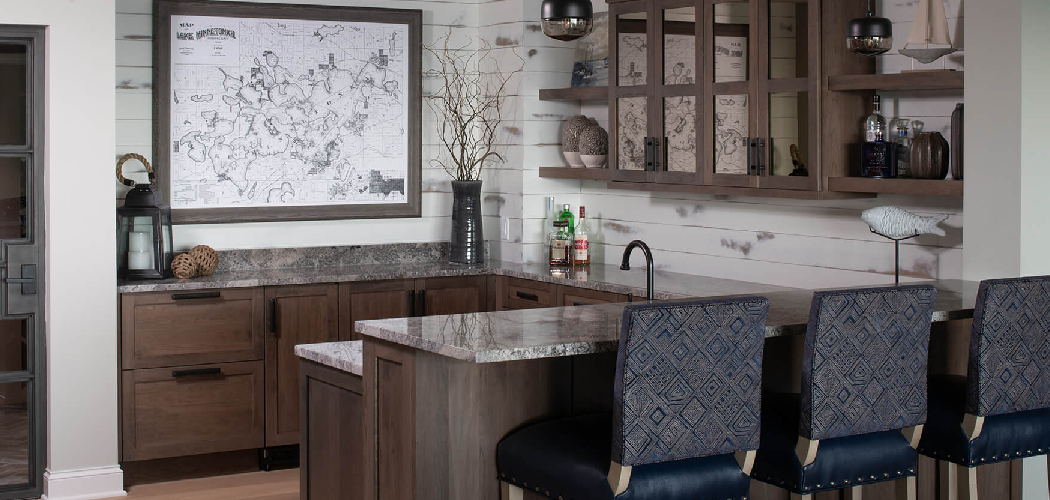
Blank kitchen walls can feel like a missed opportunity. You walk in every morning, pour your coffee, and stare at empty space that could be working harder for you. The good news? You don’t need a designer’s budget or a contractor’s schedule to change that.
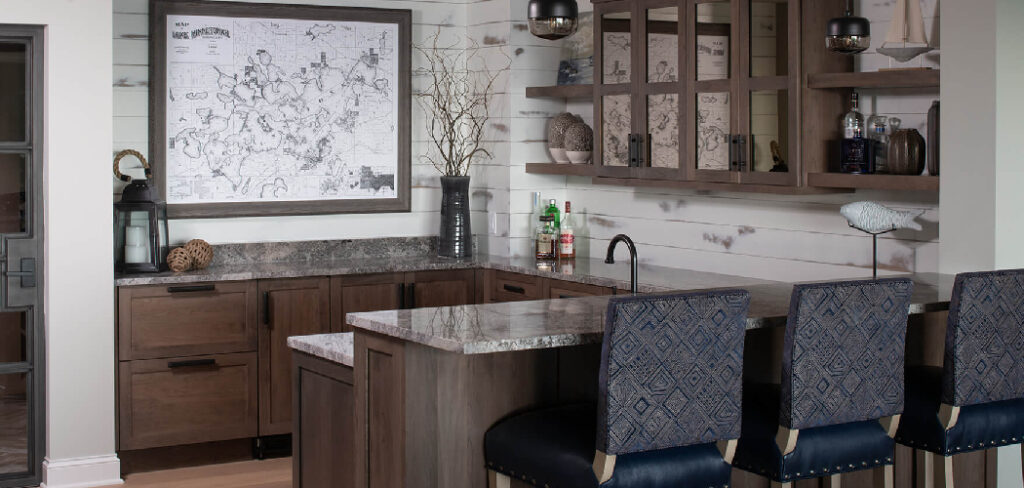
A few smart choices, like the right paint finish, a small gallery wall, or open shelving, can completely shift the mood of your space. The trick is knowing where to start and how to layer your ideas without crowding the room. Learning how to decorate kitchen walls gives you a kitchen that feels personal, warm, and genuinely yours. This guide walks you through every step, from picking a color palette to hanging your final piece of wall art, so you finish with a space you love.
Why Learning to Decorate Kitchen Walls Matters
A well-styled kitchen does more than look pretty. It lifts your mood, makes cooking feel less like a chore, and turns a plain room into the heart of your home. When your walls reflect your taste, the whole space feels intentional.
This skill also travels with you. If you spend weekends in an RV kitchenette, the same layering tricks brighten that tight galley. Styling a cabin cooking space, an outdoor prep station, or a camp kitchen? You’ll reach for removable hooks, lightweight framed art, and peel-and-stick options again and again.
Renters benefit most of all. Temporary rental kitchens often come with bland, builder-grade walls you can’t paint. Knowing how to add personality without drilling holes or breaking your lease means you make any kitchen feel like home, no matter how long you stay.
Tools and Materials You’ll Need
Gather your supplies before you start so you keep your momentum going. For paint projects, you’ll want a quart of washable paint in a satin finish or eggshell finish, since both wipe clean easily near cooking splatters. Add painter’s tape, a small roller, an angled brush, and a drop cloth to protect your counters.
For non-paint décor, stock up on removable hooks, picture-hanging strips, and a few framed prints or a set of floating shelves. A level keeps everything straight, and a tape measure helps you space pieces evenly. If you’re going the wallpaper route, grab a roll of peel-and-stick wallpaper and a smoothing tool to press out bubbles.
One optional convenience item worth grabbing is a laser level. It saves you from squinting at a bubble level and makes hanging a gallery wall far faster.
Step-by-Step Guide on How to Decorate Kitchen Walls
Take your time with each stage and you’ll avoid the crowded, cluttered look that trips up beginners. The real goal of learning how to decorate kitchen walls is creating a space that feels balanced and breathes easily.
Step 1 – Assess Your Space and Sight Lines
Before you buy anything, stand in your kitchen doorway and really look. Notice where your eyes land first, where light pools in the afternoon, and which walls feel empty or awkward.
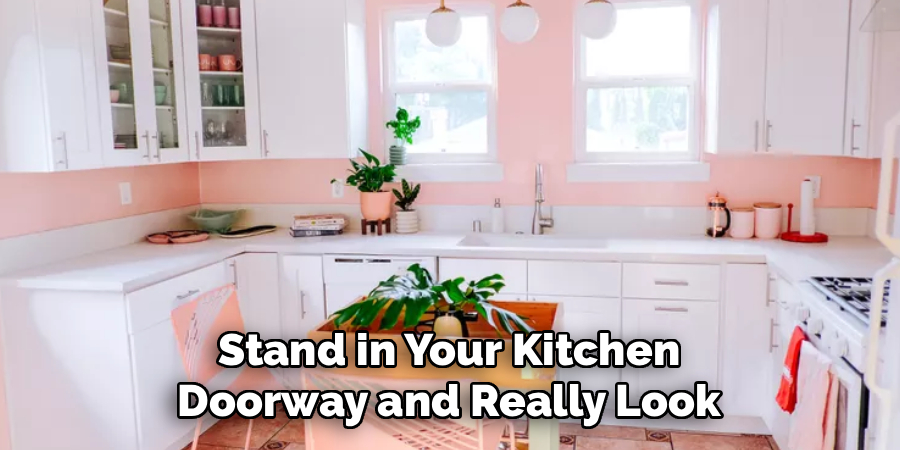
Those natural sight lines tell you where décor will earn the most attention. The wall you see from the dining table or hallway deserves your boldest piece. Tucked-away corners can stay simple.
Pull out your phone and snap a few photos from different angles. Photos flatten the room and reveal clutter or blank gaps you stop noticing in daily life. Pay attention to your existing colors too, from cabinets to countertops. Working with what you already have keeps your final result feeling cohesive rather than random and scattered.
Step 2 – Choose Your Color Palette
Your color palette sets the entire mood, so choose it before anything else. Pull two or three shades that play well with your cabinets and flooring. Neutral tones like soft white, warm greige, or muted sage make a small kitchen feel open and calm.
Want more energy? Add one accent color through art or accessories rather than painting every wall. That single pop reads as intentional, not chaotic.
Hold paint chips against your backsplash and counter in both daylight and evening light. Colors shift dramatically as the sun moves, and a shade that looks crisp at noon can turn dull by dinner. Live with your top picks taped to the wall for a day or two before committing. This patience pays off every single time.
Step 3 – Paint an Accent Wall or Refresh the Room
Paint delivers the biggest change for the least money. Decide whether you want a full refresh or a single accent wall to anchor the space.
Tape off your edges cleanly, lay down your drop cloth, and cut in along the corners with your angled brush first. Then roll the open areas in smooth, overlapping strokes. A satin finish or eggshell finish resists grease and wipes clean, which matters near any cooking zone.
Two thin coats beat one thick coat every time. You’ll smell that fresh-paint scent fill the room as you work, a satisfying sign of progress. Let each coat dry fully before adding the next, and peel your tape away while the final coat is still slightly tacky for crisp lines.
Step 4 – Add Removable Wallpaper for Texture
If paint feels too plain, peel-and-stick wallpaper brings instant texture and pattern. It’s perfect for renters and commitment-shy decorators since it lifts off cleanly later.
Measure your wall and cut your first strip with a few extra inches at top and bottom. Peel back a bit of the backing, line up the top edge, and smooth downward with your tool, pressing out bubbles as you go.
Overlap each strip slightly and match the pattern carefully. A geometric print behind open shelving or a subtle texture on one accent wall adds depth without overwhelming the room. Run your hand across the finished surface to catch any lifting edges. Press them down firmly, and the paper will stay put for years if you ever choose.
Step 5 – Install Floating Shelves or Open Shelving
Open shelving gives you style and storage in one move. Floating shelves work especially well in small kitchens where bulky cabinets feel heavy.
Mark your shelf height with a pencil, then use your level to draw a straight guide line. Drill into studs where possible for real strength, or use heavy-duty anchors for lighter loads. Tighten each bracket firmly so nothing wobbles.
Once mounted, style your shelves with a mix of function and beauty. Stack a few matching bowls, lean a small framed print, and add a trailing plant for life. Leave breathing room between items so the display feels curated, not crammed. That balance of negative space is what makes open shelving look professionally styled rather than messy.
Step 6 – Create a Gallery Wall or Hang Framed Art
A gallery wall turns a blank stretch into a focal point. Gather your framed art, vintage signs, or even pressed botanicals, then mix sizes for visual interest.
Lay everything on the floor first and arrange the pieces until the grouping feels balanced. Keep roughly two inches between frames for a tight, modern look. Trace each frame onto paper and tape the cutouts to the wall to test your layout before drilling.
Start hanging from the center piece and work outward, checking your level as you go. Picture-hanging strips work beautifully here if you’d rather skip the nail holes. Step back often to check spacing. Choose moisture-resistant décor or sealed frames if your wall sits near the stove or sink.
Step 7 – Style the Backsplash and Empty Corners
The backsplash area and forgotten corners offer prime decorating real estate. A peg rail along an open wall holds mugs, utensils, and small baskets while adding charming function.
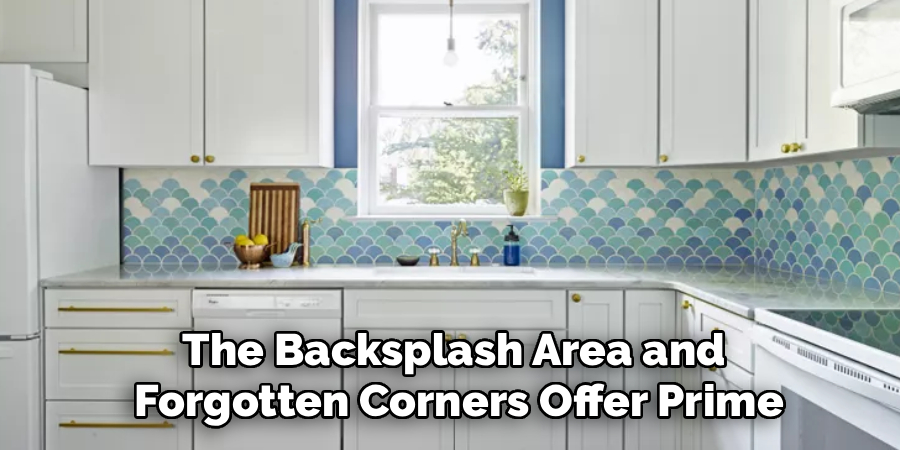
For kitchen corner styling, tuck a slim shelf or a tall plant into the angle where two walls meet. This softens hard lines and draws the eye upward, making ceilings feel higher.
Above your backsplash, lean a small framed piece or hang a single bold print where splatter won’t reach. Mix warm wood accents with a few metal accents, like brass hooks or an iron rail, to add contrast and richness. These finishing touches fill the gaps that often look unfinished, pulling your whole scheme together into one cohesive, welcoming space.
Step 8 – Layer Lighting and Final Touches
Lighting transforms everything you’ve hung. Even the best wall art falls flat in dim, flat light. Add an under-cabinet strip, a small picture light, or a warm bulb in a nearby fixture to make your décor glow.
Warm-toned lighting flatters wood and softens neutral tones, while cooler light sharpens modern, metal accents. Try both and see what suits your mood.
Now step back and review the full room from your main sight line. Tweak any piece that hangs crooked, swap an accessory that feels off, and remove anything that crowds the space. The final edit always involves taking something away. When the walls feel layered yet calm, you’ve nailed it, and your kitchen finally reflects you.
Critical Mistakes When Decorating Kitchen Walls
Even eager beginners stumble on a few predictable errors, and spotting them early saves your hard work. The most common mistake is overcrowding. People fall in love with every idea and try to use them all at once, leaving walls busy and chaotic. Restraint reads as elegance, so leave plenty of breathing room and let a few standout pieces shine instead of competing for attention.
Another frequent slip is ignoring the kitchen environment. Grease, steam, and splatter are constant, yet folks hang delicate paper prints right beside the stove or use flat paint that stains the moment sauce splashes. Always choose washable paint and moisture-resistant décor near cooking and washing zones.
Hanging art at the wrong height trips up many decorators too. Pieces placed too high float awkwardly and break your sight lines. Aim for eye level, roughly 57 to 60 inches to the center, adjusting for furniture below.
Finally, many people forget about scale. A tiny frame on a large empty wall looks lost, while an oversized piece overwhelms a small nook. Match your décor size to the wall, and skip the lighting afterthought, since poor light flattens even your best efforts.
Expert Tips
Want results that look professionally styled? Keep a few habits in mind. Always shop your own home first. That spare vase, an old cutting board, or a framed recipe card often beats anything store-bought and adds genuine personality.
Stick to a loose theme. Choosing two or three repeating materials, like warm wood accents and matte black metal, ties separate pieces into one intentional look. Repetition creates harmony.
Test before you commit. Tape paper templates where art will hang and live with them for a day. You’ll quickly sense what works.
Finally, decorate in odd numbers. Groupings of three or five feel more natural and dynamic than even, symmetrical pairs. And always leave a little empty space to let each element breathe.
Frequently Asked Questions
What kind of paint is best for kitchen walls?
A washable paint in a satin finish or eggshell finish works best for kitchen walls. Both resist moisture and wipe clean when grease or sauce splatters, which happens often near the stove. Flat paint stains easily and is tough to clean, so save it for low-traffic rooms. Satin offers a subtle sheen and the most durability for busy cooking spaces.
How do I decorate kitchen walls without making holes?
You have several renter-friendly options:
- Removable hooks and picture-hanging strips hold framed art securely
- Peel-and-stick wallpaper adds pattern and lifts off cleanly later
- Leaning shelves or freestanding racks display décor without drilling
These choices let you style temporary rental kitchens fully and reverse everything when you move, protecting your deposit while still showing off your personal taste.
What are good small kitchen wall ideas?
In small kitchens, go vertical and keep things light. Floating shelves, a slim peg rail, and a single piece of wall art draw the eye upward without eating space. Stick with neutral tones to keep the room feeling open and airy. One mirror also reflects light and makes the space feel noticeably larger. Avoid bulky frames and heavy, dark colors that close in the room.
How high should I hang art in my kitchen?
Hang art so its center sits roughly 57 to 60 inches from the floor, which matches average eye level. If you’re placing a piece above a counter, shelf, or table, leave about 6 to 10 inches of space between the furniture and the bottom of the frame. This keeps everything visually connected and prevents that awkward floating look that breaks your sight lines.
Can I decorate walls near the stove and sink?
Yes, but choose your materials carefully. Stick to moisture-resistant décor, sealed frames, and washable paint in these zones since steam, grease, and water are constant. Avoid delicate paper prints, raw wood, or anything that warps and stains easily. Metal accents, ceramic pieces, and glass-covered framed art all hold up beautifully and wipe clean, making them smart picks for splash-prone areas.
Conclusion
You’ve just walked through every stage, from reading your sight lines to layering the final touch of lighting. The whole process comes down to a few friendly habits: start with a color palette you love, choose finishes that survive a busy kitchen, and resist the urge to fill every inch.
Remember the details that make the biggest difference. A satin or eggshell finish near cooking zones, art hung at proper eye level, and a balance of warm wood accents with metal accents pull the whole look together. Always leave breathing room so your favorite pieces can shine.
Knowing how to decorate kitchen walls puts real creative control back in your hands. You’ll save money, skip the wait for a designer, and gain a skill you can reuse in RV kitchenettes, cabin spaces, and rental kitchens for years to come. So grab your paint chips, gather a few favorite pieces, and start with one wall today. Which wall will you transform first?

About
Nick Hall has spent the last seven years working at the intersection of kitchen design and home repair — first as a design assistant at a residential renovation studio, then as a freelance writer covering everything from cabinet layouts to leaky faucet fixes.
Her approach is simple: kitchens should look good and function well. That means she’s just as comfortable talking about color palettes and counter materials as she is walking readers through how to fix a wobbly cabinet hinge or troubleshoot a garbage disposal.
Nick has worked directly with homeowners on small-space kitchen makeovers, budget-conscious renovations, and the kind of everyday repairs that don’t need a contractor — just the right instructions. She writes from experience, not theory, and tests most of the fixes and tips she shares before publishing them.
When she’s not writing, Nick is usually hunting for mid-century kitchen finds at estate sales or helping friends plan their own renovations. She lives in Columbus, Ohio.