
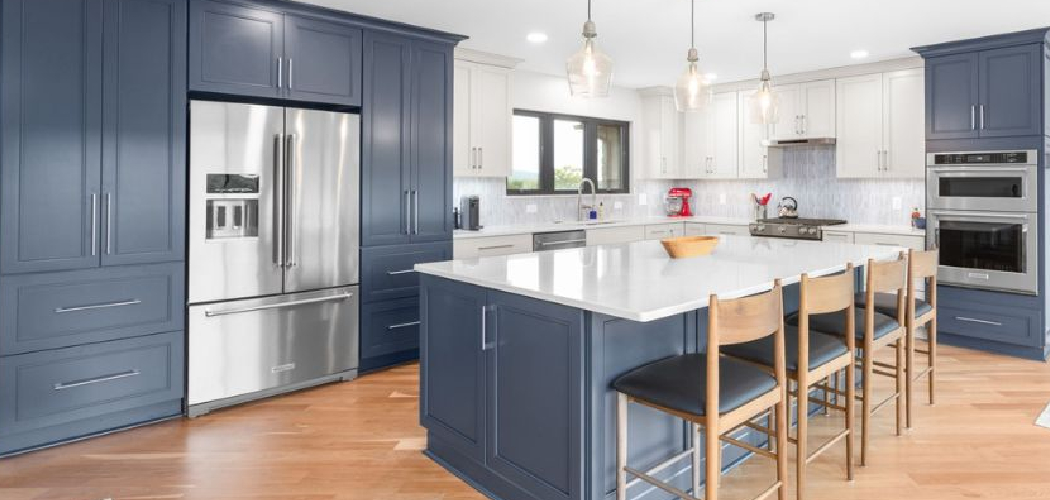
A new kitchen starts as a blank slate, and that mix of excitement and overwhelm hits everyone at once. You picture the perfect layout, the dream countertops, the spot where your morning coffee will live. Then reality sets in, and you wonder where to even begin.
The good news? You don’t need an architecture degree to plan a space that works beautifully. With a clear process and a little patience, you can map out a kitchen that fits your cooking style, your budget, and your daily routine.
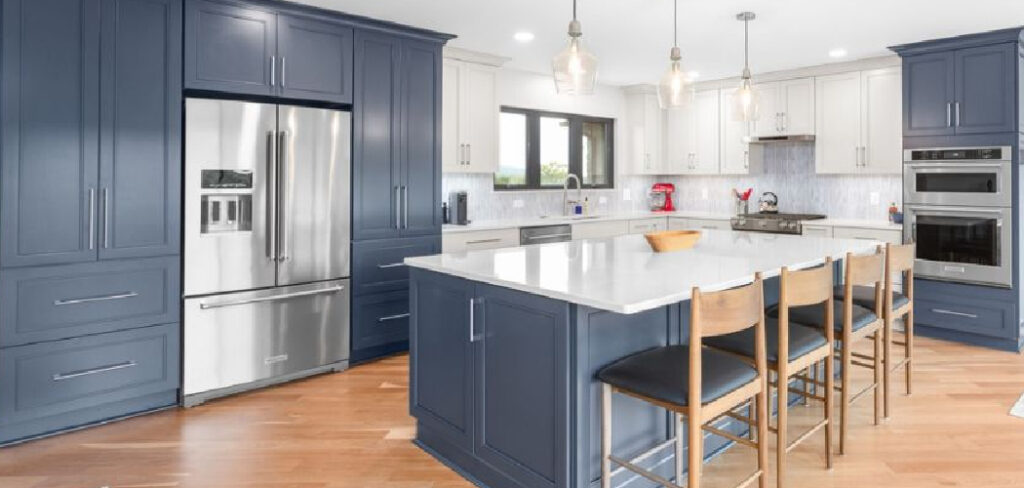
Learning how to design a new kitchen puts that power in your hands and saves you serious money along the way. This guide walks you through every step, from measuring your space to picking your final finishes, so you build a kitchen you’ll love for years.
Why Learning to Design a New Kitchen Matters
Designing your own kitchen does more than save money. It gives you a space built around the way you actually cook, clean, and gather, instead of someone else’s idea of what works.
This skill stretches far beyond your home, too. If you’re outfitting an RV kitchenette, the same planning logic helps you squeeze function into a tight galley. Setting up a cabin cooking space, an outdoor prep station, or a compact camp kitchen? You’ll reach for these layout principles every time.
Renters benefit just as much. Temporary rental kitchens rarely match your needs, but understanding flow, storage zones, and smart placement lets you arrange any space wisely. Once you grasp the fundamentals, you can plan a workable kitchen anywhere, whether it’s permanent, portable, or just for the season.
Tools and Materials You’ll Need
Gather a few basics before you dive in so your planning stays smooth and organized. Start with a reliable tape measure and a notepad or graph paper to sketch your kitchen layout to scale. A pencil with a good eraser matters here, since you’ll redraw plenty of times as ideas evolve.
A free room-planning app or simple design software helps you visualize cabinet depth and traffic flow without guesswork. Keep paint swatches, countertop material samples, and tile backsplash chips on hand so you can compare finishes in your own lighting. A level, painter’s tape, and a calculator round out the practical kit for marking spaces and crunching your budget.
One optional convenience item worth grabbing is a laser measure. It captures room dimensions in seconds and beats stretching a tape across the floor alone.
Step-by-Step Guide on How to Design a New Kitchen
Take each stage slowly and you’ll dodge the costly missteps that catch most beginners. The real goal of learning how to design a new kitchen is creating a space that flows naturally and works hard for you every single day.
Step 1 – Measure Your Space and Map the Layout
Before you dream about finishes, grab your tape measure and record every dimension. Note wall lengths, window placements, door swings, and the height of your ceiling. Mark where plumbing and electrical lines already run, since moving them gets expensive fast.
Sketch your kitchen layout on graph paper, letting each square represent a set measurement. This scale drawing becomes your roadmap for everything that follows.
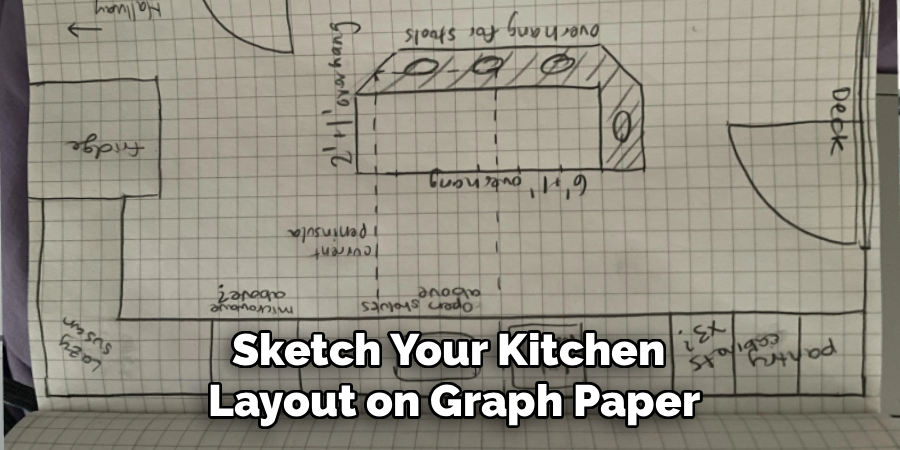
Walk the empty room and picture your daily routine. Where will you unload groceries, chop vegetables, and stack dirty dishes? Those natural movements shape your plan more than any trend. Accurate measurements now prevent heartbreak later, when cabinets arrive and suddenly don’t fit the wall you eyeballed.
Step 2 – Plan the Work Triangle and Traffic Flow
The work triangle connects your sink, stove, and refrigerator, the three spots you visit most while cooking. Keep these points close enough for easy movement but far enough apart that you’re not bumping elbows.
Aim for each leg of the triangle to fall between four and nine feet. Too tight feels cramped, while too wide leaves you crossing the room with hot pans.
Think about traffic flow next. If your kitchen sits along a main walkway, keep that path clear of the cooking zone so guests don’t wander through your prep space. Picture two people working at once. A smooth, unobstructed flow keeps tempers cool and dinner on schedule, even when the kitchen gets busy.
Step 3 – Choose Your Cabinet Layout and Storage Zones
Cabinets eat the biggest chunk of your budget, so plan them carefully. Decide on your cabinet layout first, whether a galley, L-shape, U-shape, or island setup suits your room and habits best.
Group your storage into clear zones. Keep plates and glasses near the dishwasher, pots beside the stove, and spices within arm’s reach of your prep zone. This logic shaves minutes off every meal.
Consider cabinet depth and drawer organization too. Deep drawers swallow bulky pots, while pull-outs make pantry storage easy to reach without crouching. Splurge on soft-close hinges if you can, since that quiet, gentle glide feels luxurious and protects your cabinets for years. Smart zoning turns a chaotic kitchen into a calm, efficient one.
Step 4 – Select Countertops and Landing Space
Your countertops do the heavy lifting, both visually and practically. Pick a countertop material that matches your cooking style and patience for upkeep. Quartz resists stains and skips sealing, while butcher block adds warmth but needs regular oiling.
Plan plenty of landing space beside major appliances. Leave at least fifteen inches next to the refrigerator and on both sides of the cooktop so you always have somewhere to set things down.
Run your hand across samples in your own kitchen light before deciding. A finish that dazzles in the showroom can read differently at home. Factor in countertop space for prep, since cramming your work onto a tiny strip makes cooking frustrating. Generous, durable surfaces reward you at every meal.
Step 5 – Design Your Lighting Plan
Lighting transforms a kitchen from dim and flat to bright and inviting. Build a layered lighting plan with three types working together for the best result.
Start with overhead ambient light for general brightness. Add task lighting where you chop and read recipes, since shadows over a cutting board are a real hazard. Under-cabinet lighting washes your countertops with a soft, even glow that makes prep safer and the whole room feel finished.
Place dimmers on as many circuits as you can. They let you shift from bright cooking light to a warm, relaxed dinner mood in seconds. Think about sink placement and appliance clearance when positioning fixtures, so nothing casts a shadow exactly where you need to see.
Step 6 – Pick Appliances, Sink, and Ventilation
Choose your appliance package early, because their sizes shape the cabinets around them. Measure each unit and leave proper appliance clearance so doors and drawers open without colliding.
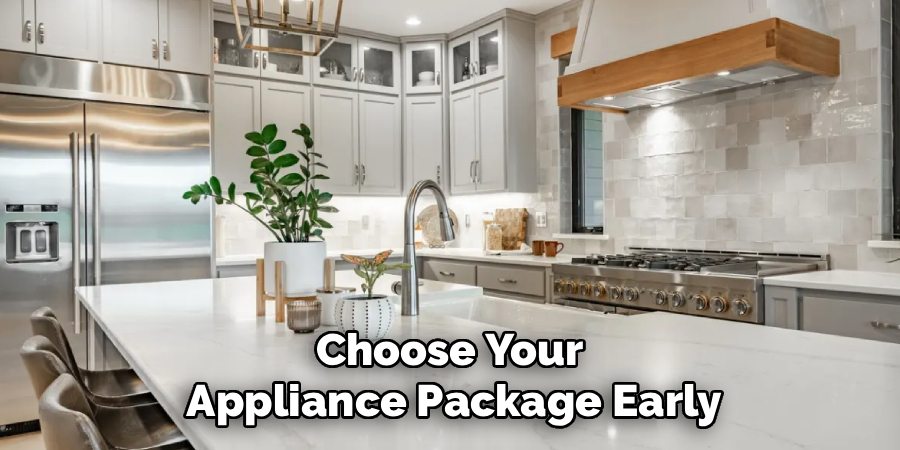
Decide on sink placement next. Many cooks love a sink under the window, while others tuck it into an island for a social, open feel. Pair it with a faucet that fits your daily rhythm.
Don’t overlook ventilation. A solid ventilation hood pulls steam, grease, and cooking smells out of the air, keeping your walls and lungs cleaner. Match the hood’s power to your cooktop size for real performance. These workhorse choices rarely get praise, but you’ll feel their value every time you sear, simmer, or scrub up afterward.
Step 7 – Add Flooring, Backsplash, and Finishes
Now the fun part begins, where your kitchen finally shows its personality. Choose durable flooring that handles spills, dropped pans, and constant foot traffic. Luxury vinyl, porcelain tile, and sealed wood all hold up beautifully in busy kitchens.
Pick a tile backsplash that ties your cabinets and countertops together. This vertical strip protects your walls from splatter while adding texture and color where the eye naturally lands.
Finish with hardware that feels good in your hand. Knobs and pulls are the jewelry of your cabinets, so test a few finishes against your chosen palette. Brushed brass, matte black, and warm nickel each set a different mood. These final details pull every element into one cohesive, welcoming space you’ll be proud to show off.
Step 8 – Plan the Island, Seating, and Pantry Access
If your room allows, an island delivers huge payoffs in workspace and gathering room. Leave at least forty-two inches of clearance around it so people move freely and drawers open fully.
Consider island seating for casual meals and homework sessions. Allow about twenty-four inches of width per stool and enough knee room beneath the overhang for real comfort.
Map your pantry access carefully too. A pantry near your prep zone keeps ingredients close, while a spot by the entry suits unloading groceries. Picture carrying a heavy bag from the car to the shelf, and place storage along that natural path. A well-placed island and smart pantry layout make your kitchen feel twice as functional without adding a single square foot.
Critical Mistakes When Designing a New Kitchen
Even enthusiastic beginners trip over a handful of predictable errors, and catching them early protects both your budget and your sanity. The most common mistake is skimping on storage. People underestimate how much they own and end up with cluttered counters and overflowing cabinets. Plan more drawer organization and pantry storage than you think you need, because a kitchen always fills up faster than expected.
Another frequent slip is ignoring the work triangle and traffic flow. Folks place the fridge across the room from the prep zone or route the main walkway straight through the cooking area. This creates constant collisions and wasted steps. Always test your flow on paper before committing to a layout.
Many homeowners also forget about clearances. Cramming appliances and an island too close together blocks doors, drawers, and easy movement. Respect those minimum gaps, especially the space around the dishwasher and oven.
Finally, people treat lighting as an afterthought. They install a single ceiling fixture and wonder why their counters sit in shadow. Layer your lighting from the start, and never skip the ventilation hood, since poor airflow leaves grease and odors clinging to everything you worked so hard to build.
Expert Tips
Want results that feel professionally planned? Lean on a few habits that pros swear by. Always build in a budget cushion of at least ten percent, since surprises hide behind every wall and old kitchens love to reveal them mid-project.
Standardize your measurements early. Lock in your cabinet depth and counter heights before ordering anything, because mismatched dimensions create awkward gaps and wasted money.
Prioritize the zones you use most. If you’re a passionate cook, invest in the prep zone and cooking zone before splurging on a showpiece island you’ll rarely use.
Finally, live with your plan for a week. Tape your layout onto the floor with painter’s tape and walk through your routine. You’ll feel instantly whether the spacing works, and adjusting paper costs nothing compared to moving real cabinets.
Frequently Asked Questions
What is the ideal kitchen work triangle?
The work triangle links your sink, stove, and refrigerator, the three points you use most while cooking. Each leg should measure between four and nine feet, with the total perimeter staying under twenty-six feet. This keeps movement efficient without forcing you to walk too far. Avoid placing major traffic paths or an island directly through the triangle, since that disrupts your flow and creates frustrating collisions during busy cooking sessions.
How much should I budget to design a new kitchen myself?
Costs vary widely based on size and finishes, but planning carefully keeps you in control. Focus your money where it counts:
- Cabinets and countertops usually claim the largest share
- Appliances and ventilation form the next big chunk
- Flooring, backsplash, and hardware round out the finishes
Always add a ten percent cushion for surprises. Doing the design and some labor yourself can save thousands compared to hiring a full-service firm.
What are good small kitchen design ideas?
In small kitchens, every inch matters, so go vertical and stay light. Tall cabinets reach unused wall space, while open shelving keeps the room feeling airy. Choose light countertop material and a simple tile backsplash to brighten the space. Pull-out organizers maximize awkward corners, and under-cabinet lighting makes prep safer. Stick with a galley or L-shaped layout, since these use compact footprints with smart, efficient flow.
Where should I place the sink and dishwasher?
Position your sink along the cleaning zone, ideally under a window for natural light or in an island for a social feel. Place the dishwasher directly beside it, within arm’s reach, so you can rinse and load without dripping across the floor. Keep plates and glasses stored nearby for easy unloading. This tight grouping forms an efficient cleaning zone that saves you countless steps every day.
How important is kitchen ventilation?
Ventilation is essential, not optional. A good ventilation hood removes steam, grease, and cooking odors before they settle on your cabinets, walls, and ceiling. It also improves air quality and protects your finishes over time. Match the hood’s capacity to your cooktop size for proper performance, and vent it outside whenever possible. Skipping this step leaves your fresh new kitchen smelling and looking grimy far too soon.
Conclusion
You’ve just walked through every stage, from measuring your space to choosing the hardware that ties it all together. The whole process comes down to a few friendly habits: measure carefully, plan your work triangle, zone your storage smartly, and layer your lighting from the start.
Remember the details that make the biggest difference. Generous landing space beside your appliances, a thoughtful sink placement, durable flooring underfoot, and a strong ventilation hood quietly working in the background all add up to a kitchen that feels effortless to use.
Knowing how to design a new kitchen hands you real creative control and confidence. You’ll save money, build a space tailored to your exact habits, and gain a skill you can reuse in RV kitchenettes, cabin spaces, and rental kitchens for years to come. So grab your tape measure, sketch that first rough layout, and start mapping your dream space today. Which corner of your kitchen will you plan first?

About
Nick Hall has spent the last seven years working at the intersection of kitchen design and home repair — first as a design assistant at a residential renovation studio, then as a freelance writer covering everything from cabinet layouts to leaky faucet fixes.
Her approach is simple: kitchens should look good and function well. That means she’s just as comfortable talking about color palettes and counter materials as she is walking readers through how to fix a wobbly cabinet hinge or troubleshoot a garbage disposal.
Nick has worked directly with homeowners on small-space kitchen makeovers, budget-conscious renovations, and the kind of everyday repairs that don’t need a contractor — just the right instructions. She writes from experience, not theory, and tests most of the fixes and tips she shares before publishing them.
When she’s not writing, Nick is usually hunting for mid-century kitchen finds at estate sales or helping friends plan their own renovations. She lives in Columbus, Ohio.