
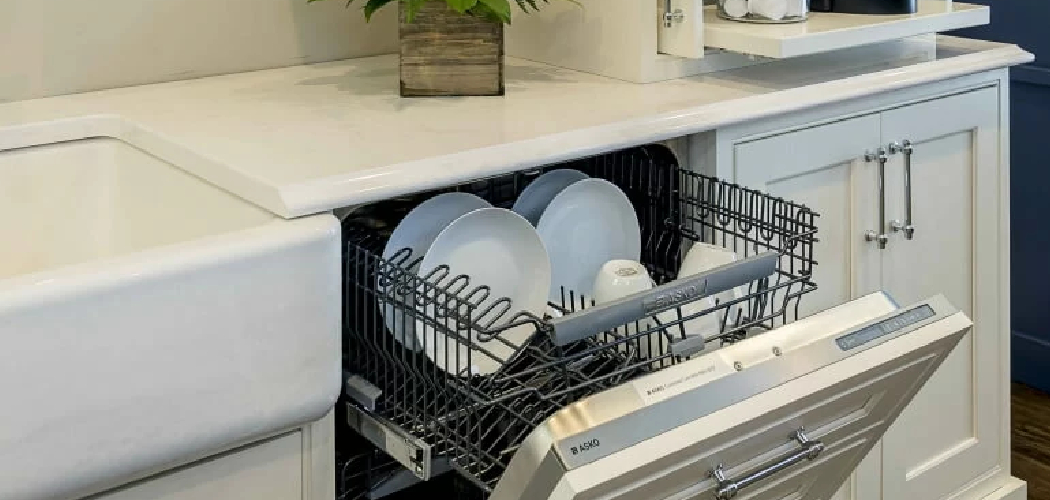
Sliding a new appliance into a tight kitchen space can feel intimidating, but it’s far more manageable than most people expect. If you’ve been staring at an empty gap in your cabinets and wondering whether you really need to call a pro, here’s some good news: learning how to fit a dishwasher into a cupboard is a project most home cooks can handle in an afternoon.
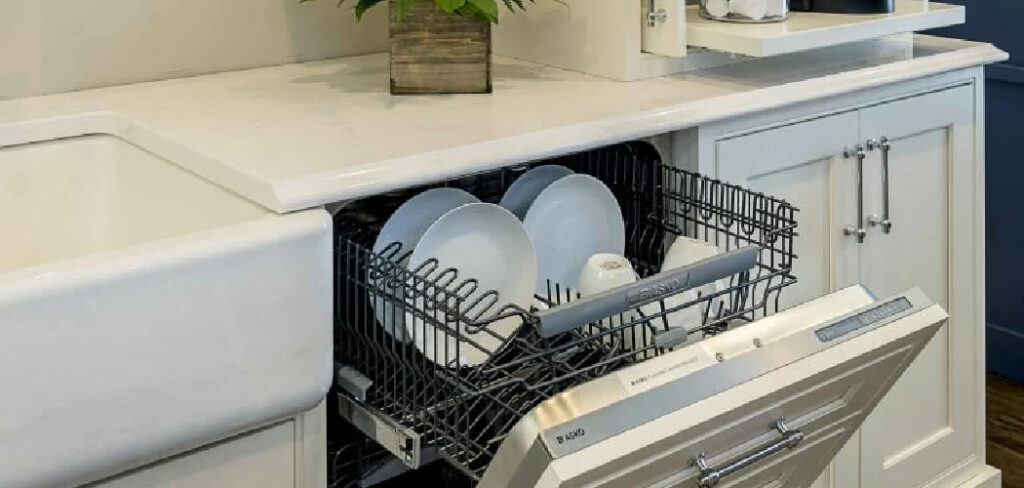
You don’t need years of experience or a van full of fancy gear. With a few common tools, a little patience, and clear steps, you can get the job done right. The result? A clean, built-in appliance that looks like it belongs there. This guide walks you through every stage, from prep to final checks, so you can finish with confidence and skip the technician fee.
Why Fitting a Dishwasher Into a Cupboard Matters
Tackling this job yourself saves real money. Installation fees add up fast, and you can put that cash toward something more fun.
Beyond the savings, doing it yourself gives you control. You decide how the unit sits, how snug the side gaps look, and whether everything lines up just right with your countertop clearance. Pros rush; you won’t.
There’s also the confidence boost. Once you’ve connected a water supply line and leveled an appliance on your own, other kitchen projects start feeling possible too. You learn how your plumbing and power connection actually work, which helps you spot small problems before they grow.
For busy households, that independence matters. No waiting on appointments, no surprise charges—just a tidy, integrated look you created with your own hands.
Tools and Materials You’ll Need
Gather everything before you start so you’re not running to the garage mid-project. Here’s your checklist:
- Adjustable wrench and pliers
- Phillips and flathead screwdrivers
- Spirit level
- Tape measure
- Bucket and old towels (for catching drips)
- Plumber’s tape (PTFE tape)
- Hose clamps
- Mounting brackets and screws (often included with the unit)
- Flashlight or headlamp for dark cabinet corners
- Voltage tester (to confirm power is off)
- Optional but handy: a knee pad or folded towel to cushion your knees during those long stretches on the floor
Having these within arm’s reach makes the whole process smoother. Trust me, nothing breaks your focus like hunting for a missing screwdriver halfway through.
Step-by-Step Guide on How to Fit a Dishwasher Into a Cupboard
Step 1 – Measure the cabinet opening
Start by measuring the cabinet opening on all sides. Grab your tape measure and check the height, width, and depth, then write the numbers down.
Most standard appliances need about 24 inches of width, but always confirm against your model’s specs. Compare those figures with the gap in your kitchen.
Pay attention to the depth too, since pipes and cables sit behind the unit and eat up space. Leave a little breathing room at the back for the water supply line and drain hose.
If the numbers feel tight, measure again before assuming the worst. Cabinets aren’t always perfectly square, so checking the front and back edges helps you avoid a frustrating surprise once the appliance is halfway in.
Step 2 – Shut off power and water
Safety first, always. Head to your electrical panel and switch off the circuit feeding the kitchen, then test the wires with a voltage tester to be sure the power connection is truly dead.
Next, find the shut-off valve under your sink and turn the water off. Open a nearby faucet to release any pressure still sitting in the pipes.
Place your bucket and towels underneath the valve area, because a little water usually trickles out when you disconnect lines. This small step keeps your cabinet floor dry and protects against early moisture problems.

Double-check both shut-offs before touching anything else. Working on live wires or open water lines turns a simple job into a dangerous one, and patience here pays off.
Step 3 – Prepare the hoses and cable
With everything off, route your hoses and cable through the cabinet wall. Most cabinets have a small hole on the side panel; if yours doesn’t, you may need to drill one.
Feed the water supply line, the drain hose, and the power cord through to the sink cabinet where the connections live. Keep them untangled and lay them flat so nothing kinks once the unit slides back.
Wrap plumber’s tape around the threaded fittings to create a tight seal. A few clockwise wraps usually do the trick.
Give each hose a gentle tug to confirm it reaches comfortably. Stretched or strained lines lead to leaks down the road, so leave a touch of slack for easy movement.
Step 4 – Position and level the unit
Now slide the appliance partway into the gap, just enough to reach the back connections later. Take it slow so you don’t pinch any hoses behind it.
Set your spirit level on top and across the front. The unit must sit flat in both directions, or it won’t drain properly and the door might swing oddly.
Adjust the leveling feet by turning them with your hand or a wrench. Raise or lower each corner until the bubble settles dead center.
A perfectly level appliance hums quietly and seals tight when closed. If it rocks even slightly, keep tweaking those feet. This is the moment where learning how to fit a dishwasher into a cupboard really tests your patience, but a level unit rewards you with years of trouble-free use.
Step 5 – Connect the water supply
Reach behind the unit and attach the water supply line to the inlet valve. Hand-tighten first, then snug it with your wrench—firm but not forced, since overtightening can crack the fitting.
Make sure the plumber’s tape you wrapped earlier seats cleanly into the threads. This seal does the heavy lifting against drips.
Keep that bucket nearby just in case. Once connected, you’ll test for leaks later, but a tidy connection now saves headaches.
Run your fingers along the joint to feel for looseness. The fitting should feel solid and steady, with no wobble.
Take your time aligning the threads straight before turning. Cross-threaded connections strip easily and leak almost instantly, so a calm, careful approach beats rushing every single time.
Step 6 – Attach the drain hose
The drain hose carries used water away, so this connection matters as much as the supply side. Loop the hose upward in a high arc before it drops to your drain or sink connection.
That loop, called a high loop, stops dirty water from flowing back into the appliance. Secure it to the underside of the countertop with a clip or zip tie.
Slide a hose clamp over the drain connection and tighten it firmly. A loose clamp here leads to slow drips and unpleasant smells.
Check that the hose isn’t pinched or crushed against the cabinet wall. Water needs a clear path out.
A well-routed drain hose keeps your appliance fresh and your cabinet dry, which guards against hidden moisture protection issues later on.
Step 7 – Wire the power connection
Time to handle the power connection. Confirm one more time that the circuit is off using your voltage tester—never skip this.
Open the junction box, usually found at the lower front or back of the unit. Match the wires by color: black to black, white to white, and the green or bare wire to the ground screw.
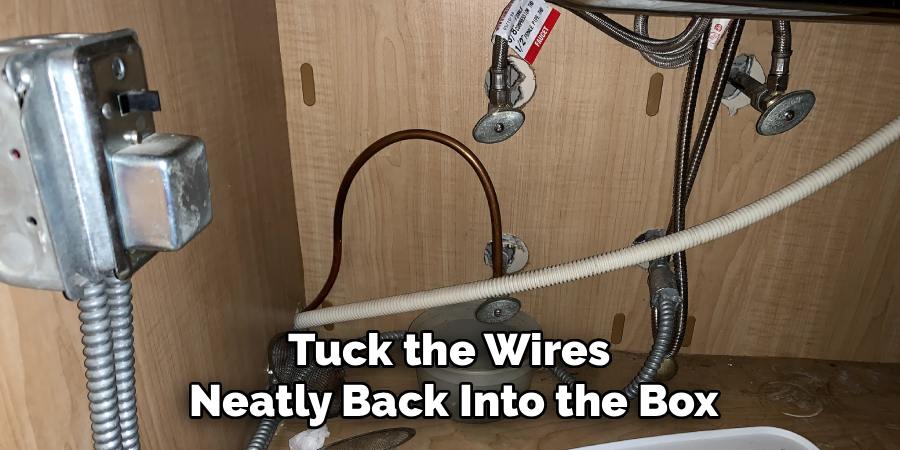
Twist each pair together and cap them with the connectors provided. Tug gently to confirm they hold.
Tuck the wires neatly back into the box and replace the cover plate. Loose strands shouldn’t poke out anywhere.
If your home uses a plug-and-socket setup instead, simply push the cord firmly into the outlet. Either way, secure wiring keeps your appliance running safely and prevents flickering or sudden shutdowns.
Step 8 – Slide it in and secure
Now push the appliance fully into place, guiding the hoses and cable so nothing snags behind it. Go slowly and peek behind a few times.
Once it’s flush, check the side gaps. Even spacing on both edges gives you that clean, integrated look professionals charge so much for.
Fasten the mounting brackets to the underside of the countertop or the cabinet sides, depending on your model. These screws stop the unit from tipping forward when you pull out a loaded rack.
Snap the kick plate onto the bottom front to hide the feet and connections. It clicks or screws into place easily.
Step back and admire the fit. A snug, secure appliance feels solid and looks like it was always meant to be there.
Step 9 – Test and check for leaks
The final step is the satisfying one. Turn the water and power back on, then run a short rinse cycle.
Watch closely under and behind the unit with your flashlight. Look for any drips around the water supply line or drain hose connections.
Touch the fittings to feel for moisture. A dry joint means your seals held perfectly.
Listen for smooth filling and draining sounds. Gurgles or sputters can signal a kinked hose or a loose clamp worth checking.
Confirm the countertop clearance lets the door open fully without scraping. If everything stays dry and quiet, congratulations—you did it.
Wipe down the area, replace any items you moved, and enjoy that fresh, finished feeling of a job well done.
Critical Mistakes When Fitting a Dishwasher Into a Cupboard
Even careful beginners trip over a few common errors, so let’s cover them before they cost you.
The biggest mistake is skipping accurate measurements. People eyeball the gap, shove the unit in, and then discover it won’t sit flush or the door won’t clear the countertop. Always measure the cabinet opening twice and compare it to the spec sheet before buying or installing anything.
Another frequent slip-up is forgetting the high loop in the drain hose. Without that upward arc, dirty water flows back into the appliance, leaving odors and poor cleaning results. It takes thirty seconds to clip the hose high, so don’t rush past it.
Many folks also overtighten the water supply fittings, thinking tighter equals safer. In reality, too much force cracks plastic threads and causes leaks the moment you turn the water on. Snug is enough.
Ignoring the leveling feet ranks high too. A tilted unit drains poorly, vibrates loudly, and wears out faster. Spend the extra minutes balancing it.
Finally, never wire the power connection without testing that the circuit is truly off. That single shortcut can cause serious injury, so verify every time.
Expert Tips
A few small habits separate a smooth install from a stressful one. First, lay an old blanket on the floor before sliding the unit in—it protects both your flooring and the appliance from scratches.
Keep a phone flashlight or headlamp handy, since cabinet corners stay dark even in bright kitchens. Seeing those connections clearly prevents mistakes.
When checking the side gaps, place a coin or thin spacer on each edge to keep the unit centered while you fasten the brackets. This little trick delivers that even, integrated look effortlessly.
Finally, snap a quick photo of the wiring before you cap it. If anything acts up later, you’ll have a reference instead of guessing. These tiny steps add real polish and save you time if you ever need to revisit the job.
Frequently Asked Questions
How long does this installation usually take?
Most beginners finish in about two to three hours. If it’s your first time, give yourself the full afternoon so you’re not rushing. Experienced DIYers often wrap up in under ninety minutes. The biggest time savers are measuring carefully beforehand and gathering every tool first. Rushing the leveling or connections only creates problems, so steady pacing beats speed here.
Do I need a plumber or electrician?
For most standard setups, no. If your kitchen already has the water valve, drain connection, and outlet in place, you can handle it yourself. You’d only call a pro if you need brand-new plumbing or electrical lines installed in a cabinet that has none. When in doubt about wiring, a quick consult never hurts.
What if the cabinet opening is slightly too small?
Small gaps are often fixable. You can:
- Trim a thin strip from the cabinet side panel
- Adjust the leveling feet to lower the unit’s height
- Remove a decorative filler strip if one is present
If the space falls short by more than an inch, though, consider a slimmer model rather than forcing a tight fit that damages your cabinets.
Why is leveling the appliance so important?
Leveling affects everything. An unbalanced unit drains poorly, leaving standing water inside. It also vibrates loudly, rattles against cabinets, and wears out parts faster. A level appliance seals tightly when closed, runs quietly, and lasts longer. Spend a few extra minutes adjusting the feet until your spirit level reads dead center—it’s worth every second.
How do I prevent leaks after installation?
Use plumber’s tape on threaded fittings, tighten connections firmly but gently, and add a high loop to the drain hose. After your first test cycle, check every joint with a flashlight and your fingers. Catching a tiny drip early prevents bigger moisture protection headaches. Re-check the area after a day or two of normal use, just to be safe.
Conclusion
You’ve now got everything you need to tackle this project with confidence. From measuring the cabinet opening and shutting off the power and water, to leveling the unit and testing for leaks, each step builds toward a clean, secure result you’ll be proud of.
The key takeaways are simple: measure carefully, work safely, and take your time with the connections. Don’t rush the leveling feet, never skip the high loop, and always confirm the power is off before touching wires. These small habits make the difference between a wobbly setup and a polished, integrated look.
The best part? You handled it yourself, saved the technician fee, and learned skills you’ll use again. That confidence carries into your next kitchen project too.
So grab your tools, clear that space, and trust the process. Knowing how to fit a dishwasher into a cupboard is one of those satisfying wins that makes your kitchen feel truly yours. Go enjoy that fresh, finished look—you earned it.

About
Nick Hall has spent the last seven years working at the intersection of kitchen design and home repair — first as a design assistant at a residential renovation studio, then as a freelance writer covering everything from cabinet layouts to leaky faucet fixes.
Her approach is simple: kitchens should look good and function well. That means she’s just as comfortable talking about color palettes and counter materials as she is walking readers through how to fix a wobbly cabinet hinge or troubleshoot a garbage disposal.
Nick has worked directly with homeowners on small-space kitchen makeovers, budget-conscious renovations, and the kind of everyday repairs that don’t need a contractor — just the right instructions. She writes from experience, not theory, and tests most of the fixes and tips she shares before publishing them.
When she’s not writing, Nick is usually hunting for mid-century kitchen finds at estate sales or helping friends plan their own renovations. She lives in Columbus, Ohio.