
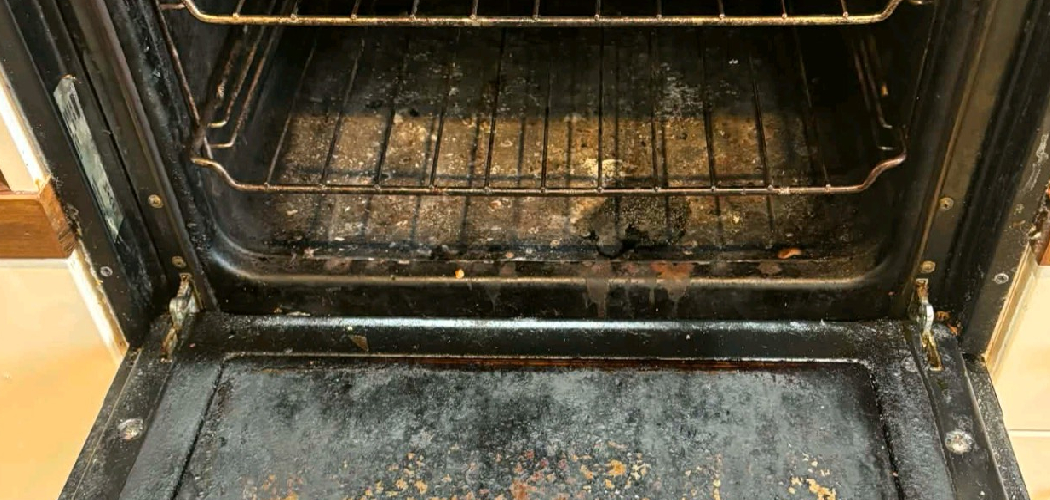
The bottom of your oven catches more than you may realize. Spilled pie filling, baked-on cheese, crumbs, grease, and burnt food can hide under or around the oven floor, especially if your model has a removable base panel. If you are learning how to remove bottom of oven parts for the first time, the process may feel intimidating, but most designs are simple once you know what to look for.
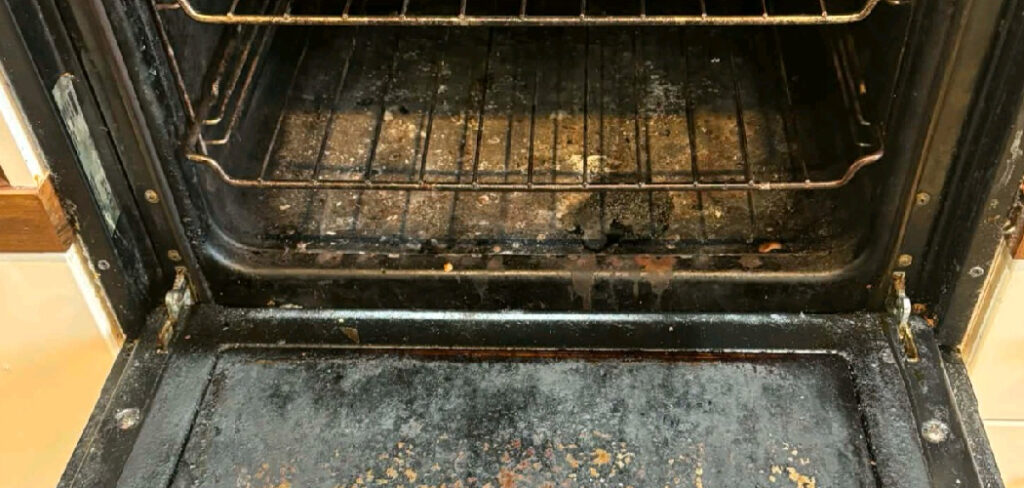
The key is to move slowly, protect the enamel surface, and avoid forcing any panel, screw, or retaining clip. Some ovens allow easy removal for cleaning access, while others use fixed interior panels that should stay in place.
This guide shows you how to remove the oven bottom safely, clean beneath it, and reinstall it correctly.
Why Removing the Bottom of Your Oven Matters for Everyday Users
Removing the bottom of your oven can make deep cleaning easier and help you find hidden messes that cause smoke, odors, or uneven heating. When food spills run beneath the oven panel or bake element cover, they can harden into black residue. Over time, that buildup may smell every time the oven preheats.
This skill also helps you inspect the oven floor for damage, loose screws, warped metal, or grease trapped near the heating element. If you cook often, bake casseroles, roast meats, or use your oven during busy weeknights, a clean base supports better performance.
You do not need to be an appliance technician to handle basic cleaning access, but you do need patience, safety awareness, and the right steps.
Tools and Materials You’ll Need
You only need a few basic items to remove many oven bottom panels. Before you begin, check your appliance manual or model number because oven designs vary by brand, age, and fuel type.
- Protective gloves to shield your hands from sharp edges
- Flashlight or headlamp for seeing screws and retaining clips
- Phillips-head screwdriver or nut driver, depending on your model
- Small bowl or magnetic tray for holding screws
- Soft cloth or towel to protect the oven door and floor
- Mild dish soap, warm water, and a non-scratch sponge
- Plastic scraper for loosened crumb buildup or grease
- Appliance manual or model number for reference
- Optional convenience item: phone camera to photograph each step before removal
Avoid harsh tools that can scratch the enamel surface or bend the removable base panel.
Step-by-Step Guide on How to Remove Bottom of Oven
Step 1 – Let the Oven Cool Completely
Start with a cold oven. Even if the appliance has been off for a while, the oven floor, racks, and heating element can hold heat longer than expected. Open the door and place your hand near the opening without touching the metal. If you still feel warmth rising, wait longer.
This first step protects your skin and helps you work with a clear head. A warm enamel surface can also be easier to scratch because grease and residue may still feel sticky.
Remove any cookware from inside the oven. If the space smells burnt or smoky, let it air out before you begin. Good visibility and a cool interior make the rest of the job much safer.
Step 2 – Disconnect Power or Shut Off the Breaker
Before touching screws, clips, or any interior panel, disconnect power to the oven. If you have a freestanding electric range, unplug it if the plug is easy to reach. For a wall oven or hardwired appliance, turn off the correct breaker at the electrical panel.
This matters because the bake element, light, and control parts can connect to live electrical circuits. Even if you are only removing a cover panel, you should treat the appliance with care.
If you have a gas oven, avoid disturbing gas lines or burner parts. Turn the oven control off and follow your manual’s safety directions. When in doubt, stop and call a qualified appliance technician.
Step 3 – Remove the Oven Racks
Slide out the oven racks to give yourself room to work. Pull each rack forward until it reaches the stop point, then lift the front slightly and guide it out. Set the racks on a towel so they do not scratch your floor or countertop.
With the racks removed, you can see the oven bottom clearly. Look for screws at the back corners, small tabs along the sides, or a front lip that fits under the oven frame.
This is a good time to check whether your model has a visible bake element or a hidden bake element under the oven floor. The design affects how the bottom panel comes out.
Step 4 – Inspect the Oven Floor and Fasteners
Now look closely at the oven floor. Use a flashlight to find screws, retaining clips, slots, or raised edges. Some removable base panels lift from the back first, while others slide forward after you remove one or two screws.
Many beginners searching for how to remove bottom of oven instructions assume every panel lifts the same way. It does not. Some oven bottoms are designed for cleaning access, while others cover important parts and should not be forced.
Check the corners for baked-on grease that may hide screw heads. If you see heavy residue, wipe the area gently with a damp cloth before using your screwdriver. A clean screw head is less likely to strip.
Step 5 – Remove Screws or Release Retaining Clips
If your oven bottom has screws, choose the correct screwdriver or nut driver and press firmly into the head. Turn slowly to avoid stripping the screw. Place each screw in a small bowl or magnetic tray as soon as it comes out.
If your model uses retaining clips, press or lift them gently based on the panel design. You may feel a small click when the clip releases. Do not pry hard against the enamel surface, because it can chip or crack.
If a screw feels stuck, pause. Apply light pressure again and make sure your tool fits. A rushed twist can turn a simple cleaning job into a repair problem.
Step 6 – Lift or Slide Out the Bottom Panel
Once the fasteners are free, test the panel with both hands. Lift from the rear edge if the back is loose, or slide the panel forward if it sits under side tabs. The metal may feel thin, slightly flexible, and gritty from old crumbs along the edges.
This is where how to remove bottom of oven guidance becomes practical: move the panel only in the direction it naturally wants to go. If it catches, stop and inspect the sides, back corners, and front lip again.
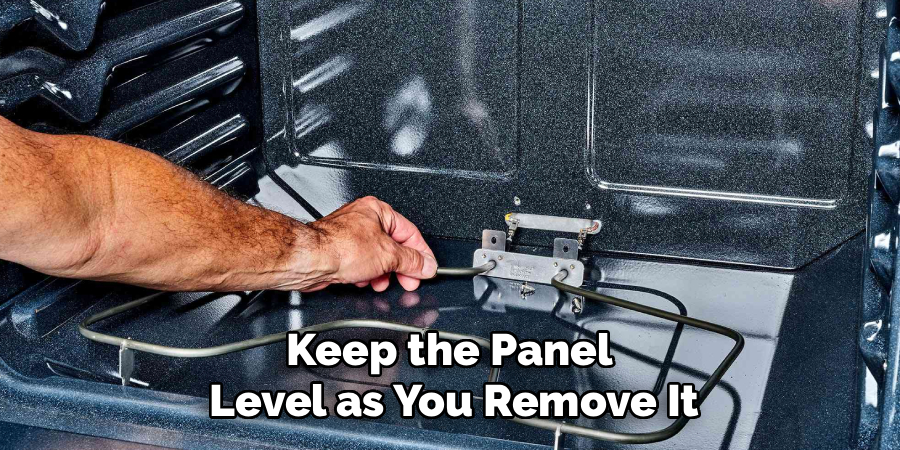
Keep the panel level as you remove it. Loose crumbs, flakes of burnt food, or grease spots may fall, so work slowly and keep a towel nearby.
Step 7 – Clean the Exposed Area Carefully
With the oven bottom removed, you may see crumb buildup, hardened grease, or dark stains on the lower interior. Use a vacuum hose only if the area is fully cool and dry, and avoid touching wires, burners, or the heating element. A soft brush or damp cloth works well for loose debris.
For sticky residue, use warm water, mild dish soap, and a non-scratch sponge. Let the moisture sit for a few minutes, then wipe gently. A plastic scraper can help lift softened food without gouging the enamel surface.
Do not soak the exposed area. Excess water can run into seams or electrical spaces. Keep cleaning controlled and dry everything before reassembly.
Step 8 – Reinstall the Panel and Test the Oven
Before reinstalling the removable base panel, check that it is not bent, cracked, or covered with loose debris. Wipe both sides and dry it well. Then guide it back into place using the same angle you used for removal.
Fit the front lip, side tabs, or rear edge first, depending on your model. The panel should sit flat without rocking. Replace screws by hand at first so they do not cross-thread, then tighten them until snug. Do not overtighten, because thin oven metal can warp.
Reconnect power when everything is secure. Turn the oven on for a short preheat and watch for smoke, unusual smells, rattling, or error codes. A mild cleaning odor can be normal, but heavy smoke means residue remains.
Common Mistakes When Removing the Bottom of an Oven
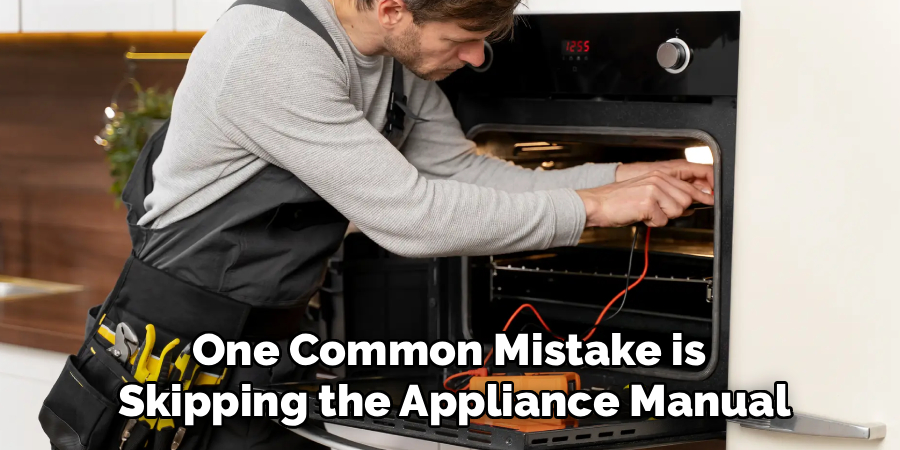
One common mistake is skipping the appliance manual. Ovens may look similar from the outside, but the interior panel design can vary a lot. Some models have a removable oven floor, while others have a fixed bottom above hidden heating parts. If you force a fixed panel, you may bend metal, crack enamel, or damage wiring.
Another mistake is working while the oven is still warm or connected to power. Heat can burn your hands, and electricity adds needless risk. Always let the appliance cool and disconnect power before you touch screws or interior parts.
People also often confuse the oven bottom with the bake element cover. On some models, the cover sits above the heating element and needs careful handling. Pulling it too hard can stress nearby clips or brackets.
A final mistake is using sharp metal tools to scrape grease. Steel blades can leave permanent scratches in the enamel surface. Once enamel chips, food and moisture can collect there, making future cleaning harder.
Expert Tips
Take photos before you remove anything. A quick picture of the screw locations, panel angle, and clip placement can save you time during reassembly. This is especially helpful if you are new to appliance maintenance.
Work under bright light and keep your tools within reach. Oven interiors are dark, and small screws can disappear quickly against a black enamel surface. A towel on the open door can also catch crumbs and protect the finish.
If you feel resistance, do not force the panel. Stop, look for another screw or tab, and check the manual. A properly removable oven bottom usually releases with steady, controlled movement, not heavy prying.
Frequently Asked Questions
Can Every Oven Bottom Be Removed?
No, not every oven bottom is removable. Some ovens have a base panel designed for cleaning access, while others have a fixed oven floor that protects hidden components. Check your appliance manual or model diagram before starting. If you see no screws, tabs, or release points, do not pry. Forcing a non-removable panel can cause damage.
Why Is There Smoke Coming From Under the Oven Floor?
Smoke often comes from grease, crumbs, sugary spills, or food residue trapped under the oven panel. When the oven heats, that debris can burn and release smoke or odors. Removing a removable base panel may help you clean the hidden area. If smoke continues after cleaning, inspect for damaged parts or call a technician.
Should I Remove the Heating Element First?
In most beginner cleaning jobs, you should not remove the heating element unless the manual clearly tells you to do so. Heating elements connect to electrical terminals and can be damaged if pulled or twisted. Many oven bottom panels come out without moving the element. If the element blocks access, stop and follow model-specific service instructions.
What If the Screws Are Stuck?
If the screws are stuck, make sure the oven is cool and the screwdriver fits tightly. Press straight into the screw and turn slowly. You can clean around the screw head with a damp cloth if grease is blocking the tool. Avoid forcing it, since stripped screws are harder to remove and may require professional help.
Is It Safe to Use Oven Cleaner Under the Bottom Panel?
Use caution with oven cleaner under the bottom panel. Many chemical cleaners can damage sensors, heating parts, wiring, or unprotected metal if they seep into hidden areas. Mild dish soap, warm water, and controlled wiping are safer for most cleaning access jobs. If your manual approves a specific cleaner, follow the directions exactly and rinse carefully.
Conclusion
Removing the bottom of your oven is a practical skill that can help you clean hidden messes, reduce smoke, and keep your appliance working more smoothly. Start with safety: let the oven cool, disconnect power, remove the racks, and inspect the oven floor before touching any fasteners. Then release screws or clips carefully, lift or slide the panel out, clean with gentle tools, and reinstall everything securely.
The best way to learn how to remove bottom of oven parts is to respect the design of your specific model. If the panel does not move easily, there is usually a reason. Look for another fastener, check the appliance manual, or ask a professional before forcing anything.
Once you finish, you will understand your oven better and feel more confident handling basic maintenance. A clean, correctly fitted oven bottom makes everyday cooking safer, fresher, and easier.

About
Nick Hall has spent the last seven years working at the intersection of kitchen design and home repair — first as a design assistant at a residential renovation studio, then as a freelance writer covering everything from cabinet layouts to leaky faucet fixes.
Her approach is simple: kitchens should look good and function well. That means she’s just as comfortable talking about color palettes and counter materials as she is walking readers through how to fix a wobbly cabinet hinge or troubleshoot a garbage disposal.
Nick has worked directly with homeowners on small-space kitchen makeovers, budget-conscious renovations, and the kind of everyday repairs that don’t need a contractor — just the right instructions. She writes from experience, not theory, and tests most of the fixes and tips she shares before publishing them.
When she’s not writing, Nick is usually hunting for mid-century kitchen finds at estate sales or helping friends plan their own renovations. She lives in Columbus, Ohio.