
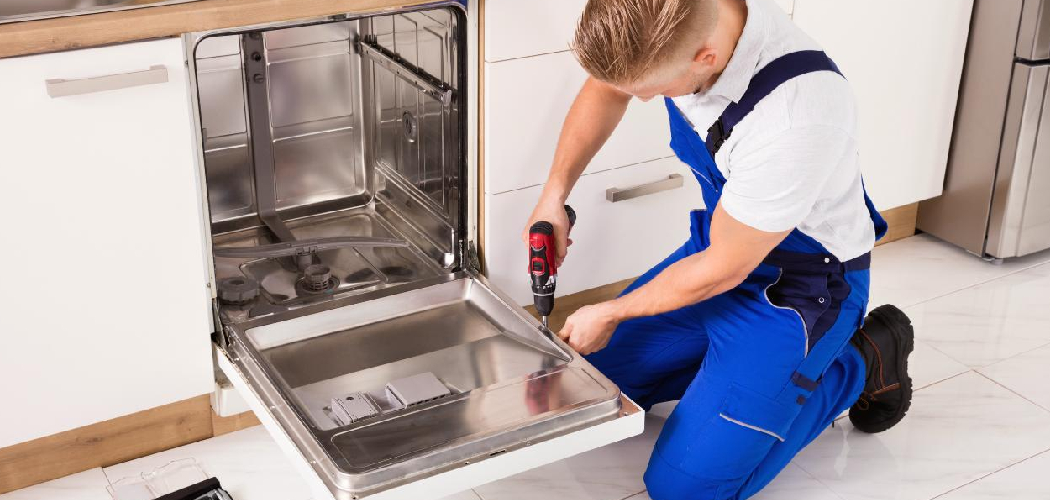
Finding water creeping across your kitchen floor is enough to ruin anyone’s morning. The good news is that most dishwasher leaks come from simple, fixable parts, not from some catastrophic failure. If you’ve been wondering how to repair leaking dishwasher problems without calling in a pricey technician, you’re in exactly the right place.
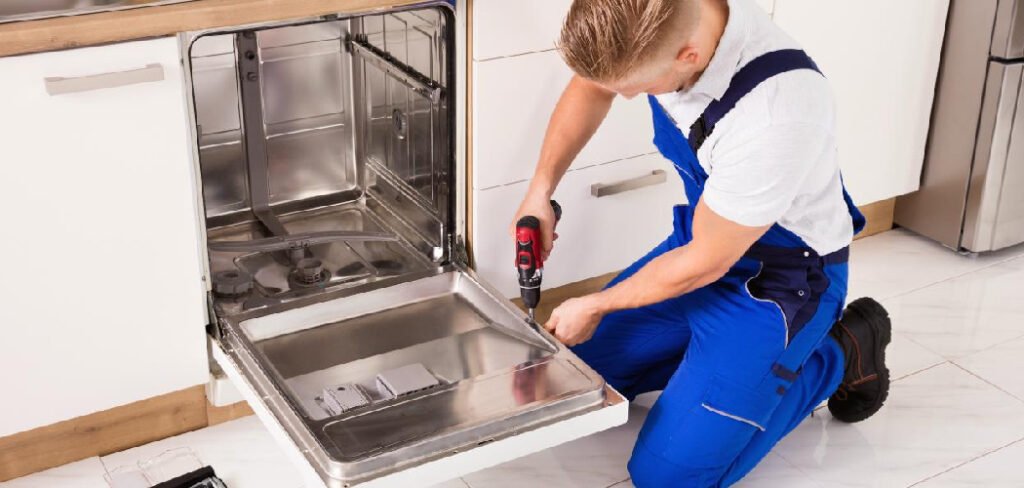
You don’t need years of training to fix this. With a few common tools and a calm, careful approach, you can track down the source and stop the drip in an afternoon. Most leaks trace back to a tired door gasket, a loose hose clamp, or a stuck float switch.
This guide walks you through finding the leak, fixing it safely, and testing your work so your kitchen stays dry and your dishes keep sparkling.
Why Learning to Repair a Leaking Dishwasher Matters
Knowing how to handle a dishwasher leak saves you real money and the frustration of waiting days for an appointment. A service call alone can run a hundred dollars or more before any parts even enter the picture. When you understand the problem, you stay in control of both the fix and your budget.
This skill builds genuine self-reliance, too. Once you see how a door seal, float switch, and drain hose work together, you’ll spot small troubles before they soak your cabinets.
That confidence travels with you. Campers, cabin owners, and outdoor beginners setting up compact kitchens rarely have a repair pro on speed dial. Learning these basics means you can keep things running smoothly anywhere, whether at home or off the grid.
Tools and Materials You’ll Need
Gather everything before you begin so you’re not hunting for a screwdriver mid-job. You’ll want both a Phillips and a flathead screwdriver, an adjustable wrench, and a pair of pliers for loosening fittings and clamps. Keep a bucket and plenty of towels nearby to catch standing water, plus a flashlight or headlamp to brighten the dark space beneath the tub.
For replacements, have a new door gasket on hand if yours looks cracked, along with spare hose clamps and a fresh drain hose. A matching pump seal or sump gasket helps if the leak sits underneath. White vinegar clears away detergent residue, and paper towels make your leak test easy to read.
One optional convenience item worth grabbing is a small inspection mirror, which lets you peek behind the tub and under the kick plate without contorting yourself.
Step-by-Step Guide on How to Repair Leaking Dishwasher
Step 1 – Identify exactly where the leak appears
Before touching a single screw, figure out where the water actually shows up. Gently pull the dishwasher away from the cabinet and spread towels around the base to soak up any standing water.
If it’s safe, watch closely during a short run. Does water pool at the front door, drip from underneath, or seep along a side panel? Each spot points to a different culprit.
A front-door puddle usually means a worn door gasket. Water collecting underneath often signals a hose, pump seal, or sump problem. You may even catch the faint, musty smell of standing water lingering in the cabinet. Pinpointing the source now keeps you from tearing apart parts that work perfectly fine.
Step 2 – Disconnect power and shut off the water
Safety comes first, always. Head to your breaker panel and switch off the circuit feeding the dishwasher, or unplug it directly if the cord sits within reach under the sink.
Next, locate the water inlet shutoff valve, usually beneath the sink, and turn it clockwise until it stops firmly. This cuts the supply so no surprise spray catches you when you loosen a fitting.
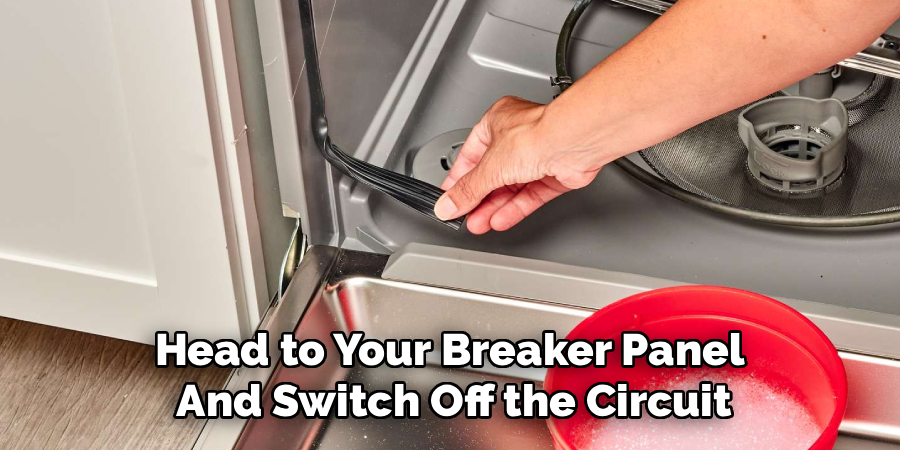
Open the door and check the bottom of the tub for leftover water. Sponge it into your bucket so you can work in a dry space. Never poke around live electrical or water connections. These two quiet minutes protect you from shocks and keep a simple repair from turning into a soaked, frustrating mess.
Step 3 – Inspect the door gasket and latch
The door gasket is the rubber seal hugging the door opening, and it’s the top cause of front leaks. Run your finger slowly along its entire length.
Feel for cracks, brittle patches, or flattened sections that have given up over time. A worn door seal can’t press tight anymore, so water sneaks past during the rinse cycle. You might spot crusty detergent residue packed into the folds.
Wipe the gasket clean with a vinegar-dampened cloth, then check the fit again. If it’s hardened or torn, peel it out and press a fresh one firmly into the channel. Test the latch as well, since a door that won’t close snugly leaves a gap. A clean, springy gasket and a solid latch fix many leaks instantly.
Step 4 – Check the float switch and water level
Sometimes the dishwasher simply overfills, and water spills over the tub edge. The float switch manages the water level, so it deserves a careful look.
Find the small plastic float on the floor of the tub, usually near the front. Lift it gently with a finger. It should glide up and down freely with a light click. If it feels stuck or gritty, debris or detergent residue may be jamming it.
Clean around the base and clear anything blocking its movement. A stuck float lets the machine fill past the safe water level, pushing water out the door seal. It’s one of the easiest fixes you’ll find, yet it’s often the hidden reason behind a stubborn dishwasher leak.
Step 5 – Inspect the spray arms
Loose or cracked spray arms can fling water sideways, creating leaks that seem to come from nowhere. Slide out the lower rack so you can reach them comfortably.
Spin each spray arm by hand. It should rotate smoothly without wobbling. If you hear a rattling sound or feel it shifting on its mount, the connection has likely worked itself loose over time.
Check the tiny nozzle holes too. Clogs from food bits or hard-water buildup force water out at odd angles. Soak a clogged arm in warm vinegar and clear the holes with a toothpick. Reseat it firmly until it clicks back into place. A secure, clean spray arm sends water exactly where it belongs, not splashing past the door.
Step 6 – Examine the drain hose and inlet valve
Now move to the connections behind and below the unit. The drain hose carries dirty water out, while the inlet valve lets clean water in, so both rank high on the suspect list.
Trace the drain hose from the tub to the sink drain or disposal. Look for cracks, soft spots, or moisture around the hose clamp. Damp insulation or a wet hose tells you precisely where water escapes.
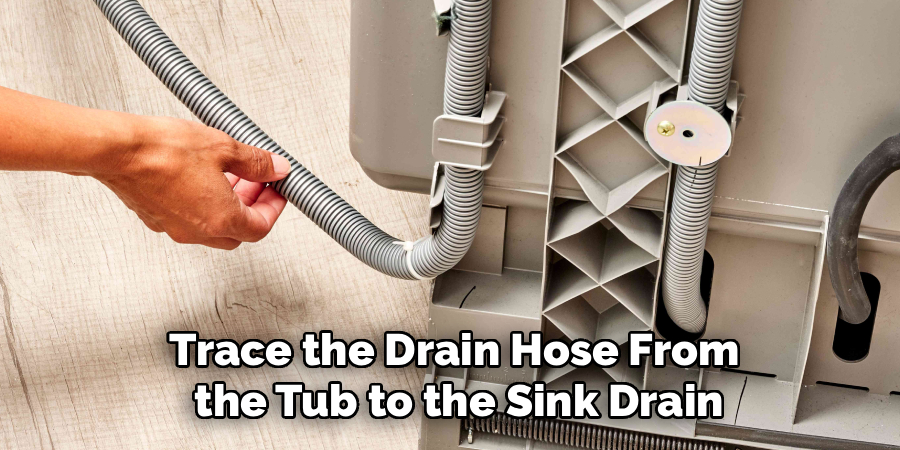
Then inspect the water inlet valve where the supply line connects. A slow drip here leaves mineral crust and a steady trickle. Learning how to repair leaking dishwasher connections often comes down to catching these worn hoses and fittings early, before water spreads beneath your flooring and warps it.
Step 7 – Tighten or replace clamps and seals
Once you’ve found the weak spot, it’s time to fix it for good. Grab your pliers or wrench and snug up any loose hose clamps you spotted earlier.
Don’t crank them too hard, since overtightening cracks plastic fittings. Aim for firm and secure, then tug the hose gently to confirm it holds steady.
If a clamp looks rusted or a hose is split, swap it for a fresh one. For under-tub leaks, the pump seal or sump gasket may be the troublemaker. Replacing these takes a bit more effort, but a new seal pressed cleanly into place stops the drip permanently. Wipe everything dry afterward so you can clearly spot any new moisture when you test.
Step 8 – Run a test cycle and confirm the fix
Now for the moment of truth. Restore the water at the shutoff valve and flip the power back on at the breaker. Make sure the floor under and around the dishwasher is completely dry first.
Start a short rinse cycle and stay close. Listen for smooth operation and watch every spot you worked on. Lay dry paper towels beneath the drain hose, inlet valve, and front door so even a tiny damp patch stands out during your leak test.
Let the full cycle finish if those first minutes stay dry. When the towels remain clean and no water escapes the tub or door, your repair worked. Slide the unit back into place and enjoy the quiet relief of a dry kitchen floor.
Critical Mistakes When Repairing a Leaking Dishwasher
Even careful DIYers stumble over a few avoidable errors, so knowing them ahead keeps you safe and saves you a redo. The biggest mistake is skipping the power and water shutoff. People assume a quick peek is harmless, then face a shock hazard or a soaked cabinet. Always cut both before touching any connection.
Another common slip is replacing parts before finding the real source. Folks see a puddle and immediately swap the door gasket, only to discover the water was actually escaping from a cracked drain hose. Diagnose first, then fix. Otherwise you waste money and time on parts that were never the problem.
Overtightening clamps and fittings creates its own headache. Plastic connectors crack under too much force, producing a slow leak that’s tricky to trace later. Snug is the goal, not crushing pressure.
Many people also forget to clean detergent residue off the door seal. That buildup stops the gasket from sealing, so the leak returns even after a so-called fix. Finally, skipping the test cycle leaves you guessing. Always run a full leak test on a dry floor before declaring the job complete.
Expert Tips
A handful of small habits make repairs faster and far cleaner. Snap a quick photo before you disconnect any hose or part. That reference image saves you confusion when reassembly time arrives.
Keep your flashlight within reach, since the space under the tub stays dark and shadowy. You’ll spot damp insulation and tiny drips much more easily with good light.
Run your fingertip along seals and fittings rather than relying on your eyes alone. Moisture you can’t see is often easy to feel. When you find a wet spot, dry it fully, then watch whether it returns.
Clean your dishwasher monthly with a vinegar rinse cycle to prevent detergent residue from wearing down the door gasket. And always match replacement parts to your exact model number, since seals and hoses vary more than you’d expect.
Frequently Asked Questions
Why is my dishwasher leaking from the bottom?
Bottom leaks usually trace back to one of a few spots:
- A cracked or loose drain hose
- A worn pump seal or sump gasket
- A dripping water inlet valve
Pull off the lower kick plate and look for the wettest area. Dry everything completely, run a short cycle, and watch where moisture reappears. That reveals exactly which connection or seal needs tightening or replacing.
Can I run my dishwasher while it’s leaking?
It’s best not to. Running a leaking dishwasher can soak your subfloor, ruin cabinets, and even create an electrical hazard if water reaches the wiring. Shut off the power and water, then diagnose the problem first. A short, supervised test run to locate the leak is fine, but avoid full cycles until you’ve fixed the source and confirmed a dry floor.
How much does it cost to fix a leaking dishwasher myself?
Doing it yourself is wonderfully affordable. A new door gasket runs around fifteen to thirty dollars, hose clamps cost just a few dollars, and a replacement drain hose usually stays under twenty. Compare that to a hundred dollars or more for a technician visit. Most repairs need only basic tools you probably already own, making this a budget-friendly weekend project.
How do I know if my door gasket needs replacing?
Run your finger along the rubber seal and feel for cracks, stiffness, or flat spots. If it looks crusty with detergent residue or feels brittle instead of springy, it’s worn out. Try a simple test: close the door on a strip of paper and tug. If the paper slides out easily, the seal isn’t gripping and likely needs replacing.
How long does a typical leak repair take?
For most home DIYers, plan on one to two hours. Simple fixes like cleaning a stuck float switch or tightening a hose clamp take only minutes. Replacing a door gasket or pump seal adds more time. The bulk of your effort goes into diagnosing the leak and running a careful test cycle afterward, so don’t rush those steps.
Conclusion
Tracking down a dishwasher leak feels intimidating at first, but it really comes down to patient detective work. You’ve now seen the full process: identify where the water appears, cut the power and supply, inspect the door gasket and latch, check the float switch and spray arms, examine the drain hose and inlet valve, tighten or replace worn seals, and finish with a careful leak test.
The secret isn’t speed; it’s finding the true source before you swap any parts. A clean gasket, snug clamps, and a dry floor during testing make all the difference between a lasting repair and a returning drip.
Take pride in this work. You’ve saved money, protected your kitchen from water damage, and gained a genuinely useful skill. Knowing how to repair leaking dishwasher issues means you’ll never feel stuck waiting on a service call again.
So grab your towels, gather your tools, and trust the process. Run that final rinse cycle, watch those paper towels stay dry, and enjoy the quiet satisfaction of a job done right.

About
Nick Hall has spent the last seven years working at the intersection of kitchen design and home repair — first as a design assistant at a residential renovation studio, then as a freelance writer covering everything from cabinet layouts to leaky faucet fixes.
Her approach is simple: kitchens should look good and function well. That means she’s just as comfortable talking about color palettes and counter materials as she is walking readers through how to fix a wobbly cabinet hinge or troubleshoot a garbage disposal.
Nick has worked directly with homeowners on small-space kitchen makeovers, budget-conscious renovations, and the kind of everyday repairs that don’t need a contractor — just the right instructions. She writes from experience, not theory, and tests most of the fixes and tips she shares before publishing them.
When she’s not writing, Nick is usually hunting for mid-century kitchen finds at estate sales or helping friends plan their own renovations. She lives in Columbus, Ohio.