
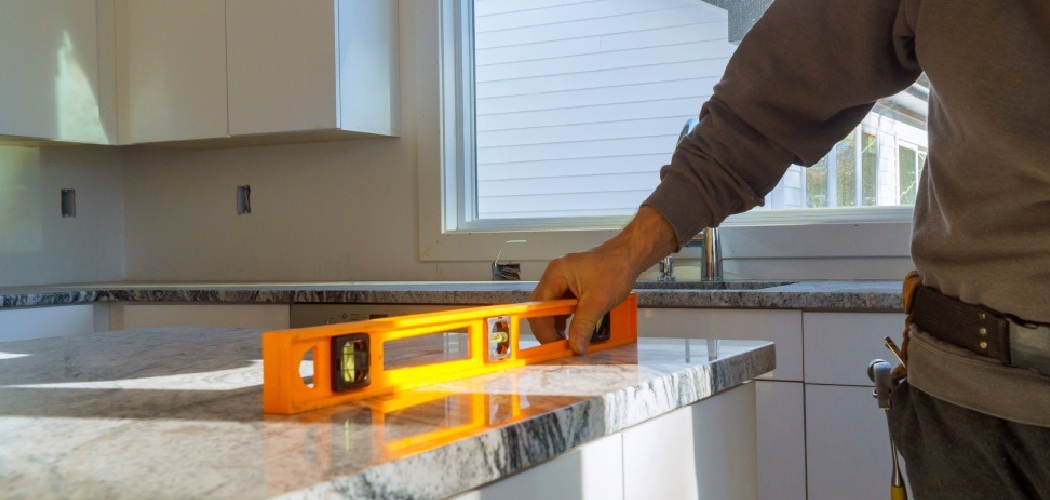

That tired laminate counter has earned its retirement. Maybe the edges are peeling, the surface is scorched near the stove, or the color screams of a decade you’d rather forget. Whatever pushed you here, swapping it out is one of the friendliest weekend projects a beginner can take on.
The best part? You don’t need a contractor or a fat budget to pull it off. Learning how to replace laminate kitchen countertops takes patience, a few common tools, and a willingness to measure carefully. Laminate is lightweight, affordable, and forgiving, which makes it perfect for first-timers.
A fresh surface instantly brightens your kitchen, lifts your home’s value, and gives you a workspace you’ll genuinely enjoy. This guide walks you through every step, from pulling the old slab to sealing the new one, so you can finish with confidence.
Why Learning to Replace Laminate Kitchen Countertops Matters
This skill stretches far past your home kitchen. Once you understand how a laminate countertop attaches, seals, and sits on the cabinets, you gain real confidence for all sorts of small projects.
Picture campers and outdoor beginners squeezing the most out of tight RV or camper kitchenettes. Those compact surfaces take a beating from travel, heat, and moisture, and a damaged counter in a mobile kitchen needs a fast, affordable fix. Knowing how to measure, cut, and bond a surface means you handle that repair yourself, miles from any expensive service visit.
That self-reliance pays off everywhere. You learn to tackle simple surface repairs, upgrade cramped layouts, and trust your own hands instead of waiting on a pro. The same skills carry straight back home, where a fresh counter saves money and sparks real pride.
Tools and Materials You’ll Need
You won’t need a workshop full of gear for this job, but a handful of key tools makes everything smoother. Gather it all before you start so you’re not running to the store halfway through.
- New laminate countertop: Pre-formed post-form pieces are easiest for beginners.
- Measuring tape and pencil: For accurate dimensions and layout marks.
- Circular saw and jigsaw: Straight cuts and the sink cutout.
- Utility knife: Scores caulk and trims edges.
- Pry bar: Lifts the old counter off the cabinets.
- Drill and fasteners: Secures the new counter through the cabinet frame.
- Level and shims: Keeps everything flat and balanced.
- Contact cement and end cap kit: Bonds seams and finishes exposed edges.
- Silicone sealant and caulk gun: Lays a clean, waterproof caulk line.
- Belt sander (optional): Smooths rough edges for a polished finish.
Lay everything out on a clean surface, and you’re ready to begin.
Step-by-Step Guide on How To Replace Laminate Kitchen Countertops
Step 1 – Clear the Space and Shut Off Utilities

Before you touch a single tool, empty the counters completely. Move small appliances, dishes, and clutter to another room so you have plenty of room to work.
Now head under the sink and shut off the water supply valves. Disconnect the supply lines and the drain so the sink lifts out freely. If you have a cooktop or any electrical connection, flip the breaker and unplug it.
Take a minute to drape old towels across the cabinets to catch dust and debris. You’ll be glad for the protection once sawdust and adhesive crumbs start flying. A clean, open workspace makes the whole job feel easier. Those few prep minutes save you real frustration later, so don’t skip them.
Step 2 – Remove the Old Laminate Countertop
Start by slicing through the caulk line where the counter meets the backsplash and wall. Run your utility knife along the seam firmly, and you’ll feel the dried silicone give way with a soft tearing sound.
Look underneath for screws or fasteners holding the counter to the cabinets. Back them out with your drill and set them in a cup. Older counters are sometimes glued, so expect a bit of resistance.
Slide your pry bar between the laminate countertop and the cabinet base. Lift gently and evenly, working along the length until the slab loosens. Learning how to replace laminate kitchen countertops starts with this careful removal, because rushing can crack the cabinets below. With a helper, lift the old surface away and clear the room.
Step 3 – Inspect and Prep the Cabinets
With the old surface gone, you finally see the bare cabinet tops. Run your hand across them and check for damage, warping, or leftover adhesive.
Scrape off any old glue and wipe everything clean. If the cabinet frame feels wobbly, tighten the joints or add support now. A solid, level base is the foundation of a great install.
Set your level across the cabinet tops in several spots. If you find dips or high points, mark them so you can correct them with shims later. Check whether your new counter needs build-up strips along the front and back to create a solid landing for the fasteners. Take your time here. A flat, sturdy substrate means your new counter sits perfectly, with no rocking or gaps down the road.
Step 4 – Measure and Template the New Surface
Accuracy makes or breaks this project. Grab your measuring tape and record the length, depth, and any angles of your cabinet run. Measure twice, then write everything down.
For tricky corners or shapes, build a simple template out of cardboard or thin plywood. Lay it across the cabinets and trace the exact outline, including the spot for your sink cutout. This template becomes your cutting guide.
Mark where seams will fall if you’re joining two pieces. Plan them away from the sink, where water loves to sneak in. Here’s a sensory tip: press your template flat and look for daylight peeking underneath, which signals an uneven spot. Good measurements now mean clean cuts and a snug fit when you set the new counter in place.
Step 5 – Cut the Laminate to Size
Transfer your measurements onto the new counter, marking clear lines with a pencil. Double-check them against your template before any blade touches the material.

Laminate chips easily, so protect the surface. Apply painter’s tape along the cut line and saw with the finished side facing down. For straight runs, a circular saw glides through quickly; for the sink cutout and curves, switch to a jigsaw and follow your traced line slowly.
You’ll hear the blade bite cleanly through, leaving a crisp edge. Wear safety glasses, because chips and dust will fly. Take short breaks to clear sawdust and check your progress against the layout. Patience and steady hands give you sharp, professional edges every single time, with no ragged corners.
Step 6 – Dry-Fit and Add the End Caps
Never glue anything down without testing the fit first. Carefully set your cut counter onto the cabinets and slide it back against the wall.
Check that the edges line up, the overhang looks even, and the sink cutout aligns with the plumbing below. Walls are rarely perfectly straight, so you may spot small gaps along the back. Slip shims underneath where needed and set your level on top until everything sits flat with no rocking.
While the piece is loose, finish any exposed end with an iron-on end cap. Heat it, press it firmly, then trim the overhang with a file. This dry-fit step is your safety net, catching problems while they’re still easy to fix.
Step 7 – Secure and Seal the New Countertop
Once the fit feels right, it’s time to lock everything down. If you’re joining two pieces, coat both seam edges with contact cement, let it get tacky, then press them together for a tight, nearly invisible seam.
Lower the counter into final position and press firmly. From underneath, drive your fasteners up through the cabinet frame and build-up strips into the substrate, but don’t sink them so deep you bubble the surface above.
Now run a smooth bead of silicone sealant along the backsplash and around the sink edges. Tool the caulk line with a damp finger for a clean, professional look. That waterproof barrier protects all your hard work and keeps moisture from sneaking underneath for years to come.
Step 8 – Reconnect Everything and Finish Up
Almost there. Set your sink back into its cutout, reconnect the supply lines and drain, then turn the water back on. Watch closely for any drips under the cabinet.
Run a clean bead of silicone around the sink rim to seal it tight. Reinstall your cooktop or any appliances you removed, and restore power at the breaker.
Wipe down the fresh surface and admire the transformation. Let the adhesive and sealant cure fully before placing heavy items or getting the counter wet, usually a full day. That patience rewards you with a rock-solid finish. You’ve just figured out how to replace laminate kitchen countertops on your own, and your kitchen already feels brand new.
Critical Mistakes When Replacing Laminate Kitchen Countertops
A few common slip-ups trip up beginners, but knowing them ahead of time keeps your project on track.
The biggest mistake is sloppy measuring. Rushing your dimensions or skipping the template leads to gaps, uneven overhangs, or a sink cutout in the wrong spot. Always measure twice, cut once, and check against your layout before any blade moves.
Another frequent error is cutting laminate the wrong way. Sawing with the finished side up, or skipping the painter’s tape, leaves the edge chipped and ragged. Cut with the good side down and let the blade do the work slowly.
Many beginners also skip the dry-fit. They get excited, spread contact cement too soon, and then discover the counter rocks or doesn’t reach the wall. Once that adhesive grabs, fixing it becomes a real headache. Test the fit every time.
Finally, folks rush the sealing stage. A sloppy caulk line or missed silicone around the sink invites water underneath, which swells the substrate and ruins the laminate. Seal carefully, then let everything cure fully. Patience here protects all the effort you just put in.
Expert Tips
A few insider habits turn a good install into a flawless one. First, snap photos of your plumbing connections before you disconnect anything. When it’s time to reconnect, those pictures erase the guesswork.
Cut your sink cutout slightly inside the line, then file or sand to the exact fit. It’s far easier to shave off a little more than to fix an oversized hole.
Keep a damp rag in your pocket while caulking. Wiping the silicone smooth right away gives you that clean caulk line every time, because dried, lumpy caulk is tough to fix later.
Finally, work with a helper whenever you lift a full slab. Long laminate pieces are floppy and awkward, and one wrong twist can crack the material or strain your back. Two sets of hands make the job faster, safer, and far less stressful.
Frequently Asked Questions
How much does it cost to replace laminate countertops yourself?
Doing it yourself slashes the labor cost, so the material becomes your main expense. Pre-formed laminate is the most budget-friendly counter you can buy. Beyond the slab, plan for small extras:
- Contact cement and silicone sealant for bonding and waterproofing.
- An end cap kit to finish exposed edges.
- Any tools you don’t already own.
Skipping the contractor easily cuts your total bill in half, sometimes more.
Can I install new laminate over the old countertop?
In most cases, removing the old surface gives the best, longest-lasting result. Layering over the existing counter can trap moisture, create an uneven base, and cause the new laminate to lift at the edges. It also raises the height awkwardly near your sink and appliances. Take the time to remove the old slab, prep the cabinets, and start fresh on a clean, level surface. Your finished counter will look and last far better.
How do I cut a sink cutout without chipping the laminate?
Go slow and protect the surface. Mark the cutout with your sink template, apply painter’s tape along the line, then drill a starter hole inside it for your jigsaw blade. Cut just inside the marked line with the finished side down, and support the waste piece so it doesn’t snap and chip the edge. Afterward, file the opening smooth for a snug, clean fit around the sink.
Do I need build-up strips under a laminate counter?
Usually, yes. Build-up strips run along the cabinet tops to add thickness, giving your fasteners something solid to grip and supporting the counter’s front edge. Without them, the surface can flex or crack over time. Glue and screw the strips to the cabinet frame before setting the counter, and check everything with a level. They’re cheap insurance for a sturdy, long-lasting install.
How long before I can use my new countertop?
Patience pays off here. Most adhesives and silicone sealants need a full curing window before heavy use, typically around 24 hours. Avoid getting the surface wet, setting heavy appliances on it, or scrubbing the caulk line during that time. Always check the product labels, since some sealants cure faster or slower. Letting everything set properly ensures a strong bond, a watertight seal, and a finish that holds up for years.
Conclusion
Replacing a worn-out laminate counter is one of the most rewarding upgrades you can make, and now you’ve got the full roadmap to do it yourself. You’ve learned to clear the space, remove the old slab, prep and level the cabinets, and measure with real care. From there, careful cutting, a smart dry-fit, clean end caps, and solid sealing bring the whole project together.
The real secrets are simple: measure twice, cut with the good side down, test the fit before you glue, and never rush the curing time. Those small habits separate a wobbly, peeling mess from a clean result you’ll be proud of.
Now that you understand how to replace laminate kitchen countertops, you can transform your space without paying a contractor or waiting weeks for an appointment. So gather your tools, clear off those counters, and set aside a weekend to make it happen. You’ll save money, build genuine DIY confidence, and enjoy a fresh, beautiful workspace every single day.

About
Nick Hall has spent the last seven years working at the intersection of kitchen design and home repair — first as a design assistant at a residential renovation studio, then as a freelance writer covering everything from cabinet layouts to leaky faucet fixes.
Her approach is simple: kitchens should look good and function well. That means she’s just as comfortable talking about color palettes and counter materials as she is walking readers through how to fix a wobbly cabinet hinge or troubleshoot a garbage disposal.
Nick has worked directly with homeowners on small-space kitchen makeovers, budget-conscious renovations, and the kind of everyday repairs that don’t need a contractor — just the right instructions. She writes from experience, not theory, and tests most of the fixes and tips she shares before publishing them.
When she’s not writing, Nick is usually hunting for mid-century kitchen finds at estate sales or helping friends plan their own renovations. She lives in Columbus, Ohio.