
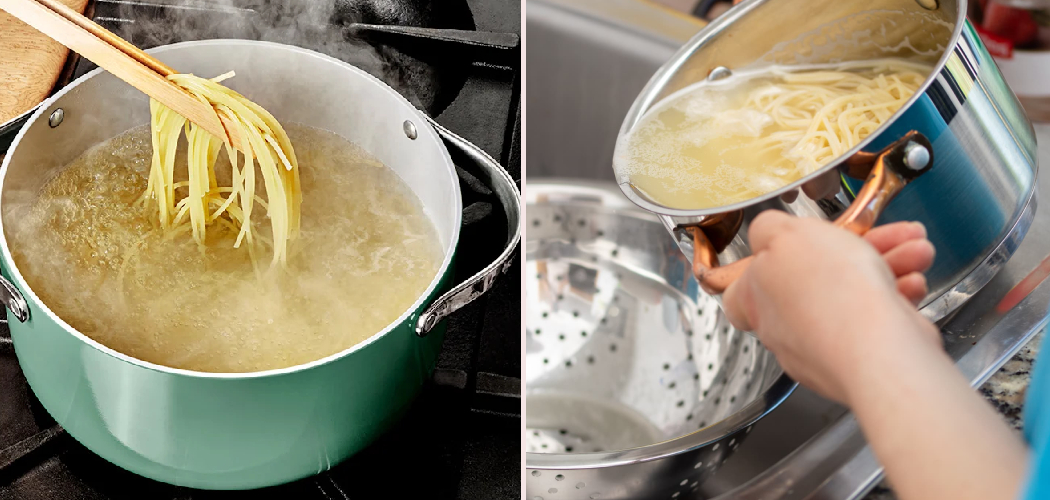
A colander seems too simple to get wrong. It’s a bowl with holes. You dump, you drain, you move on.
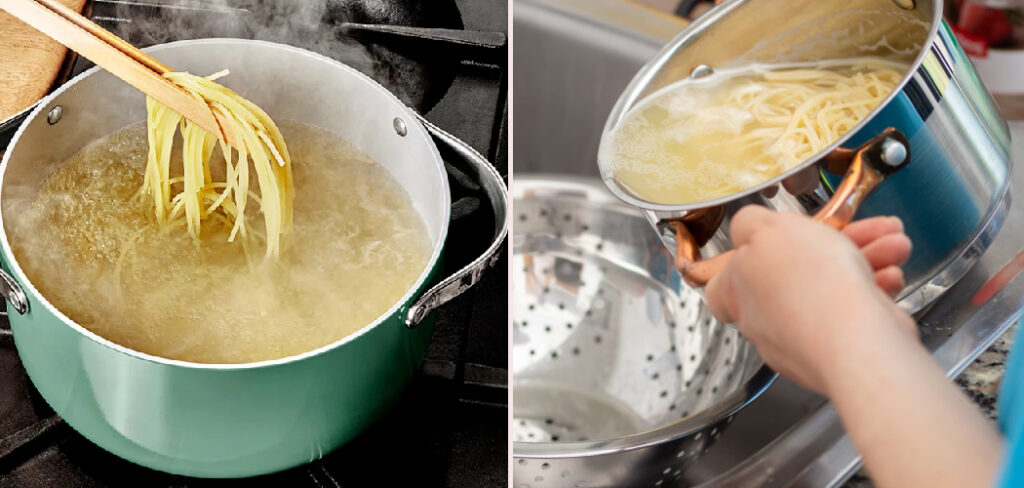
But watch closely.
Pasta slides over the edge. Water splashes back up your wrists. Tiny grains slip straight through the holes and down the drain.
Small mistakes. Real frustration.
The truth is, a colander does one job well — but only when you let it. Drain the water. Keep the food. Nothing more, nothing less.
Most people fight that simple tool instead of working with it.
Learning how to use colander the right way saves you burns, spills, and lost food. It turns a clumsy step into a clean one.
This guide walks you through every step, so you drain with confidence and keep every last bite where it belongs.
Why Using a Colander Matters
You could tilt the pot and hope. Many people do.
But a lid leaves a gap. Hot water rushes out. Pasta tumbles after it. And steam climbs straight toward your face.
A colander fixes all of that.
It separates water from food in one clean motion. It catches what matters. It lets the rest fall away.
It protects your hands. No more balancing a heavy pot over a hot drain.
It saves your food. No more noodles lost to the sink.
And it builds a rhythm. Pour, drain, shake, serve. Your hands learn it fast.
A lid gives you a guess. A colander gives you control.
That control is the difference between a clean drain and a messy one. Which would you rather have?
Tools and Materials You’ll Need
Set up before the water boils. A little prep keeps the whole job calm.
- A colander – metal, plastic, or silicone, with holes sized for your food
- The food you want to drain – pasta, rice, vegetables, or canned beans
- A clean sink – cleared of dishes so the colander sits flat
- A pot or large bowl – holding the food and liquid you’ll pour
- Oven mitts or a thick towel – to grip the hot pot safely
- A second bowl – to catch pasta water if your recipe calls for it
Optional but helpful: a pair of feet or a stand for your colander. It lifts the holes off the sink floor, so water drains faster and your food never sits in a puddle. Worth it if you drain often.
Step-by-Step Guide on How to Use Colander
Step 1 – Pick the Right Colander for the Job
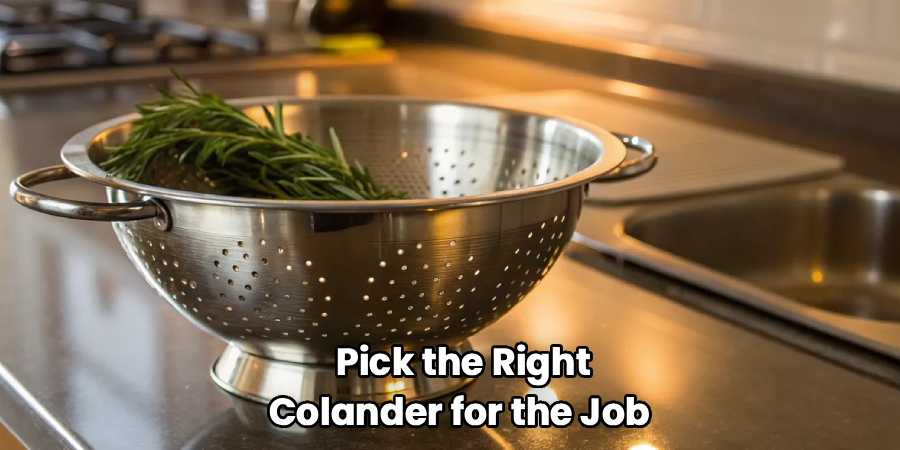
Start with the right tool. Not every colander fits every food.
Look at the holes. Large holes drain pasta and potatoes fast. Small holes hold back rice, quinoa, and tiny grains that would slip away.
A fine-mesh colander catches the smallest seeds. A wide-hole metal one handles big batches with ease.
Pick the one that matches what’s in your pot. Hold it. Feel its weight settle in your hands.
Check the size too. A small colander overflows under a big pot of pasta. A large one swallows a single can of beans.
Knowing how to use colander well starts here — with the right holes for the right food. Choose first. Drain second.
Step 2 – Set It in the Sink First
Place the colander before you touch the pot. This one habit prevents most spills.
Clear the sink. Move dishes, sponges, and stray cups out of the way. The colander needs a flat, open spot to sit.
Set it down in the center, near the drain. Press it gently so it stays put.
If your colander has feet, let them rest on the sink floor. This lifts the holes and lets water rush away freely.
Now look at the angle. The colander should sit level, not tilted toward the edge. A tilted one sends food sliding out.
A steady colander waiting in the sink means your hands are free for the heavy lifting.
Step 3 – Grip the Hot Pot Safely
Now comes the heavy part. Treat it with respect.
That pot is full, hot, and slippery with steam. One weak grip and it slides.
Grab your oven mitts or fold a thick towel over each handle. Dry mitts only — a damp cloth carries heat straight to your skin.
Hold the pot with both hands, firm and balanced. Test the weight before you lift. Does it feel steady? Good.
Lift slowly. Keep the pot close to your body and low to the counter. A short path means less chance of a spill.
Walk it to the sink with care. No rushing. No reaching.
The slower you move here, the cleaner the pour that follows.
Step 4 – Pour Away From Your Body
This is the moment most splashes happen. Aim it right.
Tilt the pot so the water pours into the far side of the colander, not the near edge. Pour away from you, never toward your wrists or face.
Keep your face back. Steam rises fast and hot the second water hits the sink.
Pour in one smooth, steady motion. Don’t jerk the pot. A sudden tip sends a wave splashing back at you.
Let the water lead and the food follow. The pasta or vegetables should tumble gently into the bowl of the colander.
Watch the food settle. Listen for the rush of water dropping through the holes. That sound means it’s working.
Step 5 – Let the Water Drain Fully
Patience pays off here. Don’t rush the drip.
Once you’ve poured, leave the food alone for a moment. Water needs time to find every hole and fall through.
Give it ten to twenty seconds. You’ll hear the steady stream slow to a trickle, then to a few last drops.
Look at the bottom of the colander. Is water pooling there? If so, the holes may be blocked against the sink floor.
Lift the colander an inch and set it down again. This shifts the food and opens a clear path for the last of the liquid.
Wet pasta turns gummy. Wet vegetables turn soggy. A full drain keeps both light and ready for the pan.
Step 6 – Shake to Release Trapped Water
A gentle shake clears what gravity misses. Water hides in the folds.
Grip both handles firmly. Lift the colander a few inches off the sink.
Now shake it side to side with short, controlled moves. Not wild swings. Just enough to roll the food and shake the drops loose.
You’ll feel the food shift and settle. You’ll see fresh water fall through with each shake.
For leafy greens or delicate herbs, shake softer. They bruise easily under rough handling.
For sturdy pasta or potatoes, you can shake with more confidence.
This small step makes a big difference. Drier food browns better, soaks up sauce faster, and never waters down your dish.
Step 7 – Transfer the Food Cleanly
Now move the food where it needs to go. Do it without losing a bite.
Hold a bowl or pan right next to the colander. Keep the gap between them small.
Tip the colander slowly and let the food slide out in one batch. A short drop means nothing bounces away.
Use a spatula or spoon to coax out anything clinging to the sides. Pasta loves to stick near the holes.
For sticky foods, a quick rinse helps — but only when your recipe allows it. Cold water rinses away starch and stops the cooking.
Knowing how to use colander means finishing clean, with every piece in the bowl and none in the sink.
Step 8 – Rinse and Store the Colander
A clean colander is ready for next time. A neglected one clogs and stains.
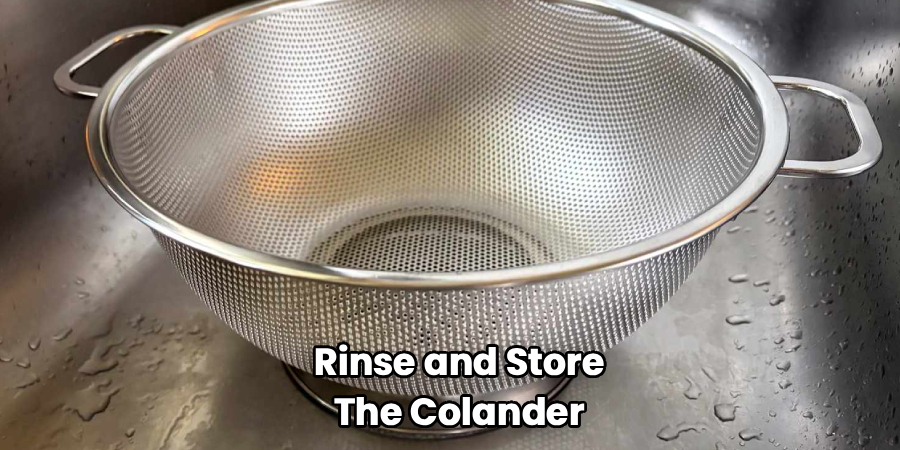
Rinse it right away, before food dries in the holes. Run warm water through both sides.
Starchy bits and tiny seeds love to wedge into the mesh. A soft brush clears them better than a sponge, which snags and tears.
Hold it up to the light. Can you see through every hole? Good. That means it’s clean.
Dry it fully before storing. A damp colander breeds odors and, in metal ones, spots over time.
Nest it inside a larger bowl or hang it by the handle. Stacked carelessly, the holes catch on other tools and bend.
Critical Mistakes When Using a Colander
The biggest mistake is pouring toward yourself. People tilt the pot the wrong way, and a wave of boiling water splashes back over their wrists. Always pour away from your body, into the far side of the colander, with your face held back from the steam. One careful angle saves you from a painful burn.
Another common error is choosing the wrong holes. You pour rice into a wide-hole colander and watch half your grains vanish down the drain. Match the holes to the food. Fine mesh for small grains. Wide holes for big batches. Check before you pour, not after.
Many people also let the colander sit flat on the sink floor. The holes press against the bottom, water pools inside, and your food sits in a soggy puddle. Lift it an inch or use one with feet so the water rushes away freely.
Then there’s rushing the drain. You shake once and dump the food while it’s still dripping. Wet pasta clumps. Wet vegetables go limp. Give it a few extra seconds.
Finally, don’t skip the cleanup. Dried starch and seeds clog the holes and breed odor. Rinse right away, every single time.
Expert Tips
A few small habits turn this plain tool into a kitchen favorite.
Save your pasta water. Set a bowl under the colander before you pour, and catch that starchy liquid. A splash of it loosens any sauce and helps it cling to the noodles.
Warm the colander first. Run hot water through it for a few seconds before draining pasta. A cold colander cools your food the moment it lands.
For delicate foods like berries or fresh herbs, use the colander to rinse, not just drain. Gentle running water cleans without crushing.
Keep a fine-mesh one on hand. It handles quinoa, rinsed beans, and powdered sugar that a wide colander can’t.
And always drain over an empty sink. A clogged drain backs water right up into your food.
Small moves. Cleaner results every time.
Frequently Asked Questions
Why Does My Food Slip Through the Holes?
The holes are too big for your food. Rice, quinoa, and small seeds slide right through wide-hole colanders. The fix is simple — match the colander to what you’re draining:
- Fine mesh – rice, quinoa, couscous, small seeds
- Small holes – orzo, peas, chopped vegetables
- Wide holes – pasta, potatoes, large vegetables
When unsure, go finer. You can always drain slower, but you can’t get lost grains back.
Can I Pour Boiling Water Into a Plastic Colander?
Most plastic colanders handle boiling water, but check the label first. Cheap or thin plastic can warp or soften under high heat over time. To stay safe, pour in a steady stream rather than dumping all at once, and keep the colander resting in the sink for support. For frequent draining of very hot food, a metal colander lasts longer and never warps.
How Do I Stop Steam From Burning My Face?
Steam rises fast and hot the moment boiling water hits the sink. Keep your face turned back and to the side as you pour, never directly over the colander. Pour in one smooth motion so steam releases gradually instead of bursting up. Standing slightly to the side, with the colander set toward the back of the sink, keeps that hot cloud well away from you.
Should I Rinse Pasta After Draining?
It depends on the dish. For hot pasta with sauce, skip the rinse — the starch on the surface helps the sauce cling. For cold pasta salads, rinse with cool water to stop the cooking and prevent clumping. A quick rinse also works for sticky noodles like rice noodles. Just remember: rinsing washes away starch, so only do it when the recipe asks.
How Do I Clean a Clogged Colander?
Starch and tiny seeds wedge into the holes and dry hard. Rinse right after use, before anything sets. For stubborn clogs:
- Soak the colander in warm, soapy water for ten minutes
- Scrub both sides with a soft brush, not a sponge
- Hold it to the light to spot blocked holes
- Push a toothpick through any hole that stays clogged
Dry it fully before storing to keep it fresh.
Conclusion
A colander rewards a steady setup and a careful pour. Set it in the sink first. Grip the pot with dry mitts. Pour away from your body and let the water fall.
That’s the whole rhythm. Set up. Pour slow. Drain full. Shake gentle.
Your first pour might feel awkward. That’s fine. By your third, your hands move on their own. By your fifth, you won’t even think about it.
You now know how to use colander like someone who’s done it for years. No burns. No spills. No food lost to the drain.
So fill a pot this week. Boil some pasta or rinse a batch of beans. Pour one clean, careful stream and feel how simple it really is.
The tool does the draining. You just guide it. And every meal that starts with cleanly drained food comes together a little easier from here.
Will you give it a try tonight?
