
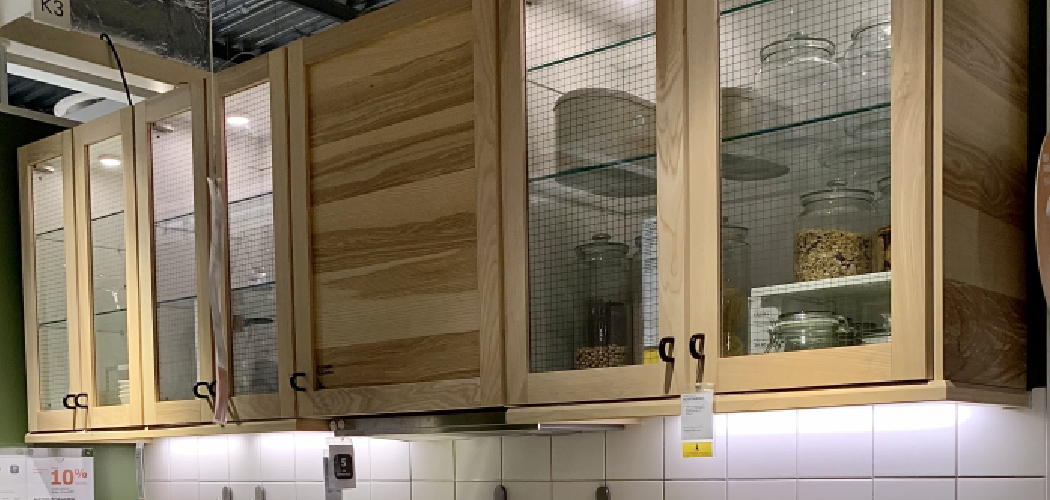
Installing kitchen cabinets can feel like a big job, especially when you are staring at flat boxes, hardware bags, and a blank wall. The good news is that IKEA’s SEKTION system uses a suspension rail, which makes cabinet hanging more forgiving than many traditional methods. Once the rail is level and secure, the cabinet frames can hook onto it and adjust into position.
If you are learning how to hang ikea kitchen cabinets, the most important skills are measuring carefully, finding wall studs, keeping everything level, and working safely with a helper. This guide walks you through the full process so you can hang IKEA kitchen cabinets with confidence from planning to final adjustment.
Why Learning to Hang IKEA Kitchen Cabinets Matters
Learning this skill helps more than homeowners doing a kitchen remodel. Campers, cabin owners, RV builders, and outdoor beginners often need compact storage in tight spaces. IKEA cabinets can work well in small cabins, converted vans, camp kitchens, and utility sheds when installed with the right support.
Outdoor spaces and mobile setups can shift, vibrate, or sit on uneven floors. That makes level cabinet installation, solid screw spacing, and strong wall anchoring even more important. When you understand the rail system, mounting brackets, filler pieces, and cabinet alignment, you can build storage that feels stable and safe. You also gain the confidence to repair, adjust, or reinstall cabinets later without guessing.
Tools and Materials You’ll Need
Gather your tools before you start. Cabinet installation takes focus, and stopping mid-step to find a screw bit can throw off your measurements.
- IKEA SEKTION cabinet frames and hardware
- IKEA suspension rail
- Stud finder
- Laser level or long spirit level
- Tape measure
- Pencil
- Drill and driver bits
- Screws rated for wall studs
- Wall anchors for approved non-stud support
- Shims
- Clamps
- Safety glasses
- Work gloves
- Step ladder
- Optional convenience item: a second laser level or tripod-mounted level for hands-free layout
You will also need a helper. Wall cabinets are bulky, and even lightweight cabinet frames become awkward when you lift them above shoulder height.
Step-by-Step Guide on How to Hang IKEA Kitchen Cabinets
Step 1 – Plan the Cabinet Layout
Start with a clear layout before you drill anything. Measure the wall width, ceiling height, appliance spaces, and corner locations. Mark where each cabinet frame will go, including base cabinets, wall cabinets, filler pieces, and panels.
Use painter’s tape on the wall to outline the cabinet run. This gives you a quick visual check before you commit to holes. Stand back and look at the layout from across the room. A safe plan for how to hang ikea kitchen cabinets begins with knowing where every frame, rail, and gap belongs.
Check doors, windows, outlets, plumbing, and vents. If something conflicts with your design, fix it now instead of after the rail is mounted.
Step 2 – Find and Mark the Wall Studs
Use a stud finder to locate each wall stud along the installation area. Move slowly and mark both edges of each stud, then mark the center. Stud centers are usually the strongest place for rail screws.
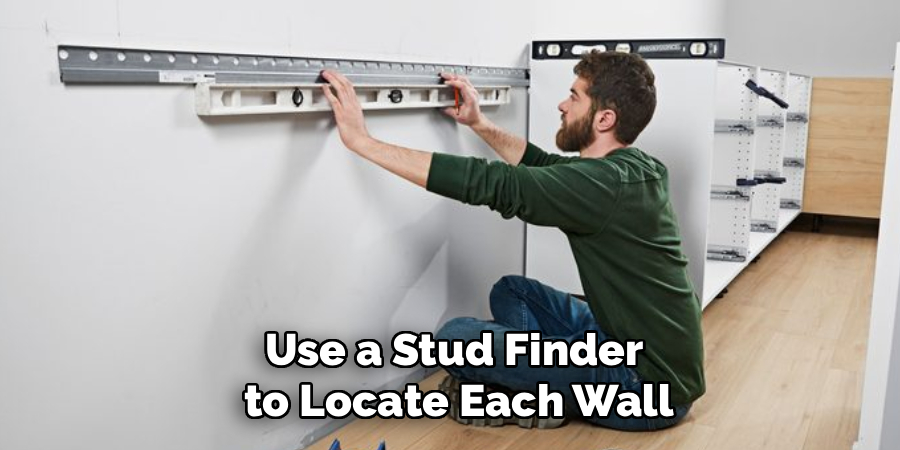
Run the stud finder more than once. A false reading can happen near pipes, wires, metal corner bead, or thick plaster. If you hear a dull knock in one spot and a sharper sound in another, that change can also help confirm framing.
Mark the studs above and below the rail line so you can still see them while holding the suspension rail. Good markings reduce stress when the drill starts humming and sawdust begins to fall.
Step 3 – Draw a Level Rail Line
Set your laser level or spirit level at the height recommended for your cabinet plan. IKEA wall cabinets hang from the suspension rail, so this line must be straight. If the line slopes, every cabinet will follow that mistake.
Draw a clear pencil line across the wall where the rail will sit. Check it from several spots, especially near corners. Many walls are not perfectly plumb, and floors often dip or rise across a long cabinet run.
If you install both upper and base cabinets, confirm the space between them. Leave room for the countertop, backsplash, under-cabinet lighting, and door swing. A careful line makes the rest of the job feel calmer.
Step 4 – Cut and Position the Suspension Rail
Measure the rail length needed for your cabinet run. Cut the suspension rail if needed, following the product instructions and using a proper metal-cutting tool. Smooth any sharp edges so they do not scratch the wall or your hands.
Hold the rail against the level line with a helper. The metal may feel light, but it must stay straight while you mark screw holes. Line up as many holes as possible with wall studs.
If the rail does not land on a stud at every key point, use approved wall anchors only where the wall type allows them. The rail carries real weight, so do not rely on drywall alone.
Step 5 – Fasten the Rail Securely
Drill pilot holes into the marked stud centers. Then drive screws through the suspension rail and into the studs. Keep the rail tight to the wall, but do not overdrive the screws so hard that the rail bends.
Check level again after the first few screws. If the bubble or laser line shifts, loosen and correct it before adding more fasteners. The key to how to hang ikea kitchen cabinets is making the rail strong, straight, and level before any cabinet frame goes up.
Add screws at proper spacing across the rail. If the wall waves slightly, use shims behind the rail where needed so the cabinet faces sit evenly later.
Step 6 – Assemble and Hang the Cabinet Frames
Assemble the cabinet frames on a soft surface so the edges do not chip. Tighten the connectors firmly, but avoid stripping the particleboard. Install the mounting brackets according to IKEA’s instructions before lifting.
With a helper, raise the first cabinet onto the rail. You should feel the brackets catch the rail with a firm, secure hook. Keep one hand under the cabinet until you confirm it is seated.
Start with a corner cabinet if your design includes one. Corner cabinet alignment affects the whole run, so take your time. Once the first frame sits correctly, hang the next cabinet beside it and check that the fronts are flush.
Step 7 – Level, Clamp, and Connect the Cabinets
Adjust the cabinet frames using the built-in bracket controls. Move slowly and watch the reveal lines between boxes. The cabinet faces should look even, with no sudden steps or twists.
Clamp neighboring frames together before driving connector screws. Use light pressure so the sides meet cleanly without crushing the surface. When the frames align, fasten them together through the proper holes.
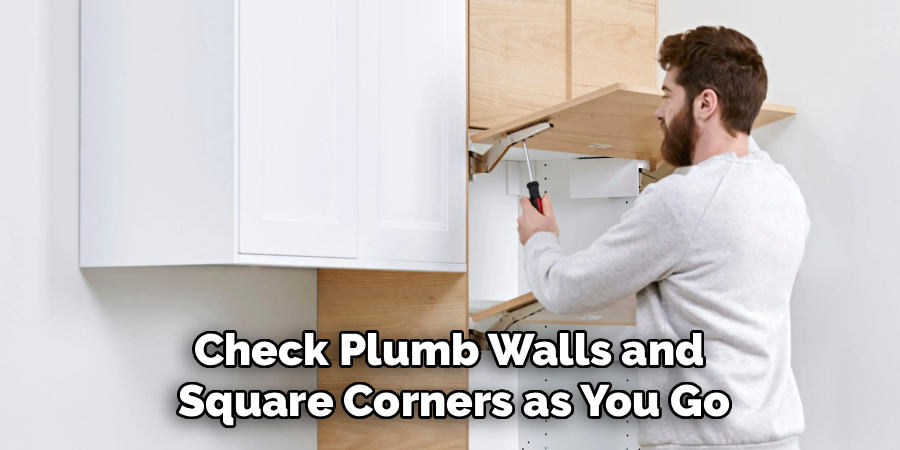
Check plumb walls and square corners as you go. If the wall leans or bows, use shims behind the cabinets where needed. Do not force the cabinet to match a bad wall shape. Your goal is a straight cabinet front, even if the wall behind it is imperfect.
Step 8 – Install Doors, Drawers, Panels, and Final Adjustments
Once the frames are secure, install shelves, drawers, doors, cover panels, and filler pieces. Work from the main cabinet run outward. This helps you keep sight lines clean.
Door adjustment takes patience. Use the hinge screws to move each door up, down, left, right, in, or out. Small turns make a big difference, so adjust slowly and close the door after each change.
Add filler pieces near walls or appliances where gaps appear. Trim them carefully for a snug fit. When everything lines up, open and close each door and drawer. Listen for rubbing, clicking, or uneven movement, then fine-tune before calling the job done.
Common Mistakes When Hanging IKEA Kitchen Cabinets
One common mistake is trusting the floor instead of the level line. Floors often slope, especially in older homes, cabins, and converted spaces. If you measure cabinet height only from the floor, your rail may follow that slope. Always use a laser level or long level to establish the true cabinet line.
Another mistake is missing the wall studs. The suspension rail needs solid support, especially for wall cabinets that will hold dishes, glassware, or pantry goods. Wall anchors can help in specific situations, but they cannot replace proper fastening into studs where the load is highest.
Many beginners also rush corner cabinet alignment. A small error in the corner can travel across the entire cabinet run. The result may be uneven gaps, doors that fight each other, or filler pieces that look too wide at one end.
A fourth mistake is skipping shims when walls are out of plumb. Pulling cabinets tight to a bowed wall can twist the frames. Shim carefully instead, then connect the cabinet boxes so the front plane stays straight.
Expert Tips
Unpack and sort the hardware before assembly. IKEA fasteners, brackets, hinges, and cover caps can look similar, and mixing them up slows the job. Keep each cabinet’s parts together until the frame is built.
Hang upper cabinets before base cabinets when possible. This gives you better ladder access and keeps base units from blocking your stance. If base cabinets are already installed, protect the tops with cardboard or a padded blanket.
Check level after every major step. Confirm the rail, the first cabinet, each connected frame, and the final door lines. Small checks prevent large corrections later, especially on long walls or in compact outdoor kitchens.
Frequently Asked Questions
Can One Person Hang IKEA Kitchen Cabinets?
One person can measure, mark, assemble frames, and install the suspension rail. Still, hanging wall cabinets is safer with two people. The frames can be wide, awkward, and hard to control above shoulder height. A helper keeps the cabinet steady while you guide the brackets onto the rail and check alignment.
Do IKEA Kitchen Cabinets Need to Be Attached to Studs?
Yes, the suspension rail should be fastened into wall studs wherever possible. Studs provide the strength needed to support loaded cabinets. Wall anchors may help in approved locations, but they must match the wall type and load. Never hang kitchen wall cabinets from drywall alone, because the weight can pull fasteners loose.
How High Should IKEA Wall Cabinets Be Hung?
The height depends on your ceiling, cabinet size, countertop height, and backsplash plan. Many kitchens leave about 18 inches between the countertop and upper cabinets, but your design may vary. Always confirm appliance clearance, range hood requirements, and door swing before mounting the rail. Mark the layout on the wall first.
What If My Wall Is Not Straight or Plumb?
Use shims behind the rail or cabinet frames to correct small gaps and keep the cabinet fronts straight. Do not force the cabinets to bend with the wall. A wavy wall is common in homes, cabins, and older buildings. Focus on a level rail, plumb cabinet faces, and even door reveals.
When Should I Install Filler Pieces?
Install filler pieces after the main cabinet frames are hung, leveled, and connected. This lets you measure the real gap between the cabinet and the wall or appliance. Walls are rarely perfect, so cut fillers to match the actual space. Test the fit before fastening, then sand or trim as needed.
Conclusion
Hanging IKEA kitchen cabinets becomes much less intimidating when you break the project into clear steps. Start with a thoughtful layout, mark every stud, draw a level rail line, and fasten the suspension rail with care. Once that rail is solid, the cabinet frames can hang, adjust, and connect with much more control.
Take your time with corners, shims, screw spacing, and door adjustment. These details shape the final look and help the cabinets feel sturdy during daily use. Whether you are working in a home kitchen, small cabin, RV setup, or camp cooking area, patience will give you a cleaner and safer result.
Now that you understand how to hang ikea kitchen cabinets, you can approach the project with steady hands, better planning, and fewer surprises.

About
Nick Hall has spent the last seven years working at the intersection of kitchen design and home repair — first as a design assistant at a residential renovation studio, then as a freelance writer covering everything from cabinet layouts to leaky faucet fixes.
Her approach is simple: kitchens should look good and function well. That means she’s just as comfortable talking about color palettes and counter materials as she is walking readers through how to fix a wobbly cabinet hinge or troubleshoot a garbage disposal.
Nick has worked directly with homeowners on small-space kitchen makeovers, budget-conscious renovations, and the kind of everyday repairs that don’t need a contractor — just the right instructions. She writes from experience, not theory, and tests most of the fixes and tips she shares before publishing them.
When she’s not writing, Nick is usually hunting for mid-century kitchen finds at estate sales or helping friends plan their own renovations. She lives in Columbus, Ohio.