
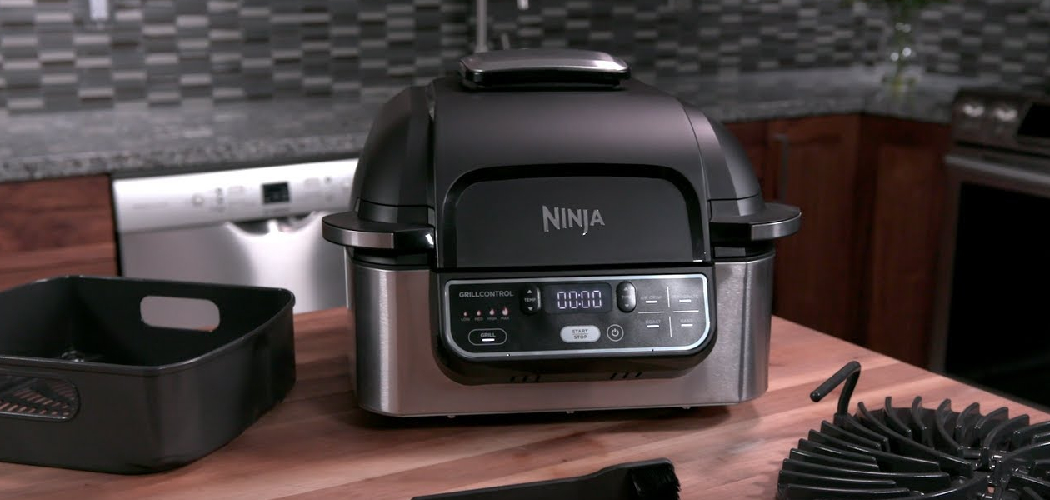
The first time you unbox a Ninja Foodi Grill, it can feel a little intimidating. So many buttons, settings, and accessories! But here’s the good news: once you understand the basics, you’ll wonder how you ever cooked without it. Learning how to use Ninja Foodi Grill features properly opens the door to juicy steaks, crispy fries, and roasted veggies, all from one countertop machine.
This handy appliance grills, air crisps, roasts, and bakes, so you get serious versatility without crowding your kitchen with gadgets. Whether you’re cooking for the family or just yourself, it makes weeknight meals fast and fun. No technician, no stress, just delicious food.
This guide walks you through every step, from setup to cleanup, so you can cook with total confidence right from your very first meal.
Why Learning to Use a Ninja Foodi Grill Matters
Mastering this appliance gives you real cooking freedom. You’re not stuck waiting for an outdoor grill to heat up or fighting with charcoal on a windy day. That makes it a favorite for campers, RV owners, and outdoor beginners who want grilled flavor without the fuss of an open flame.
For anyone just starting out in the kitchen, the Ninja Foodi Grill builds confidence fast. The cooking function settings do the guesswork for you, so you learn proper searing and roasting without years of practice.
It’s also a money-saver. One machine replaces several, and you skip the cost of takeout when meals come together this quickly. Learning these skills means you control your food, your timing, and your budget. That kind of self-reliance feels great, and it tastes even better.
Tools and Materials You’ll Need
Before you fire things up, gather everything in one spot so you’re not searching mid-cook with messy hands. Most of these items come with the grill or already live in your kitchen, which makes getting started simple. Having the right gear ready means smoother cooking and easier cleanup later.
Here’s what to grab:
- Your Ninja Foodi Grill unit and power cord
- The grill grate and the cooking pot
- The air crisp basket for fries and crispy foods
- A meat thermometer to check internal temperature
- Long tongs or a heatproof spatula
- Cooking oil or a light oil spray
- Paper towels and a soft sponge for cleanup
- Optional: A pair of silicone-tipped tongs to protect the nonstick surface from scratches
Step-by-Step Guide on How to Use Ninja Foodi Grill
Step 1 – Set Up and Place the Grill Safely
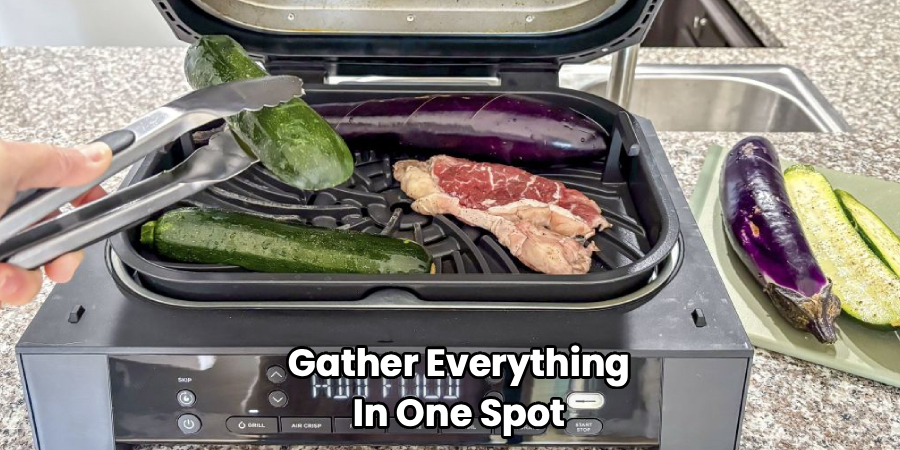
Find a sturdy, heat-resistant spot on your counter with plenty of clearance above and around the unit. This grill puts out real heat, so keep it away from cabinets, curtains, and anything that could catch.
Plug the power cord directly into a wall outlet rather than an extension cord. That gives the machine the steady power it needs to heat up fast.
Open the lid and slide the cooking pot into place, then set the grill grate on top so it sits flat and level. You’ll hear a soft click as everything settles. Wipe down the surfaces with a damp paper towel before your first use to clear away any factory dust. Now you’re ready to cook.
Step 2 – Choose Your Cooking Function
Look at the control panel and notice the buttons for Grill, Air Crisp, Roast, Bake, and Dehydrate. Each cooking function controls heat and airflow differently, so picking the right one matters.
For burgers, steaks, or veggies with those classic char marks, press Grill. Want crispy fries or wings? Air Crisp uses rapid hot air for that golden crunch. Roast works beautifully for chicken and larger cuts, while Bake handles softer dishes.
Knowing how to use Ninja Foodi Grill settings comes down to matching the function to your food. Don’t worry about memorizing everything at once. You’ll get the hang of it quickly, and the panel makes each option easy to spot at a glance.
Step 3 – Preheat the Grill Properly
Preheating is the secret to those beautiful sear marks and even cooking. Select your function, set the temperature, and press start to let the grill warm up before any food goes in.
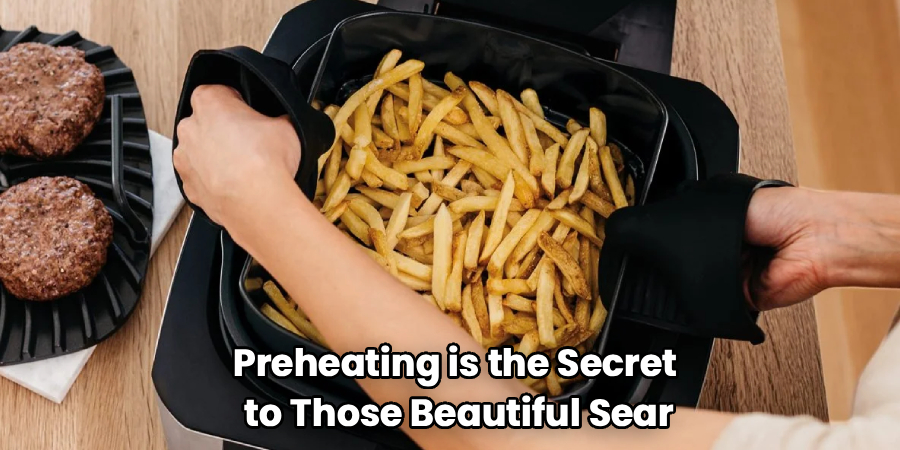
You’ll see the display count down or show a “preheat” message. This usually takes around eight minutes, depending on the setting. Resist the urge to lift the lid during this time, since that lets precious heat escape.
When the unit beeps and signals it’s ready, the grill grate will be screaming hot. That blast of heat is exactly what gives meat a proper sear and locks in the juices. Skipping this step leaves you with pale, unevenly cooked food, so always give it those few minutes.
Step 4 – Add and Arrange Your Food
Open the lid carefully, since hot air rushes out fast. Use your tongs to lay food directly onto the grill grate, leaving a little space between each piece.
Don’t crowd the surface. When you pile food too close together, it steams instead of searing, and you lose that crispy texture you’re after. Cook in batches if you need to.
You’ll hear a satisfying sizzle the moment food touches the hot grate. That sound means you nailed the preheat. Press each piece down gently so it makes full contact for clean grill marks. For air crisp foods, swap in the basket and spread items in a single layer so the hot air circulates around every side.
Step 5 – Close the Lid and Let It Cook
Lower the lid to trap heat and start the cooking process. Unlike an open grill, this closed system surrounds your food with consistent heat, cooking it faster and more evenly.
The built-in smoke control helps keep your kitchen from filling with smoke, even when you’re searing fatty cuts. You might notice a faint wisp, but nothing like a backyard barbecue.
Watch the timer on the display and trust it to guide you. The grill does the hard work while you prep sides or set the table. Avoid opening the lid too often, since each peek drops the temperature and adds to your cook time. Let the machine do its thing, and you’ll get reliable results every single time.
Step 6 – Flip at the Right Moment
Timing your flip makes all the difference. Most grills will signal you when it’s time, often with a beep or an on-screen prompt halfway through cooking.
Open the lid and slide your tongs under each piece. If it lifts away cleanly with nice dark grill marks, it’s ready to turn. If it sticks, give it another minute, since food releases naturally once it’s properly seared.
Flip everything in one smooth motion, then close the lid again quickly to hold the heat. You’ll smell that mouthwatering aroma as the second side begins to cook. Resist flipping more than once for grilled items, as too much fussing keeps those gorgeous sear marks from forming the way you want.
Step 7 – Check the Internal Temperature
Never guess when it comes to doneness, especially with meat. Insert a meat thermometer into the thickest part of your food to read the internal temperature accurately.
Chicken should hit 165°F, ground beef 160°F, and steaks anywhere from 130°F for medium-rare to 145°F for medium. Vegetables just need to feel tender and look lightly charred.
This quick check protects your family from undercooked food and saves you from serving something dry and overdone. Pull the food a few degrees early, since it keeps cooking briefly after you remove it. A good thermometer takes the worry out of every meal and gives you confidence that what you’re serving is cooked just right.
Step 8 – Rest, Serve, and Clean Up
Let grilled meat rest on a plate for five minutes before slicing. This keeps the juices inside, so every bite stays tender and flavorful instead of running onto your cutting board.
While you enjoy your meal, let the grill cool down. Once it’s safe to handle, remove the grill grate and cooking pot. Their nonstick surface makes cleanup easy, so warm soapy water and a soft sponge usually do the trick.
Avoid harsh scrubbers that scratch the coating. Most parts are dishwasher safe, but check your manual to be sure. Wipe the main unit with a damp cloth, never submerging it in water. A quick cleanup now means your grill is ready and spotless for tomorrow’s meal.
Critical Mistakes When Using a Ninja Foodi Grill
Even seasoned cooks slip up, so let’s cover the errors that trip up most beginners. The biggest one is skipping the preheat. When you toss food onto a cold grate, you miss those signature sear marks and end up with pale, rubbery results. Always wait for that “ready” signal before adding anything.
Another frequent mistake is overcrowding the grate or air crisp basket. Piling food too close traps steam, so instead of crisping, your food turns soggy. Cook in batches and give each piece breathing room for that perfect texture.
Many people also open the lid constantly to check on things. Every peek releases heat and stretches out your cook time. Trust the timer and resist the urge to keep looking.
Forgetting to use a meat thermometer is risky too. Eyeballing doneness leads to undercooked chicken or overdone steak. A quick temperature check solves this every time.
Finally, some folks scrub the nonstick surface with metal tools or abrasive pads. Those scratches ruin the coating and shorten your grill’s life. Stick to soft sponges and gentle soap to keep everything in great shape for years.
Expert Tips
Want restaurant-quality results at home? Pat your meat dry with a paper towel before grilling. A dry surface sears far better and gives you those deep, flavorful grill marks.
Lightly oil your food rather than the grate. This prevents sticking while keeping smoke control working at its best, so your kitchen stays comfortable.
Keep a small bowl of water nearby for the cooking pot when you grill fatty foods. A splash in the bottom catches drips and cuts down on smoke even more.
Try the Air Crisp function for leftovers, since it revives day-old fries and pizza better than any microwave. And always let the unit fully cool before cleanup, since a warm nonstick surface scratches more easily. These small habits make a big difference in your everyday cooking.
Frequently Asked Questions
Do I need to preheat the Ninja Foodi Grill every time?
Yes, preheating matters for nearly every cook. A hot grill grate gives you proper searing, even cooking, and those attractive grill marks. Most functions preheat in about eight minutes. Skipping this step leaves food pale and unevenly cooked. The only exception is certain low-temperature recipes, but as a general rule, always let it preheat before adding your food.
Can I cook frozen food in the Ninja Foodi Grill?
Absolutely, and it’s one of the appliance’s best features. The Air Crisp function works wonderfully for frozen fries, nuggets, and wings straight from the freezer. For frozen meats, the Grill or Roast setting handles them well, though you’ll need to add a few extra minutes. Always check the internal temperature with a thermometer to make sure everything cooks through safely before serving.
How do I reduce smoke while grilling?
The built-in smoke control already helps a lot, but a few tricks reduce smoke even further:
- Trim excess fat from meats before cooking
- Add a little water to the bottom of the cooking pot
- Oil your food lightly instead of pouring oil on the grate
- Avoid overfilling the unit
These small steps keep your kitchen comfortable while you cook fatty cuts.
Is the Ninja Foodi Grill dishwasher safe?
Most removable parts, including the grill grate, cooking pot, and air crisp basket, are dishwasher safe, which makes cleanup quick. Always double-check your specific model’s manual to be certain. The main unit should never go in the dishwasher or under water. Just wipe it with a damp cloth. To protect the nonstick surface long term, hand washing with a soft sponge is gentler.
What can I cook besides grilled meats?
So much more than you’d expect! Thanks to multiple cooking functions, you can air crisp fries and vegetables, roast a whole chicken, bake desserts, and even dehydrate fruit. The versatility is what makes this appliance such a kitchen workhorse. Many beginners start with burgers, then quickly branch out to roasted veggies, crispy snacks, and one-pan dinners as their confidence grows.
Conclusion
Getting comfortable with your grill really comes down to a few simple habits done consistently. Set it up safely, pick the right cooking function, and always preheat before your food touches the grate. Arrange items with space to breathe, close the lid, and trust the timer to do its job. Check the internal temperature with a thermometer, let your food rest, then enjoy the easy cleanup that nonstick surfaces give you.
Remember to avoid the common slip-ups: don’t overcrowd, don’t keep peeking under the lid, and never scrub with harsh tools. These small choices keep your meals delicious and your grill in great shape for years.
You don’t need fancy skills or a technician to make this work. With everything you’ve learned here, you’ve got the confidence to cook juicy, flavorful meals any night of the week. Now that you know how to use Ninja Foodi Grill features the right way, go fire it up and enjoy the tasty results. Happy grilling!

About
Nick Hall has spent the last seven years working at the intersection of kitchen design and home repair — first as a design assistant at a residential renovation studio, then as a freelance writer covering everything from cabinet layouts to leaky faucet fixes.
Her approach is simple: kitchens should look good and function well. That means she’s just as comfortable talking about color palettes and counter materials as she is walking readers through how to fix a wobbly cabinet hinge or troubleshoot a garbage disposal.
Nick has worked directly with homeowners on small-space kitchen makeovers, budget-conscious renovations, and the kind of everyday repairs that don’t need a contractor — just the right instructions. She writes from experience, not theory, and tests most of the fixes and tips she shares before publishing them.
When she’s not writing, Nick is usually hunting for mid-century kitchen finds at estate sales or helping friends plan their own renovations. She lives in Columbus, Ohio.