
A greasy oven can feel like one of those chores you keep putting off. The baked-on grime sticks to every surface, and scrubbing seems endless. Good news: there’s a gentler way that does most of the work for you. Learning how to use ammonia to clean oven surfaces lets you loosen tough stains overnight while you sleep.
Ammonia fumes break down grease and grime without harsh scrubbing. Come morning, that crusty buildup wipes away with surprising ease. It’s affordable, effective, and perfect for anyone who’d rather skip a pricey oven cleaner or a costly service call.
This guide walks you through every step safely, from prep and ventilation to the final wipe-down, so your oven comes out fresh and sparkling.
Why Learning to Clean an Oven With Ammonia Matters
Knowing this trick saves you money and effort, but it also travels well. If you camp, own an RV, or escape to a cabin, you know how fast a small oven collects grease buildup from outdoor cooking.
Compact kitchens get neglected fast. Without easy access to cleaning services, you become the technician. Ammonia is cheap, light to pack, and works wonders on those forgotten appliances that sit unused between trips.
For outdoor beginners, this skill turns a dreaded job into a simple overnight task. You’ll restore a grimy oven in a remote cabin without lugging heavy equipment or specialty products.
The same approach rescues secondhand ovens too. Whether you’re reviving a thrift-store find or maintaining your RV setup, mastering this method keeps your cooking space clean wherever you roam.
Tools and Materials You’ll Need
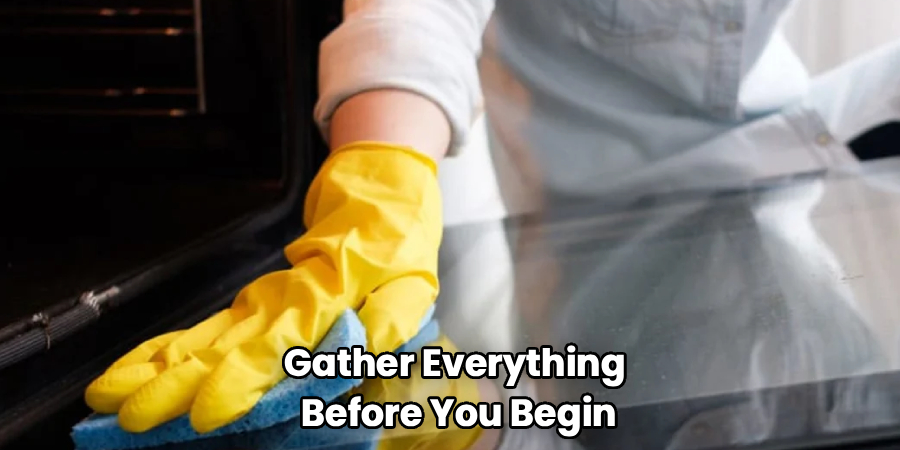
Gather everything before you begin so you’re not searching mid-task. Most of these items already sit in your cleaning cupboard, which makes this a budget-friendly project. Having your supplies ready means smoother work and a better result.
Here’s what to grab:
- Household ammonia (one cup is plenty)
- A heat-safe bowl for the ammonia
- A small pot of boiling water
- Protective gloves to shield your hands
- A sponge or soft cloth for wiping
- A plastic scraper for stubborn stains
- Warm water and mild dish soap
- Clean towels for drying
- An old toothbrush for tight corners
- Optional: A spray bottle of vinegar and water for a final streak-free finish
Open a window or two before you start. Good ventilation matters from the very beginning, since ammonia fumes are strong and need somewhere to escape.
Step-by-Step Guide on How to Use Ammonia to Clean Oven
Step 1 – Prepare Your Space and Ventilate
Safety comes first, so set the stage before anything else. Open every nearby window and switch on a fan or your range hood. You want air moving freely through the kitchen the entire time.
Ammonia fumes are sharp and can sting your eyes and throat. Fresh airflow keeps the smell manageable and protects your lungs while you work.
Pull on your protective gloves now. Even diluted ammonia can irritate your skin, so don’t skip this.
Clear the counter near your oven too. You’ll need a spot to set the racks and your bowl of ammonia later. A little prep here makes the whole job calmer, cleaner, and far more pleasant from start to finish.
Step 2 – Remove the Oven Racks
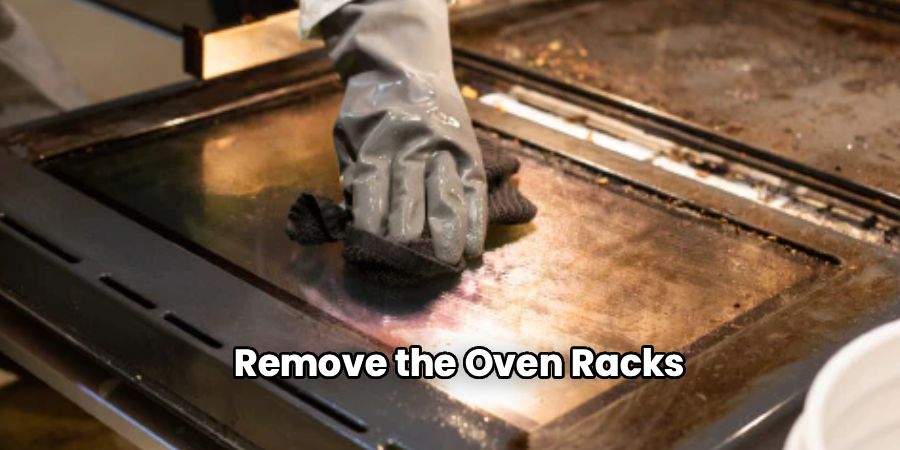
Open the oven door and slide out the racks completely. They’re often coated in sticky grease buildup and baked-on grime, so handle them carefully to avoid smudging your clothes.
Set them aside on old newspaper or a towel. You’ll soak them separately, since they clean better outside the oven cavity.
Take a quick look at the condition as you pull them out. Heavy residue might need extra attention, while lighter buildup wipes off fast.
If your racks feel greasy to the touch, that’s normal. That slick film is exactly what the ammonia will break down overnight. Clearing the racks now gives the fumes full access to every interior surface, which means a more thorough clean once morning arrives.
Step 3 – Set Up the Ammonia Soak
Now for the part that does the heavy lifting. Pour about one cup of household ammonia into a heat-safe bowl. Place this bowl on the top rack position inside your cold oven.
On the bottom rack, set a separate pot or pan filled with boiling water. The steam works alongside the fumes to loosen even the toughest stubborn stains.
Knowing how to use ammonia to clean oven interiors well comes down to this combination. The rising fumes and warm steam fill the cavity together, softening grease without any scrubbing on your part.
Close the oven door gently once both containers are inside. Keep the oven turned off completely. You’re relying on chemistry here, not heat, so there’s no need to power anything on.
Step 4 – Let It Soak Overnight
Patience pays off now. Leave the oven door closed and let everything sit overnight, ideally for eight to twelve hours. The longer the soak, the easier the next morning becomes.
While you sleep, the ammonia fumes work their way into every baked-on layer. That hard, crusty grime slowly softens into something you can wipe rather than scrub.
Keep your kitchen ventilated through the night if the smell drifts out. Cracking a window nearby helps a lot.
Resist the urge to peek too soon. Opening the door releases the fumes and slows the degreasing process. Trust it to do its quiet work. By morning, you’ll find that once-impossible grime has turned soft and ready to surrender with barely any effort.
Step 5 – Open Up and Air It Out
When morning arrives, don’t dive straight in. Open the oven door and step back for a moment. A wave of strong fumes will rush out, so let it disperse first.
Keep your windows open and the fan running. Give the oven five to ten minutes to air out before you reach inside.
Pull on your protective gloves again. Carefully remove the bowl of ammonia and the pot of water, setting both aside safely.
You’ll likely notice the interior looks darker and the grease appears loosened. That’s exactly what you want to see. The fumes have done their job overnight, breaking down the toughest layers. Proper airflow now keeps the process safe and makes the cleanup far more comfortable for you.
Step 6 – Wipe Down the Interior
Here’s where the magic shows itself. Dip your sponge in warm water with a little mild dish soap, then start wiping the interior surfaces.
That baked-on grime should lift away with gentle pressure. Where you once expected hard scrubbing, you’ll find the grease sliding off in satisfying streaks.
For corners and tight spots, switch to your old toothbrush. It reaches the crevices a sponge can’t manage.
Rinse your sponge often as it fills with loosened residue. The water will turn murky fast, which tells you the method worked. Mastering how to use ammonia to clean oven surfaces means letting the soak handle the hard part so your wiping stays light. Keep going until every wall feels smooth and free of greasy film.
Step 7 – Tackle Stubborn Spots and the Racks
A few crusty patches might cling on, especially around the bottom where drip residue collects. Reach for your plastic scraper here.
Hold it at a low angle and gently lift the hardened bits. Avoid metal tools, since they can scratch the enamel coating inside your oven.
Now turn to those racks. If they soaked overnight in warm soapy water, the grease should rinse away easily. For tougher buildup, scrub with your sponge or toothbrush.
Stubborn stains on the racks sometimes need a second short soak. A little patience beats aggressive scrubbing every time. Once they’re clean and rinsed, set them aside to dry fully. You’re nearly there, with the hardest parts already behind you.
Step 8 – Rinse, Dry, and Reassemble
Time for the finishing touches. Wipe the entire interior once more with a fresh cloth dipped in clean warm water. This removes any lingering ammonia residue and soap film.
Go over every surface twice if you want to be thorough. You don’t want cleaning product left behind where your food will cook.
Dry the inside with a clean towel until it feels smooth and residue-free. Leave the door open for a while to let the last of the moisture and smell escape.
Once the racks are fully dry, slide them back into place. Close the door and step back to admire your work. Your oven now looks fresh, smells neutral, and stands ready for your next meal without a trace of grime.
Critical Mistakes When Cleaning an Oven With Ammonia
Even simple methods go wrong when you rush, so let’s cover the big slip-ups. The most dangerous mistake by far is mixing ammonia with bleach or any other cleaner. This creates toxic fumes that can seriously harm you. Never combine the two, and always rinse away any old cleaning product before you start.
Another common error is skipping ventilation. People close the kitchen up tight and end up with stinging eyes and a pounding headache. Keep those windows open and the fan running the entire time, from setup through cleanup.
Forgetting protective gloves causes trouble too. Ammonia irritates skin quickly, leaving your hands dry and itchy. Slip them on before you touch anything.
Many beginners also cut the soak short. They peek after an hour, see little change, and give up. The method needs those full overnight hours to break down baked-on grime, so trust the process and wait.
Finally, scrubbing with metal tools scratches the enamel inside your oven. Stick to a plastic scraper and a soft sponge to protect that surface for years to come.
Expert Tips
Want even better results? Place a thin layer of newspaper on the oven floor before your soak. It catches drip residue and makes the morning wipe-down quicker.
For ovens with light grime, you can skip the boiling water and rely on the ammonia bowl alone. Save the steam method for the heaviest grease buildup.
A spray bottle of vinegar and water gives you a streak-free shine after rinsing. Mist it on, then buff with a dry cloth for that polished finish.
Always store leftover ammonia in its original bottle, well away from any bleach products. Label it clearly if you decant it.
Finally, schedule this overnight soak before a quiet morning. You’ll appreciate having time to air out the oven properly without rushing toward dinner prep.
Frequently Asked Questions
Is it safe to use ammonia in my oven?
Yes, when you follow basic safety steps. Keep your kitchen well ventilated with open windows and a running fan. Wear protective gloves to shield your skin. Never mix ammonia with bleach or other cleaners, since that creates dangerous fumes. Rinse the interior thoroughly afterward so no residue remains where your food cooks. Handle it carefully, and it’s a safe, effective degreasing method.
Do I need to heat the oven for this method to work?
No, you keep the oven completely off. This method relies on chemistry, not heat. The ammonia fumes and steam from boiling water loosen the grime on their own overnight. Turning the oven on would be unnecessary and could even be hazardous with ammonia inside. Just set up your bowl and water, close the door, and let the cold soak do its quiet work.
How long should I let the ammonia soak?
For best results, leave it overnight, around eight to twelve hours. This gives the fumes enough time to break down baked-on grease and stubborn stains fully. Shorter soaks work for light grime, but heavy buildup needs the full duration. The longer it sits, the less scrubbing you’ll face come morning. Patience here makes the entire cleanup faster and far easier.
Can I clean my oven racks with ammonia too?
Absolutely. You have a couple of easy options:
- Soak them overnight in a tub of warm water with a splash of ammonia
- Or let them sit in warm soapy water while the oven soaks separately
Either way, the grease loosens for simple rinsing. Scrub any leftover spots with a sponge or toothbrush, then dry fully before sliding them back in.
What should I do if the ammonia smell lingers?
A lingering smell is normal and fades with airflow. Keep your windows open and the fan running for several hours after cleaning. Wipe the interior again with clean warm water to remove any leftover residue. Leaving the oven door open helps the last of the odor escape. Within a day, the smell disappears completely, leaving your oven fresh and ready to use.
Conclusion
Cleaning a greasy oven doesn’t have to mean hours of hard scrubbing. With a simple overnight soak, the ammonia and steam loosen even the toughest baked-on grime while you sleep. Come morning, that crusty buildup wipes away with a soft sponge and a little warm soapy water.
Remember the essentials: ventilate well, wear protective gloves, and never mix ammonia with bleach or other cleaners. Remove your racks, set up the soak, and give it those full overnight hours. Then wipe, rinse, dry, and reassemble for a fresh, sparkling result.
This skill serves you everywhere, from your home kitchen to an RV or a neglected cabin oven. You save money, skip the technician, and gain real confidence handling the job yourself.
Now that you know how to use ammonia to clean oven surfaces the safe and easy way, go tackle that grimy oven tonight. You’ll wake up to a cleaner kitchen and the satisfaction of doing it yourself.

About
Nick Hall has spent the last seven years working at the intersection of kitchen design and home repair — first as a design assistant at a residential renovation studio, then as a freelance writer covering everything from cabinet layouts to leaky faucet fixes.
Her approach is simple: kitchens should look good and function well. That means she’s just as comfortable talking about color palettes and counter materials as she is walking readers through how to fix a wobbly cabinet hinge or troubleshoot a garbage disposal.
Nick has worked directly with homeowners on small-space kitchen makeovers, budget-conscious renovations, and the kind of everyday repairs that don’t need a contractor — just the right instructions. She writes from experience, not theory, and tests most of the fixes and tips she shares before publishing them.
When she’s not writing, Nick is usually hunting for mid-century kitchen finds at estate sales or helping friends plan their own renovations. She lives in Columbus, Ohio.