
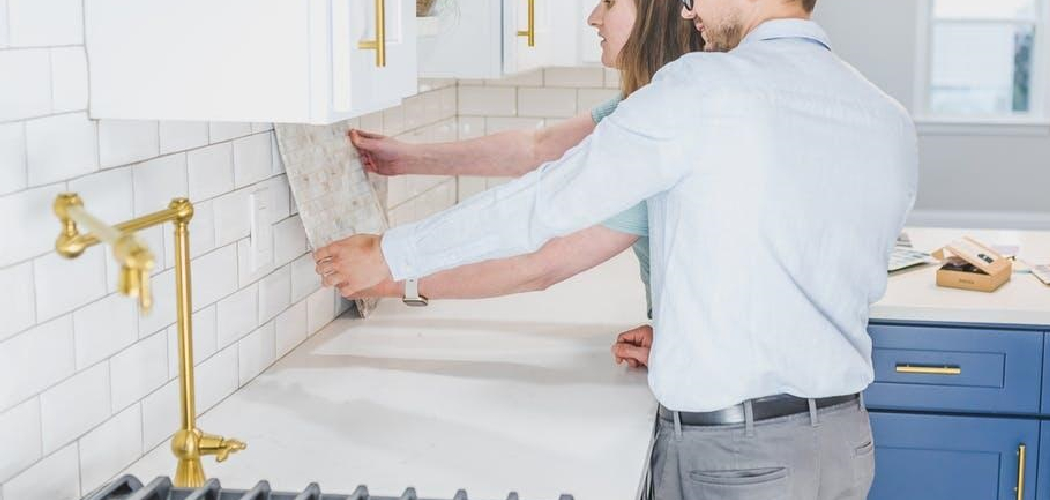
A kitchen backsplash does more than protect your walls from splashes, grease, and steam. It also shapes the look of your whole kitchen, tying together your cabinets, countertops, hardware, and paint color. If you pick the right one, the space feels polished and easy to live in. If you pick the wrong one, even a beautiful kitchen can feel busy or off-balance.
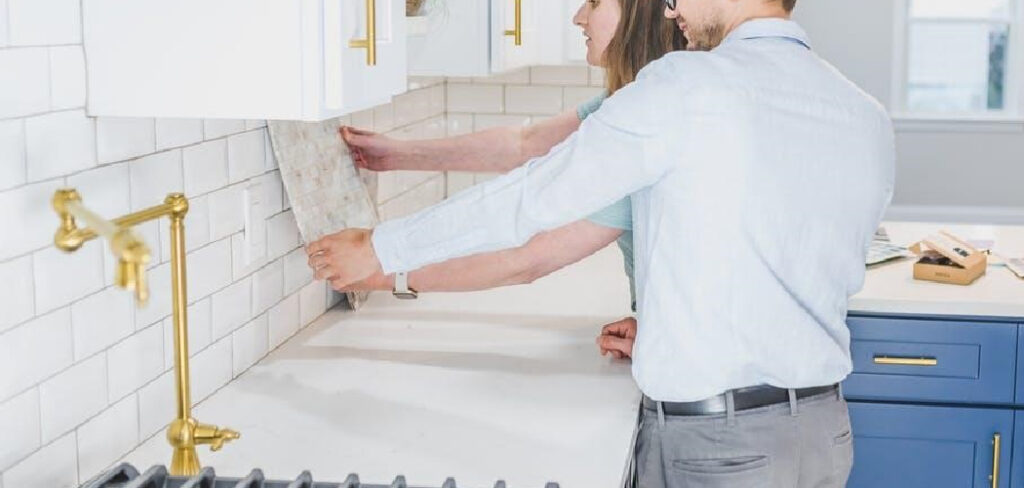
Learning how to choose kitchen backsplash can feel hard at first because there are so many tile materials, patterns, finishes, and colors to compare. The good news is that you do not need a design degree to make a smart choice. You just need a simple method that helps you match style, function, and budget. This guide will show you how to choose a backsplash that looks right, works hard, and fits your space.
Why This Skill Matters
Choosing a backsplash is a useful skill because it teaches you how to balance beauty with everyday function. In a kitchen, that means thinking about moisture, stains, cleaning, heat, and wear while also paying attention to color, texture, and scale. Once you understand that process, you can make better design decisions in other parts of your home too.
This skill also matters in less traditional spaces. If you are updating a camper, RV, outdoor kitchen, lake cabin, or grill station, wall protection becomes even more important. Small cooking spaces often deal with tight layouts, changing temperatures, and frequent messes. A smart backsplash choice can make a compact setup feel brighter, cleaner, and easier to maintain. That is why this topic helps not only homeowners, but also people creating practical cooking areas in mobile or outdoor living spaces.
Tools and Materials You’ll Need
Before you start comparing designs, gather a few simple tools and reference items. These will help you make better choices and avoid expensive mistakes.
- Tape measure for checking backsplash height, width, and outlet placement
- Countertop and cabinet samples to compare undertones and finishes
- Paint swatches for wall color matching
- Tile samples in a few sizes, colors, and materials
- Notebook or phone for photos, dimensions, and budget notes
- Good lighting, including both daylight and evening light, to test sample appearance
- Basic cleaning cloth to wipe samples and see real finish texture
- Budget worksheet to track material and installation costs
- Optional: painter’s tape to mark sample layouts directly on the wall
Step-by-Step Guide on How to Choose Kitchen Backsplash
Step 1 – Study the Kitchen You Already Have
Start by looking at the fixed elements in your kitchen. Your countertop, cabinets, flooring, and appliances already set the tone, so the backsplash should support them rather than compete with them. Pay close attention to undertones. A white cabinet can lean warm, cool, or neutral, and that small difference affects which tile color looks right next to it.
Stand in the room at different times of day. Morning light, overhead lighting, and under-cabinet lighting can all change how tile appears. Glossy white subway tile may look crisp in daylight but creamy under warm bulbs. Before you shop, take a few clear photos and note your main colors, finishes, and style cues. That simple review creates a stronger starting point.
Step 2 – Decide What Role the Backsplash Should Play
A backsplash can be a quiet background or a bold design feature. You need to decide which role makes sense for your kitchen. If your counters have a lot of movement, such as heavy veining or speckling, a simpler tile often works best. If your kitchen is mostly plain and neutral, the backsplash can add life through color, shape, or texture.
This step matters because many people love a tile sample in isolation but dislike it once it competes with everything else in the room. Think in terms of visual balance. Do you want calm and clean, or do you want contrast and personality? When you understand the job the backsplash needs to do, how to choose kitchen backsplash becomes much easier and far less overwhelming.
Step 3 – Choose the Right Material for Daily Use
Tile material affects cost, maintenance, durability, and overall feel. Ceramic and porcelain are the most beginner-friendly choices because they are durable, easy to clean, and widely available. Glass reflects light well and can make a small kitchen feel brighter, but fingerprints and smudges may show more. Natural stone adds warmth and texture, though it often needs sealing and more upkeep.
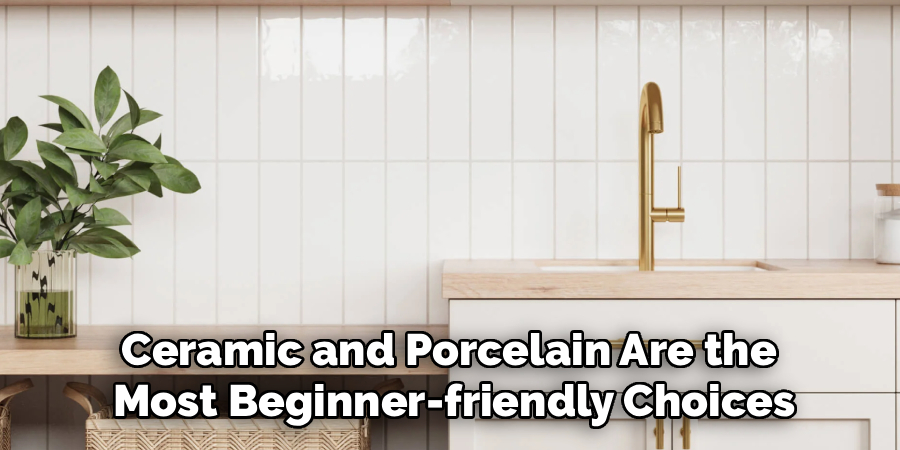
Think honestly about how you cook. If you fry often or cook with oil and sauces, you may want a smooth surface with fewer deep grooves. If your kitchen gets heavy use from kids or frequent meals, easy maintenance should rank high on your list. Beautiful materials matter, but the right material should also make daily cleanup feel simple, not frustrating.
Step 4 – Pick a Color That Connects the Room
Color is where many backsplash decisions go wrong. Instead of choosing your favorite tile color first, pull from colors already in the room. You might match the backsplash to the lightest tone in your countertop, the cabinet undertone, or even a subtle floor shade. This creates a connected look without feeling too matched or flat.
You do not have to play it safe, but your color choice should feel intentional. Soft white, greige, taupe, sage, blue-gray, and charcoal can all work well depending on the kitchen. If you want contrast, repeat that darker or bolder shade somewhere else, such as in hardware, lighting, or stools. That way the backsplash feels like part of a full design story rather than a random accent.
Step 5 – Get the Scale and Shape Right
Tile size and shape change how a kitchen feels. Large-format tile can make a small space feel calmer because there are fewer grout lines. Smaller tile adds detail and texture, but it can also create more visual movement. A classic subway tile feels timeless, while square tile, vertical layouts, hexagon shapes, and zellige-style surfaces can feel more modern or handcrafted.
Always compare the tile scale to the size of your kitchen and the pattern level in your counters. A tiny mosaic may get lost against dramatic stone counters, while oversized slab-style tile may feel too plain in a kitchen that needs charm. If you are unsure, test two sizes on the wall. Seeing them in place often reveals the right answer faster than staring at a sample board.
Step 6 – Think About Grout Early
Grout is not a small detail. It changes the final look of the backsplash more than many beginners expect. Matching grout creates a smoother, more seamless appearance. Contrasting grout highlights the tile shape and pattern. That can be beautiful, but it also draws more attention to spacing, alignment, and future staining.
You should also think about maintenance. Very light grout can show discoloration in hardworking kitchens, especially behind the stove. Mid-tone grout often hides wear better while still looking clean. If you are still learning how to choose kitchen backsplash, do not wait until installation day to think about grout. Bring grout samples home with your tile and look at them together under real lighting.
Step 7 – Set a Real Budget for Tile and Installation
A backsplash may cover a smaller area than flooring, but costs can add up fast. Tile price is only one part of the total. You also need to account for grout, trim pieces, adhesive, surface prep, cuts around outlets, and labor. Intricate patterns, handmade tile, and delicate materials usually increase installation cost because they take more time and skill.
Set your budget before you fall in love with a premium option. Then split that budget into materials and labor so you can compare choices fairly. A less expensive tile installed in a clean, thoughtful pattern often looks better than a luxury tile rushed into place. Good planning helps you spend where it matters most and avoid surprises once the work begins.
Step 8 – Test Samples in the Actual Space
Never choose from a showroom wall alone. Bring home at least three tile samples and place them near your countertop, cabinet door, and paint color. Look at them during the day and at night. Tilt them under task lighting and stand several feet back to see the full effect rather than just the surface texture.
Touch the samples too. A tile may look beautiful online but feel too rough, too glossy, or too uneven for your taste. This is one of the most practical parts of how to choose kitchen backsplash because it turns guesswork into evidence. A sample test helps you notice whether a color feels too cold, whether a finish reflects too much glare, or whether a pattern overwhelms the room.
Common Mistakes When Choosing a Kitchen Backsplash
One common mistake is choosing the backsplash before finalizing the countertop. Since the countertop often has stronger pattern and undertone variation, it should usually lead the design. If you pick tile first, you may later struggle to find a counter that works with it.
Another mistake is ignoring lighting. A tile that looks bright white in a store can turn yellow, gray, or harsh once it is under your kitchen lights. That is why sample testing matters so much. It reveals how the material behaves in your actual space, not in a controlled display.
Many beginners also focus only on tile and forget grout, edge trim, and installation layout. These details shape the finished result. A beautiful tile can look disappointing if the grout color feels wrong or the pattern stops awkwardly near cabinets and outlets.
A fourth mistake is picking a trendy option without thinking about maintenance. Highly textured surfaces, tiny mosaic pieces, or porous stone may require more cleaning than you want to handle. A backsplash should support your daily routine, not create extra work.
Finally, some people try to force too many statement pieces into one kitchen. If you already have bold counters, busy flooring, and dramatic lighting, a quieter backsplash often creates the balance the room needs.
Expert Tips
If you want a backsplash that ages well, aim for a mix of personality and restraint. Trendy details can be fun, but timeless choices usually come from strong proportions, useful materials, and colors that connect naturally to the rest of the kitchen. Even a simple subway tile can feel custom when you change the layout, finish, or grout tone.
Order extra tile before installation begins. A little overage helps with cuts, breakage, and future repairs. If you are updating a camper or outdoor kitchen, check that the material can handle moisture, temperature changes, and movement. Most of all, trust full-room harmony over isolated sample beauty. The best backsplash is not just pretty on its own. It makes the whole kitchen feel finished.
Frequently Asked Questions
Should backsplash be lighter or darker than countertops?
Either can work. A lighter backsplash can brighten the room and soften a heavy countertop, while a darker backsplash can add contrast and depth. The best choice depends on your cabinets, lighting, and overall style. In most kitchens, matching undertones matters more than choosing strictly lighter or darker tile.
What is the easiest backsplash to keep clean?
Porcelain and ceramic tile are usually the easiest options for everyday cleaning. They resist stains well, do not need much upkeep, and come in many styles. Smooth surfaces with simple grout lines are often easier to wipe down than rough stone or highly textured handmade tile, especially behind the stove.
Should I match my backsplash to my countertop or cabinets?
You do not need an exact match, but the backsplash should connect clearly to one or both. Many designers pull a subtle tone from the countertop and use that as the backsplash color. Others use the cabinet color as the anchor. The key is coordination, not perfect sameness.
Is subway tile still a good choice?
Yes, subway tile remains a smart choice because it is versatile, affordable, and easy to style. It works in classic, modern, farmhouse, and transitional kitchens. If you want it to feel more current, change the layout, choose a handmade finish, or pair it with a thoughtful grout color that suits your design.
Can I use the same backsplash in a camper or outdoor kitchen?
Yes, but you need to choose carefully. In campers, RVs, and outdoor cooking areas, materials should handle moisture, heat, and sometimes movement or temperature swings. Lightweight, durable, and easy-to-clean options often work best. Always check product specifications before installation, especially for spaces exposed to weather or travel vibration.
Conclusion
Choosing a backsplash gets much easier when you stop thinking of it as a single tile decision and start seeing it as part of the whole kitchen. Your best choice depends on the room’s fixed finishes, the amount of visual contrast you want, the material’s maintenance needs, the tile’s scale, and the grout that ties it all together. Sample testing and realistic budgeting can save you from most common regrets.
If you remember anything from this guide, let it be this: the right backsplash should make your kitchen feel more connected, more usable, and more like your style. That same thinking can also help in small-space projects like campers, cabins, and outdoor kitchens where durability matters just as much as appearance. Once you understand how to choose kitchen backsplash, you can make a confident decision that looks good on day one and still works well years later.

About
Nick Hall has spent the last seven years working at the intersection of kitchen design and home repair — first as a design assistant at a residential renovation studio, then as a freelance writer covering everything from cabinet layouts to leaky faucet fixes.
Her approach is simple: kitchens should look good and function well. That means she’s just as comfortable talking about color palettes and counter materials as she is walking readers through how to fix a wobbly cabinet hinge or troubleshoot a garbage disposal.
Nick has worked directly with homeowners on small-space kitchen makeovers, budget-conscious renovations, and the kind of everyday repairs that don’t need a contractor — just the right instructions. She writes from experience, not theory, and tests most of the fixes and tips she shares before publishing them.
When she’s not writing, Nick is usually hunting for mid-century kitchen finds at estate sales or helping friends plan their own renovations. She lives in Columbus, Ohio.