
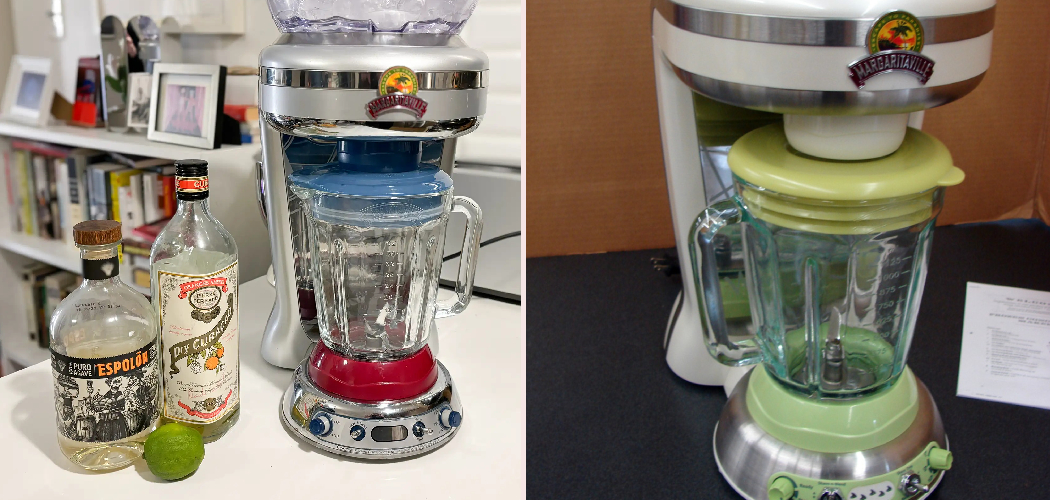
That Margaritaville blender sitting on your counter promises icy, resort-style drinks, but the first time you face all those buttons and parts, it can feel a little puzzling. Where does the ice go? Which setting makes slush instead of soup? What if it leaks all over the patio?
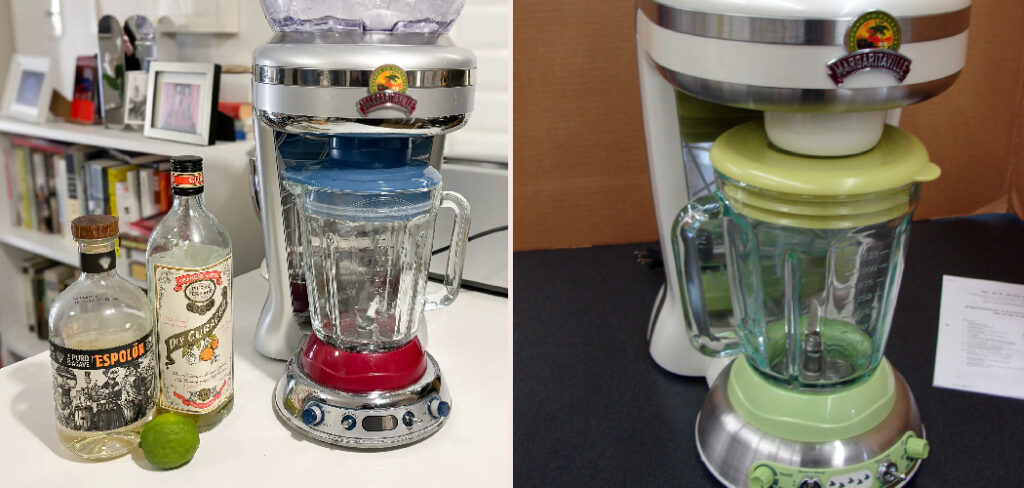
Relax. This machine was built for fun, not frustration, and once you learn a few basics, you’ll mix frozen drinks like a poolside bartender.
Knowing how to use a margaritaville blender the right way means smoother textures, fewer messes, and a machine that keeps the party going for years. This guide walks you through every step, from setting up the parts to cleaning up afterward, so you can blend with total confidence from your very first batch.
Why Learning To Use A Margaritaville Blender Matters
This skill shines far beyond the kitchen counter. If you camp, travel by RV, or host backyard get-togethers, a dependable frozen drink maker turns any space into a tiki bar. You can whip up margaritas at a tailgate or blend slushies on the patio without hauling a pile of gadgets.
For outdoor beginners and small-space entertainers, mastering one fun appliance saves time and effort. You learn how to shave ice, dial in the perfect consistency, and serve a crowd without breaking a sweat.
It also builds confidence. Knowing how to load the ice reservoir, lock the blending jar, and dispense cleanly means you handle every round yourself. Whether you’re entertaining a backyard full of guests or mixing one quiet drink, a blender you trust makes compact and temporary setups feel like a real bar.
Tools and Materials You’ll Need
You don’t need much to get started, just the right pieces in good shape. Begin with your blender base, also called the motor base, which holds the power and the control panel. You’ll need the pitcher or blending jar, the blending assembly that does the mixing, and the lid that seals everything in. If your model has an ice reservoir up top, keep it handy, along with any dispensing components like a spout or dispensing lever for serving straight into glasses.
Set up near a working power outlet so the cord reaches your countertop comfortably. Gather your ingredients, a measuring cup for accuracy, and a scoop for loading ice. For cleanup, have dish soap, warm water, and a dry towel ready.
One optional convenience item worth grabbing is a funnel or a small prep bowl, which makes pouring and loading far tidier.
Step-by-Step Guide on How To Use A Margaritaville Blender
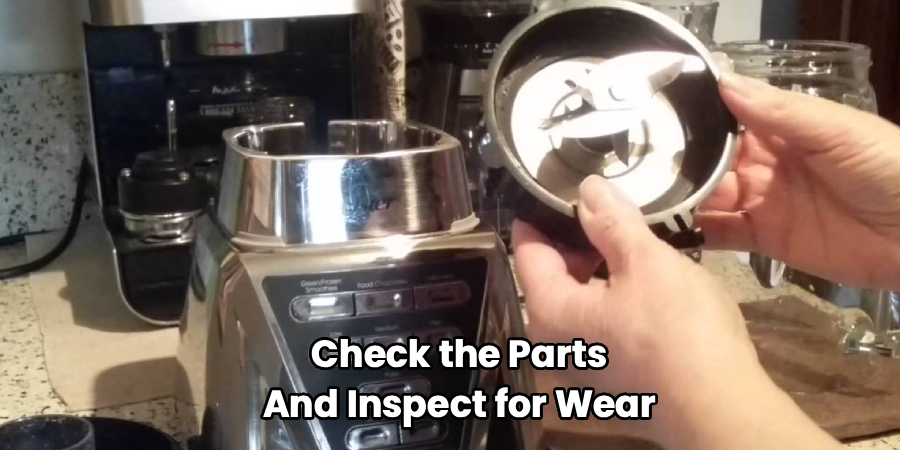
Step 1 – Check the Parts and Inspect for Wear
Before you plug anything in, lay out every piece and give it a quick once-over. Hold the blending jar up to the light and look for cracks or chips, especially around the base where the blending assembly threads in.
Run your finger along the lid seal and any gaskets. They should feel soft and springy, not stiff or cracked, since a tired seal is the top cause of leaks.
Check that the blades spin freely and feel firmly seated. If your model has an ice reservoir, make sure its auger or shaver blade is clean and moves without sticking.
Taking thirty seconds here saves you from a soggy countertop later. A quick inspection means you start every batch with confidence and a clean, leak-free setup.
Step 2 – Set Up the Ice Reservoir and Blending Jar
Now build your machine from the bottom up. Lock the blending jar onto the motor base, lining up the coupling at the bottom of the jar with the drive socket on the base. You’ll feel it settle and click into place, sitting level and steady.
If your model shaves ice on demand, fill the ice reservoir on top with cubes using your scoop. Don’t pack it tight, since loose cubes feed down to the shaver blade more smoothly.
Give the jar a small nudge to confirm it isn’t rocking. A stable, level fit keeps the motor from straining and stops the whole unit from walking across your countertop while it runs. Keep the cord tucked safely to one side.
Step 3 – Add Your Ingredients in the Right Order
Order matters more than most beginners realize. Pour your liquids in first, like margarita mix, juice, or water, so the blades have something to grab and spin smoothly.
Next, add any soft ingredients such as fresh fruit, then layer the heavier items on top. If you’re adding ice directly to the jar rather than the reservoir, place it last so it pulls down into the blend.
Learning how to use a margaritaville blender really starts with smart loading, since it prevents air pockets and that frustrating moment when the blades spin uselessly.
Never fill past the max line on the pitcher. Overfilling leads to leaks, weak blending, and a slushy mess under the lid. Leave room for the mixture to swirl and move freely.
Step 4 – Select the Shave and Blend Functions
Press the lid on firmly until you feel it seal all the way around the rim. A loose lid invites splatter, so don’t rush this.
Now look at your control panel. Many Margaritaville models offer dedicated drink settings that automatically shave ice from the reservoir and blend it into the jar below. Choose the setting that matches your drink, whether it’s a single serving or a full pitcher.
Listen as it works. You’ll hear the satisfying crackle of shaved ice dropping into the jar, then a steady hum as everything blends together. A smooth, even sound means the mixture is moving freely. A choppy, laboring noise usually signals an air pocket or a too-thick blend that needs a quick pulse.
Step 5 – Manage the Texture for Perfect Frozen Drinks
Texture is where the magic happens, and a little control goes a long way. For a thick, spoonable slush, use more ice and let the machine run its full cycle. For a smoother, sippable frozen drink, add a splash more liquid and blend a touch longer.
Watch the swirl through the jar. A perfect frozen drink folds over itself in a slow, glossy wave rather than splashing thinly or sitting stuck in clumps.
If your model has a pulse option, tap it in short bursts to break up stubborn ice without over-blending. Knowing how to use a margaritaville blender for texture means trusting your eyes and ears, then adjusting before you pour. A few seconds of patience gives you bar-quality results every time.
Step 6 – Pour or Dispense Safely
Once your mixture looks perfect, switch the machine off and let the blades come to a full stop. Never reach near the jar while anything is still spinning.
If your model has a dispensing lever or spout, simply hold your glass underneath and pull the lever for a clean, controlled pour. The slush slides out in a smooth ribbon, filling each glass without drips.
For a standard pitcher, lift it straight up off the base and pour slowly, using the spout to guide the stream. Tilt gently so thick slush doesn’t glop out all at once.
Wipe any drips from the dispensing area right away. Serving cleanly keeps your countertop tidy and your guests impressed with every frosty round.
Step 7 – Stop and Adjust If the Mix Is Off
Sometimes your first blend isn’t quite right, and that’s an easy fix. If the drink pours too thin and watery, add a scoop of ice and run a short cycle to thicken it back up.
If it’s too thick and the blades struggle, the machine will sound strained and the slush will barely move. Turn it off, add a splash of liquid, and pulse a few times to loosen things.
Stop the machine completely before opening the lid. Use a spatula to scrape any clumps clinging to the sides back toward the center, where the blades can reach them.
Reseal the lid, blend again briefly, and check the consistency. Short, controlled adjustments give you far better results than over-blending into a watery puddle.
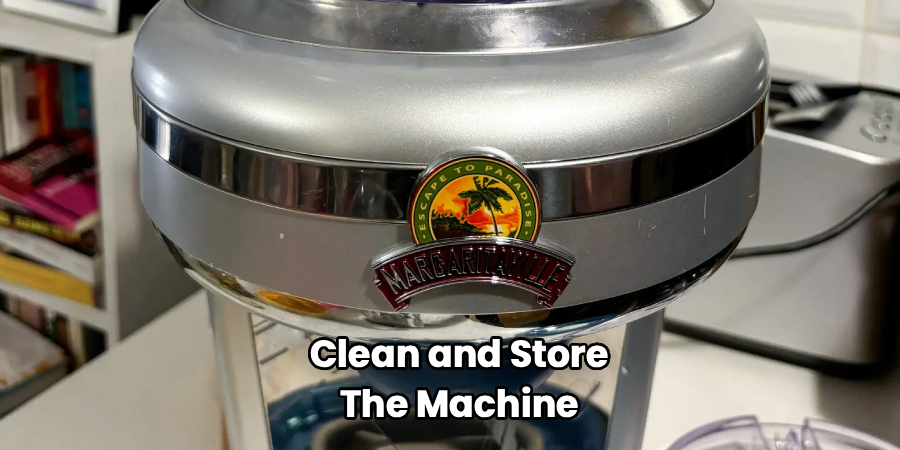
Step 8 – Clean and Store the Machine
Cleanup is quick when you do it right away. Unplug the cord first to keep the machine safe while you work.
Fill the jar halfway with warm water and a drop of dish soap, lock it back on, and run a short cleaning cycle on a low setting. The swirling water rinses the blending assembly beautifully.
Rinse, then take the jar apart to wash the blades and lid by hand. If your model has an ice reservoir, rinse it out and let it air dry so no moisture lingers.
Wipe the motor base with a damp cloth, never submerging it in water, then dry everything with a towel. Store the parts loosely assembled or separated so the seals stay fresh and odor-free.
Critical Mistakes When Using A Margaritaville Blender
A few common slip-ups trip up beginners, so let’s clear them up before they cost you a soggy counter or a watery drink.
The biggest mistake is overfilling the pitcher. When you pour past the max line, the slush has nowhere to go, so it forces its way under the lid and leaks everywhere. Always leave headroom and blend in batches if you’re serving a crowd.
Another frequent error is using the wrong ice. Big, clumpy frozen chunks jam the shaver blade and strain the motor. Use fresh, loose cubes that feed smoothly into the ice reservoir for even, consistent results.
Many people also forget to seat the lid and jar properly. A jar that isn’t locked onto the motor base won’t engage the drive, and a loose lid sends frozen drink spraying across the room. Always confirm both click firmly into place before you start.
Finally, plenty of folks skip cleaning until later. Dried margarita mix and pulp turn sticky fast, gumming up the dispensing lever and blades. A quick cleaning cycle right after use takes seconds and keeps everything flowing freely for the next round.
Expert Tips
Want smoother frozen drinks with less effort? Always add liquids first, then layer fruit and ice on top. This simple order helps the blades grab everything and pull it down, so you avoid annoying air pockets.
Use the pulse setting more than you think. Short bursts give you far more control than a long continuous run, especially when you’re fine-tuning that perfect slush consistency.
Keep your ice fresh and loose. Cubes that have melted and refrozen into clumps will jam the shaver, so a fresh bag works best for parties.
Clean the machine right after using it, since dried mix becomes stubborn quickly. And let the motor rest between heavy batches to keep it running strong for many summers of frozen fun.
Frequently Asked Questions
Why Is My Frozen Drink Coming Out Too Watery?
A watery drink usually means too much liquid or too little ice. The fix is simple:
- Add a scoop or two of fresh ice
- Run a short blend cycle to thicken it
- Reduce the liquid slightly on your next batch
Also check that you’re not over-blending, since extended running melts the ice and thins the slush. Aim for a slow, glossy fold rather than a thin splash.
Can I Make Non-Alcoholic Drinks In It?
Absolutely. Your Margaritaville blender handles smoothies, slushies, frozen lemonade, and virgin cocktails just as well as adult drinks. Simply swap the alcohol for juice, soda, flavored water, or extra fruit. The machine doesn’t care what’s inside, it just shaves ice and blends. This makes it a great pick for family gatherings where kids and adults both want a frosty treat from the same pitcher.
How Do I Stop My Blender From Leaking?
Leaks almost always trace back to a seal or assembly problem. To stop them:
- Confirm the blending assembly is threaded on tightly
- Inspect the lid seal and gaskets for cracks or stiffness
- Make sure the jar locks fully onto the motor base
- Never fill past the max line
Replace any worn gasket the moment it looks flattened, since a fresh seal is cheap insurance against messes.
What Kind Of Ice Works Best?
Fresh, loose ice cubes work best. They feed smoothly into the ice reservoir and shave evenly without jamming. Avoid big clumps or ice that has partly melted and refrozen, since those chunks strain the shaver blade and motor. If your cubes have clumped together in the freezer, break them apart before loading. Loose, dry cubes give you the cleanest, most consistent slush every time.
How Often Should I Deep Clean It?
Run a quick cleaning cycle after every use to keep things flowing. For a deeper clean, take the machine apart weekly if you use it often, or after any sticky, pulpy drink. Wash the jar, lid, and blades by hand, rinse the ice reservoir, and wipe the motor base. This routine prevents buildup around the dispensing lever and keeps your drinks tasting fresh.
Conclusion
A frozen drink maker stops being intimidating the moment you understand its rhythm, and now you know exactly how it all works. From inspecting the parts to dialing in the perfect slush, every step builds toward smoother, mess-free drinks you can count on.
Remember the essentials. Check your parts and seals, lock the jar firmly onto the motor base, and fill the ice reservoir with fresh, loose cubes. Load liquids first, stay below the max line, and pick the right setting before adjusting the texture to taste. Dispense slowly, then clean up right after the last pour.
Mastering how to use a margaritaville blender gives you a skill that pays off everywhere, whether you’re hosting a backyard party, mixing slushies in an RV, or serving frozen lemonade on the patio. You save money, skip the guesswork, and impress everyone with bar-quality drinks.
So plug it in, scoop in some ice, and trust the process. With a little practice, you’ll be serving up frosty, frozen favorites like a seasoned pro all season long.
