
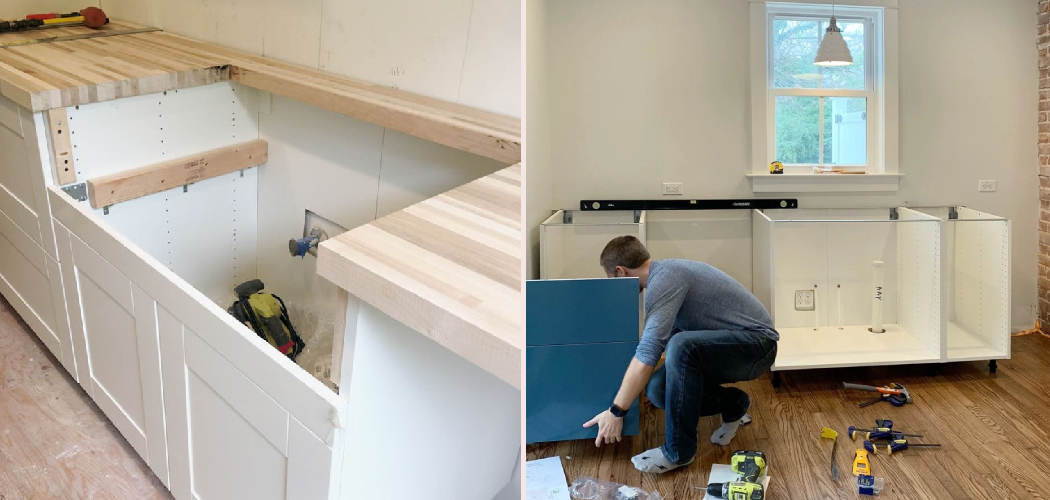
Staring at a stack of flat-pack boxes in your kitchen can feel overwhelming, can’t it? All those panels, screws, and instruction sheets seem like a puzzle with no clear picture. The good news is that with a little planning and the right tools, you can pull this off yourself.
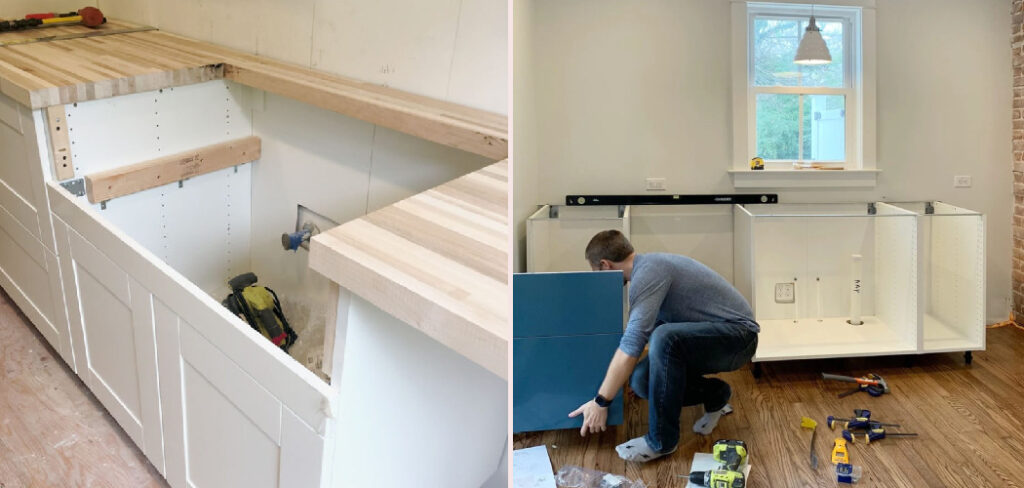
IKEA designed its cabinet system to be friendly for everyday people, not just contractors. The clever suspension rail does most of the heavy lifting, and the parts click together in a logical order once you understand the flow.
Learning how to install ikea kitchen cabinets saves you serious money and gives you a kitchen that feels truly yours. You’ll gain confidence with every panel you mount.
This guide walks you through every step, from measuring your walls to adjusting the final hinge, so you can build a sturdy, level kitchen with your own hands.
Why Installing IKEA Kitchen Cabinets Matters
This skill stretches far beyond a standard kitchen remodel. If you’re building out a tiny home, every inch counts, and IKEA’s modular boxes let you fit storage into spaces a custom job could never reach.
RV conversions and van builds love these cabinets too, since the lightweight boxes and adjustable spacing work perfectly in cramped, mobile setups. Cabin owners often face remote locations where hiring help is expensive or simply not possible, so doing it yourself becomes the only practical option.
For compact apartments and small kitchens, the system shines because you can mix and match cabinet sizes to use awkward corners and short walls.
And if you’re a beginner, this project teaches you real install skills—leveling, finding wall studs, and working with shims—that carry over to dozens of future home improvements.
Tools and Materials You’ll Need
You won’t need a contractor’s truck full of gear, but a few key tools make all the difference. Start with a reliable drill and driver, a stud finder to locate wall studs, and a tape measure for accurate planning. A good level is essential, and a long spirit level keeps your reference lines honest across the whole wall.
Grab a pencil for marking, a hammer for wall anchors, and a screwdriver set for fine adjustments. Keep a pack of shims handy, since almost no wall or floor sits perfectly plumb. You’ll also want safety glasses and knee pads for those long hours on the floor.
If you want one convenience item worth every penny, pick up a laser level. It projects a crisp, dead-straight line across your wall and makes setting rail height far easier than juggling a bubble level alone.
Step-by-Step Guide on How To Install Ikea Kitchen Cabinets
Step 1 – Measure and Plan Your Layout
Before a single box gets touched, grab your tape measure and map out the room. Measure the length of each wall, then mark the height and width of windows, outlets, and your stove and sink locations.
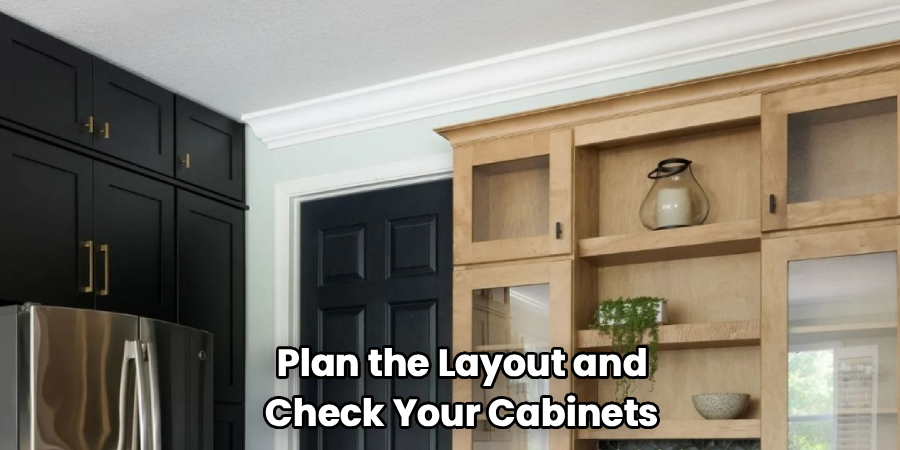
Sketch the layout on paper or use IKEA’s planning tool. Knowing exactly where each cabinet lands prevents costly surprises later. Pay close attention to cabinet spacing around appliances, since a tight fit can block a dishwasher door.
Picture how you’ll move through the space while cooking. That mental walk-through helps you spot crowded corners before they become a real headache. Double-check your numbers, because a measurement off by half an inch can throw off your whole run. Good planning here makes every following step smoother.
Step 2 – Locate Studs and Check Your Walls
Now turn to the walls themselves. Run your stud finder slowly across the surface, listening for that steady beep, and mark each wall stud with a light pencil tick.
Studs give your cabinets their real strength, so you want to screw into solid wood wherever possible. Where studs don’t line up with your cabinet positions, you’ll need sturdy wall anchors rated for heavy loads.
Press your hand against the wall and feel for any bows or bulges. Hold your level vertically in a few spots to check whether the wall sits plumb. Most walls aren’t perfect, and that’s fine—you’ll correct it later with shims. Knowing your wall’s quirks now saves frustration when you start hanging boxes.
Step 3 – Mark Rail Height and Reference Lines
This step sets the foundation for everything above. Decide your base cabinet height, usually around 34 and a half inches, then mark a level horizontal line for the top of your base cabinets.
From there, measure up to find where the suspension rail for your wall cabinets goes, typically leaving room for a standard backsplash gap. Snap or draw a crisp reference line using your laser level for accuracy.
Take a moment to look down the line with one eye. A truly level line is the secret to a professional-looking result, and skipping it shows up as crooked doors later. Mark your stud locations along this line too, so you know exactly where your screws will bite into solid framing.
Step 4 – Assemble the Cabinet Boxes
Time to build. Clear a large, flat workspace and lay out the panels for one cabinet at a time. Sort the hardware into small piles so you’re not hunting for screws mid-build.
Follow the IKEA instructions panel by panel. The cam-lock fittings tighten with a satisfying quarter-turn, and you’ll hear a soft click as each joint pulls snug. Tap pieces together gently with a rubber mallet if they resist.
Knowing how to install ikea kitchen cabinets really comes down to patient, accurate assembly here. Check that each box sits square by measuring corner to corner—both diagonals should match. A square cabinet hangs straight and closes cleanly, while a twisted one fights you at every later step.
Step 5 – Mount the Suspension Rail
Here’s where IKEA’s clever system earns its keep. Hold the metal suspension rail along your reference line and drive screws directly into the marked wall studs.
Use your level to confirm the rail sits perfectly horizontal before tightening every screw. This rail carries the full weight of your wall cabinets, so it must be rock solid. Tug on it firmly once mounted—it shouldn’t budge even slightly.
Where the rail spans a gap between studs, add heavy-duty wall anchors for backup support. You’ll feel the difference between a screw biting solid wood and one spinning in drywall, so trust that resistance. A secure, level rail means your upper cabinets practically hang themselves, and that makes the next step almost fun.
Step 6 – Hang the Wall Cabinets
Now lift your first wall cabinet and hook its internal brackets onto the suspension rail. You’ll feel it settle into place with a reassuring catch.
Reach inside and turn the adjustment screws to fine-tune the cabinet’s height and depth. These let you nudge each box until the fronts align in a clean, flat row. Work from one end of the wall toward the other, hanging each cabinet beside its neighbor.
Hold your level against the cabinet bottoms as you go. Tiny tweaks now prevent a wavy line across the whole kitchen. Once two cabinets sit side by side, clamp them together and check that their faces are flush. That crisp, even seam is what makes the finished wall look truly custom.
Step 7 – Set and Level the Base Cabinets
Bring in the base cabinets and attach their adjustable legs if they aren’t on yet. Stand each box in position along your floor line, then start leveling.
Floors are rarely flat, so spin the legs up or down and slide shims underneath until each cabinet sits plumb and level in every direction. Rest your level across the tops to confirm a continuous flat surface, since this is where your countertop will sit.
Check the countertop support height carefully, because an uneven base shows up the moment you set a heavy stone top. Clip the included toe kick onto the front legs once everything lines up. You’ll appreciate that clean, finished look hiding the gap beneath your cabinets.
Step 8 – Secure Everything and Add Doors
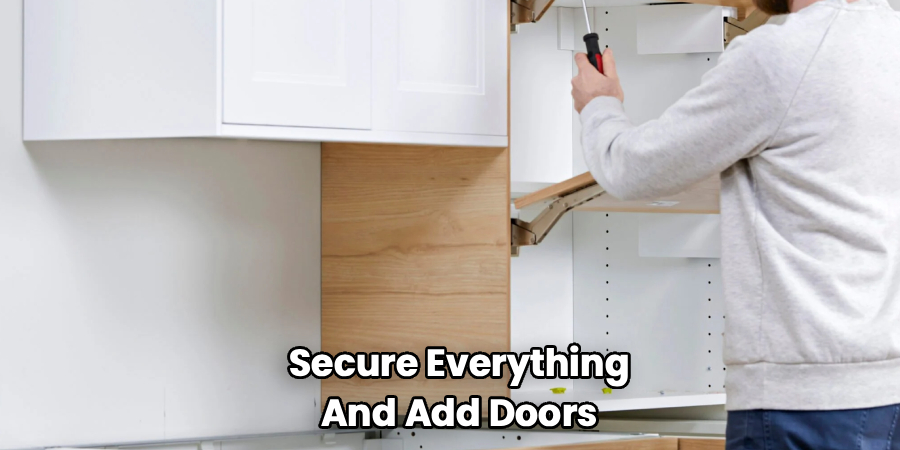
The home stretch is here. Screw the base cabinets to the wall studs and to each other, keeping their front faces perfectly flush as you tighten.
Add any filler strip pieces where cabinets meet a wall, trimming them for a snug fit. Mount the end panels to finish exposed sides, then hang your doors and slide in the drawers. The hinges and drawer fronts include built-in adjustment screws, so take time with the hinge adjustment until every gap looks even.
Open and close each door, watching for smooth, quiet movement. Knowing how to install ikea kitchen cabinets means sweating these final details, because aligned doors and crisp cabinet spacing separate a rushed job from a stunning one. Step back and admire your work.
Critical Mistakes When Installing IKEA Kitchen Cabinets
A few avoidable errors trip up almost every first-timer, so let’s flag them before they cost you time and money.
The most common mistake is skipping accurate leveling. People rush the suspension rail or the base cabinet legs, then wonder why their doors hang crooked and their countertop wobbles. A level that’s off by a hair at the start becomes a glaring problem across a long run, so check and recheck every line before you commit.
Another frequent blunder is missing the wall studs. Screwing cabinets into drywall alone is asking for disaster, especially once you load shelves with heavy plates and glasses. Always find your studs, and use rated wall anchors only where solid framing isn’t available.
Many beginners also assemble cabinet boxes out of square. A twisted box never closes right, so measure both diagonals and confirm they match before moving on.
Finally, don’t ignore your wall and floor imperfections. Pretending everything is perfectly plumb leads to gaps and misaligned faces. Embrace your shims, take your time with each adjustment, and your finished kitchen will look like a pro handled it.
Expert Tips
Want your install to go smoother? Assemble all your cabinet boxes first, before you hang anything. Working in batches keeps your rhythm going and your floor organized.
Keep a small magnetic tray for screws and cam locks so tiny parts don’t roll away and vanish. Losing one fitting can stall your whole afternoon.
Label each finished box with a sticky note showing its wall position. When you’re ready to hang, you’ll thank yourself for the clear map.
Use a laser level whenever you can, especially for the suspension rail and reference lines. That bright, steady line beats squinting at a bubble every time.
And recruit a helper for lifting wall cabinets onto the rail. An extra pair of hands makes the job safer, faster, and a lot more enjoyable.
Frequently Asked Questions
How long does it take to install IKEA kitchen cabinets?
For a beginner, expect a full weekend for an average kitchen, sometimes longer. Your timeline depends on three things:
- The number of cabinets you’re hanging
- How square your walls and floors are
- Whether you assemble boxes ahead of time
Assembling the boxes alone can take several hours. Take breaks, work carefully, and don’t rush the leveling steps, since accuracy saves you redo time later.
Do I really need to find the wall studs?
Yes, absolutely. Wall cabinets loaded with dishes carry serious weight, and drywall alone can’t hold them safely. Use a stud finder to locate the framing, then drive your suspension rail screws into solid wood. Where studs don’t line up with cabinet positions, add heavy-duty wall anchors rated for the load. Skipping this step risks cabinets pulling off the wall.
Can I install IKEA cabinets on an uneven floor?
You can, and most floors aren’t perfectly level anyway. IKEA base cabinets come with adjustable legs that spin up or down to compensate. For extra fine-tuning, slide shims under the legs until each cabinet sits plumb and level. Always rest a level across the cabinet tops to confirm a flat, continuous surface before installing your countertop. Patience here pays off beautifully.
What tools are absolutely essential for the job?
You don’t need a huge collection. The must-haves include:
- A drill and driver for screws
- A stud finder to locate framing
- A reliable level, ideally a laser level
- A tape measure and pencil for marking
- Shims for leveling on uneven surfaces
A rubber mallet and screwdriver set round things out. With these basics, you can handle nearly every step confidently.
How do I fix doors that don’t line up?
IKEA hinges include built-in adjustment screws that let you nudge doors in three directions. Turn the screws slowly to shift each door up, down, sideways, or in and out until the gaps look even. Work on one door at a time and compare it to its neighbor. A little patience with hinge adjustment turns a sloppy row of doors into a crisp, professional finish.
Conclusion
Building your own kitchen really comes down to a clear sequence of careful steps. You measure and plan your layout, find your wall studs, and snap level reference lines. Then you assemble the cabinet boxes, mount the suspension rail, and hang your wall cabinets in a clean, straight row. Finally, you set and level your base cabinets, secure everything together, and fine-tune the doors and drawers until each gap looks just right.
The real reward of knowing how to install ikea kitchen cabinets is the money you save and the pride you feel every time you walk into the room. You don’t need a contractor’s resume—just patience, a level, and a willingness to follow the steps.
Remember the golden rules: measure twice, screw into solid studs, and never skip the leveling. Embrace your shims, take your time with each adjustment, and the finished result will look like a pro did it.
So clear that floor, sort your hardware, and start building. Once you’ve done it yourself, your next home project will feel completely within reach. You’ve got this!
