
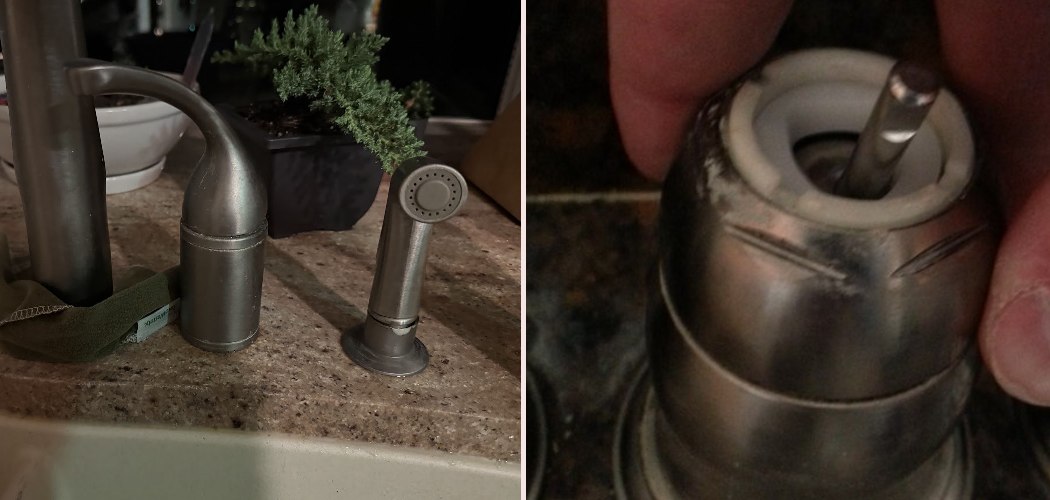
That wobbly, dripping faucet has been bugging you for weeks, hasn’t it? Maybe it’s time for an upgrade, or maybe a worn cartridge needs attention. Either way, pulling out the old fixture is the first move—and it’s far less scary than it looks.
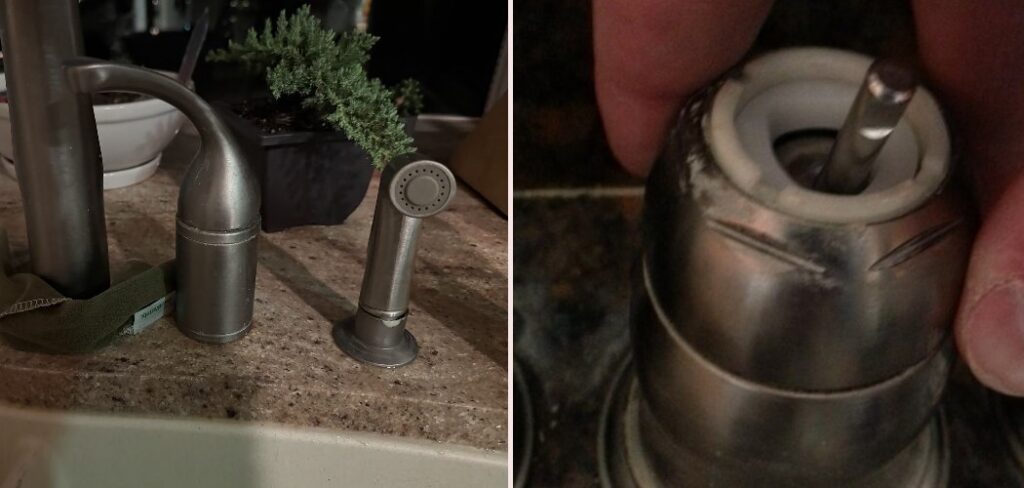
The good news is you don’t need a plumber on speed dial. With a few common tools and a little patience, you can handle this yourself in under an hour. Learning how to remove delta kitchen faucet single handle gives you a real sense of confidence around your sink, plus the satisfaction of fixing something with your own two hands.
This guide walks you through every step, from shutting off the water to clearing the deck, so you can take that faucet off cleanly and safely.
Why Removing a Delta Single-Handle Kitchen Faucet Matters
Knowing this skill pays off in more places than your main kitchen. If you own a cabin, the nearest plumber might be an hour away, so handling small repairs yourself saves a frustrating wait.
RV owners and folks with mobile setups deal with tight quarters and frequent wear, where a quick faucet swap keeps water flowing on the road. Outdoor kitchens face sun, rain, and mineral buildup, so fixtures there need replacing more often than indoor ones.
For beginners, this is one of the best starter plumbing jobs around. The connections are simple, the risk is low, and the payoff is huge. Once you master removing a single-handle Delta faucet, you build the practical confidence to tackle bigger projects.
That kind of hands-on know-how turns a stressful repair into a quick afternoon win.
Tools and Materials You’ll Need
You probably own most of what you need already. Start with an adjustable wrench and a basin wrench, since the basin wrench reaches those awkward mounting nuts hidden deep in the under-sink space. Grab a set of Allen wrenches too, because the handle set screw on many Delta models needs one.
Keep a flashlight or headlamp handy to light up the dark cabinet, along with a couple of towels to soak up drips and cushion your back. A small bucket catches leftover water from the supply lines. You’ll also want a flathead screwdriver to pop off the decorative cap and some penetrating oil for stubborn, corroded hardware.
One optional convenience item worth grabbing is a pair of channel-lock pliers with rubber-padded jaws. They give you extra grip without scratching the finish on parts you might reuse.
Step-by-Step Guide on How To Remove Delta Kitchen Faucet Single Handle
Step 1 – Shut Off the Water Supply
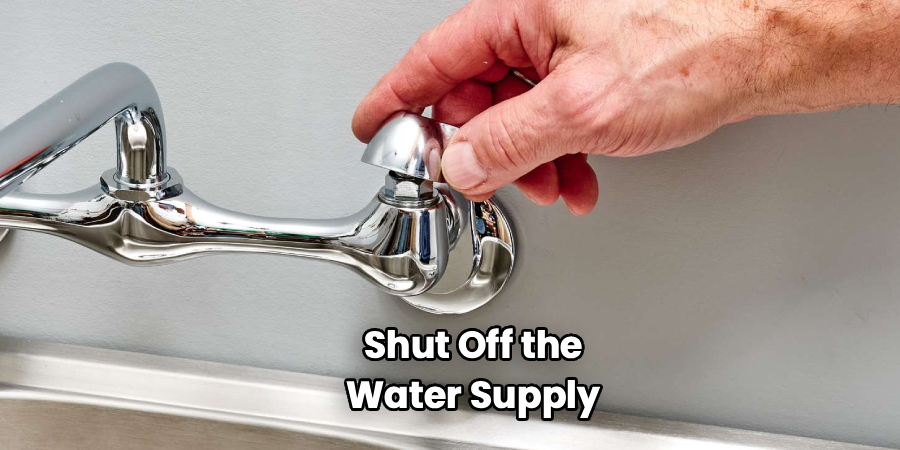
Before you touch anything else, kill the water. Look under the sink for two shutoff valves, one for hot and one for cold. Turn each clockwise until it stops firmly.
Now test your work. Turn the faucet handle to the on position and watch. A few last drips are normal, but a steady stream means a valve isn’t fully closed. If your valves are stuck or missing, shut off the main water supply for the whole house instead.
Once the flow stops, leave the faucet handle open. This relieves pressure in the lines and lets trapped water drain out. You’ll hear a faint gurgle as the pipes empty—that’s exactly what you want before moving on.
Step 2 – Clear and Protect the Cabinet
Empty everything out of the cabinet under your sink. Cleaning supplies, dish soap, that random bag of sponges—pull it all out so you have room to work and see what you’re doing.
Lay a towel across the bottom of the cabinet to catch drips and give your back a softer surface. Slide your small bucket into place beneath the supply lines, since a little water always escapes when you disconnect them.
Position your flashlight or clip on a headlamp so the connections are well lit. That dark, cramped under-sink space is the hardest part of this whole job, so good lighting makes a real difference. A clear, bright workspace saves you from fumbling around blind and bumping your head.
Step 3 – Locate the Set Screw or Cap
Head back up top and find how the handle attaches. Most single-handle Delta faucets hide a set screw under a small decorative cap on the front or side of the handle base.
Run your finger around the handle until you feel a slight seam or a tiny plastic button. Gently pry it off with a flathead screwdriver, working slowly so you don’t scratch the finish. Underneath, you’ll spot the hex-shaped set screw waiting for your Allen wrench.
Some models skip the cap and use a visible screw instead. Either way, knowing how to remove delta kitchen faucet single handle starts with finding this one small fastener. Take a quick photo with your phone so you remember how it all fits back together.
Step 4 – Loosen and Lift the Handle
Pick the Allen wrench that fits the set screw snugly. A loose fit strips the screw head, so test a couple of sizes until one slides in without wiggling.
Turn the wrench counterclockwise. You might feel resistance at first, especially if mineral buildup has crept in over the years. Steady, firm pressure usually breaks it free with a satisfying little crack.
Once the screw loosens, you don’t have to remove it completely—just back it out enough to free the handle. Then grip the handle and lift straight up. It should slide off the valve stem with gentle wiggling. If it sticks, a drop of penetrating oil and a few minutes of patience will loosen the grip.
Step 5 – Disconnect the Supply Lines
Now duck back under the sink. Find where the flexible supply lines connect to the faucet’s tailpieces. Slide your bucket directly underneath, because residual water always drips out here.
Use your adjustable wrench to grip the connecting nut, turning counterclockwise to loosen it. Hold the faucet’s tailpiece steady with your other hand so it doesn’t twist. You’ll feel the nut give way, then spin it the rest by hand.
Expect a small splash of cool water as the line separates—that towel and bucket earn their keep now. If your faucet has a spray hose, disconnect that line too, following the same gentle counterclockwise motion. Set the loose lines aside and wipe up any spills before they spread across the cabinet floor.
Step 6 – Loosen the Mounting Hardware
This is where your basin wrench shines. Reach up into that tight under-sink space and find the mounting nut that clamps the faucet to the sink deck from below.
Fit the basin wrench’s jaws around the nut and turn counterclockwise. The long handle gives you leverage in a spot your hands could never reach. You’ll feel the nut slowly back off, sometimes with a gritty drag from corrosion.
Older faucets may use a retaining bracket instead of a simple nut. Loosen its screws evenly, a little on each side, so nothing binds. If hardware refuses to budge, spray penetrating oil and wait ten minutes. Patience beats brute force every time, and it protects the threads you might want later.
Step 7 – Lift Out the Faucet Body
With the hardware free, you’re ready for the satisfying part. Go back to the top of the sink and grip the faucet body firmly with both hands.
Wiggle it gently side to side as you pull straight up. Years of grime, plumber’s putty, or a stuck escutcheon plate can create suction, so a little rocking helps break the seal. You might feel it release with a soft pop.
Lift the whole assembly out and set it on a towel. Take a look underneath at the deck holes—they may show old putty, grime, or a faint ring of mineral buildup. Don’t worry, that’s normal after years of service. The hard work is officially behind you now, and the rest is easy cleanup.
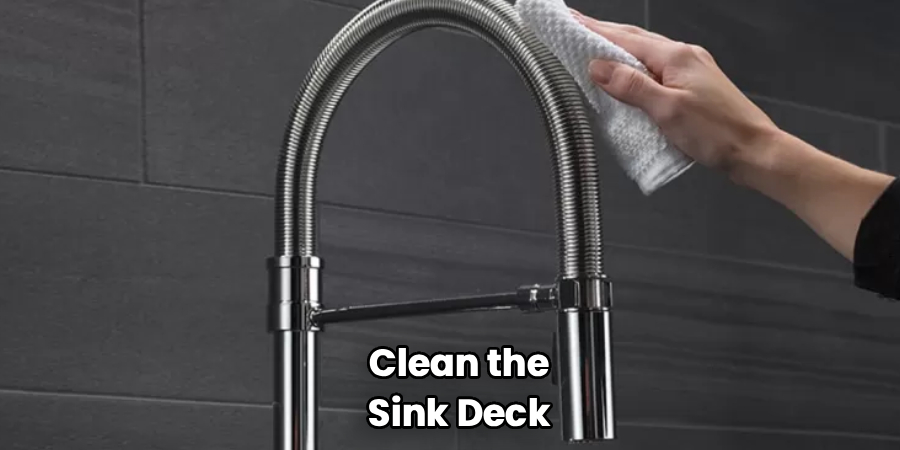
Step 8 – Clean the Sink Deck
Before installing a replacement faucet or calling it done, give the sink deck some love. Scrape off any old plumber’s putty with your flathead screwdriver, working gently so you don’t gouge the surface.
Wipe the area with a damp cloth and a little vinegar to dissolve stubborn mineral buildup. You’ll watch those chalky white spots fade, leaving a smooth, clean surface that feels fresh under your fingertips.
Check the mounting holes for leftover gunk or corrosion and clear them out fully. A clean deck means a better seal for whatever faucet comes next, whether you’re upgrading or reinstalling the same one.
Dry everything with a towel. Step back and admire your tidy, faucet-free sink—you just did this yourself, no technician required.
Critical Mistakes When Removing a Delta Single-Handle Kitchen Faucet
A few common slip-ups can turn a simple job into a soggy headache, so let’s head them off before they happen.
The biggest mistake is forgetting to shut off the water supply completely. People close one valve, skip the other, and end up with a sudden spray under the sink. Always test the faucet afterward and leave the handle open to relieve pressure. Skipping that step soaks your cabinet in seconds.
Another frequent error is forcing corroded hardware. When a mounting nut or set screw won’t move, brute strength often strips the threads or cracks the part. Reach for penetrating oil instead, give it a few minutes, and let chemistry do the heavy lifting.
Many beginners also use the wrong Allen wrench size on the set screw. A loose fit rounds off the hex head, leaving you stuck with a screw you can’t turn at all. Test sizes until one seats snugly before applying force.
Finally, don’t try to muscle the mounting nut with regular pliers. The cramped under-sink space demands a basin wrench, and skipping it usually means scraped knuckles, wasted time, and a half-finished job.
Expert Tips
Want this job to go smoothly? Snap photos at every stage with your phone. Those pictures become a lifesaver when you reconnect supply lines or reinstall a handle later.
Keep a small magnetic dish or muffin tin nearby to corral tiny screws and caps. Nothing derails a project faster than losing the one set screw down the drain.
Warm the joint with a hairdryer if old putty or corrosion has things locked tight. Gentle heat softens the grip without damaging finishes.
Label your shutoff valves with a piece of tape so you remember which is hot and which is cold. And before you reach for any new fixture, measure your sink deck holes. Matching the hole pattern saves a frustrating return trip to the hardware store.
Frequently Asked Questions
Do I need to turn off the main water for this job?
Not usually. Most kitchen sinks have two dedicated shutoff valves underneath, one for hot and one for cold. Turn both clockwise until they stop, then test the faucet to confirm the flow has stopped. Only shut off your home’s main water supply if those local valves are stuck, leaking, or missing entirely. Local shutoffs keep the rest of your house running normally.
What size Allen wrench fits a Delta faucet set screw?
Most Delta single-handle faucets use a 7/64-inch or 3/32-inch hex set screw, though sizes vary by model. The safest approach is to test a few wrenches from a standard set until one slides in snugly. A snug fit matters because:
- A loose wrench strips the screw head
- A stripped screw becomes nearly impossible to remove
- The right size turns smoothly with steady pressure
How do I remove a faucet handle with no visible screw?
Look closer for a small decorative cap on the handle, often on the front or side. Gently pry it off with a flathead screwdriver to reveal the hidden set screw underneath. Once exposed, use your Allen wrench to loosen it. Some models also have a button you press while pulling the handle. Take a photo first so reassembly is easy later.
Why won’t my faucet lift out after loosening everything?
Old plumber’s putty, grime, or a corroded escutcheon plate often creates a stubborn seal. Wiggle the faucet body gently side to side while pulling straight up to break the suction. If it still resists, apply penetrating oil around the base and wait ten minutes. Double-check that you fully loosened the mounting nut and disconnected the spray hose underneath.
Can I reuse my old Delta faucet after removing it?
Yes, if it’s still in good shape. Inspect the parts for cracks, heavy corrosion, or worn seals before reinstalling. Clean off old putty and mineral buildup, then check that the cartridge still works smoothly. If you removed it to fix a drip, replace the worn cartridge rather than the whole unit. A thorough cleaning often makes an old faucet feel brand new.
Conclusion
Pulling out an old faucet really comes down to a handful of simple steps. Shut off the water supply, clear and light up the cabinet, then find the set screw hiding under that decorative cap. From there, loosen the handle, disconnect the supply lines, free the mounting hardware with your basin wrench, and lift the faucet body out for a quick deck cleaning.
The beauty of knowing how to remove delta kitchen faucet single handle is that it saves you money, time, and the hassle of waiting on a plumber. You don’t need fancy skills—just a few common tools, a little patience, and the willingness to get under the sink.
Remember the golden rules: always confirm the water is off, never force corroded hardware, and snap photos as you go. Take your time with each connection, and the job stays clean and stress-free.
So grab your wrench, clear out that cabinet, and get started. Once you’ve done it yourself, you’ll feel ready to tackle your next repair with real confidence. You’ve got this!
