
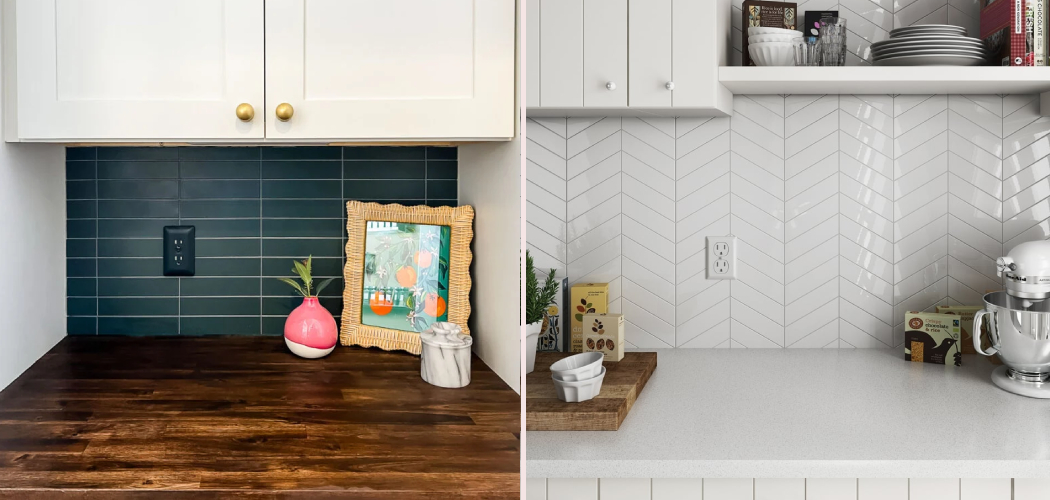
Staring at a bare, splattered kitchen wall and wishing it looked finished? You’re not alone. A fresh tile surface instantly transforms a kitchen, protects the wall from grease and water, and gives the whole room a polished feel.
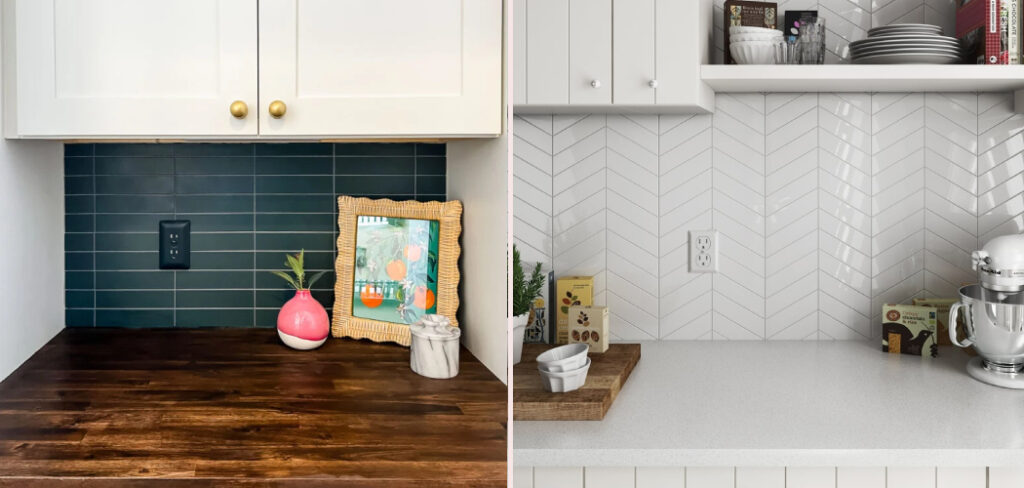
Here’s the best part: this is a project you can absolutely tackle yourself. With a little patience and the right approach, even a first-timer can lay a clean, professional-looking backsplash over a weekend.
Knowing how to tile a kitchen wall saves you a chunk of money, builds a genuinely useful skill, and gives you serious bragging rights at your next dinner party.
This guide walks you through every step, from prepping the wall surface to wiping away the final grout haze, so you can finish with confidence and a result you’ll be proud of.
Why Tiling a Kitchen Wall Matters
This skill stretches far beyond a standard home kitchen. If you own an RV, a durable, easy-clean wall surface saves you from constant scrubbing on the road. Spills wipe right off ceramic tile instead of soaking into porous panels.
Cabin renovators and tiny-home dwellers gain even more. Space is tight, and a tiled wall holds up against moisture, heat, and daily wear far better than paint alone. It’s a smart, long-lasting upgrade in places that take a beating.
Outdoor kitchen builders rely on tile too, since it survives weather, sun, and grease near a grill. And for beginners, learning to tile teaches you to measure, plan, and work with adhesive carefully.
Those hands-on skills carry over to dozens of other projects. Once you’ve tiled one wall, you’ll feel ready to take on the next.
Tools and Materials You’ll Need
Good news: you won’t need a workshop full of gear for this job. Most tools are affordable, and many you can rent for the weekend.
Start with your tiles, of course, plus the right tile adhesive. For most kitchen walls, a pre-mixed mastic works well, though thin-set is better for heavier porcelain tile. You’ll need a notched trowel to spread it evenly and a bucket for mixing if you go the powder route.
For accuracy, grab a spirit level, a tape measure, a pencil, and a chalk line to snap clean guidelines. Tile spacers keep your grout lines even, while a sponge and clean rags handle the cleanup.
Cutting calls for a tile cutter for straight scores, or a wet saw for tougher cuts and curves around outlet covers. Pick up grout, a rubber float, and a tube of caulk too.
One optional convenience item worth grabbing is a manual tile leveling system, which keeps every tile perfectly flush with no lippage.
Step-by-Step Guide on How To Tile a Kitchen Wall
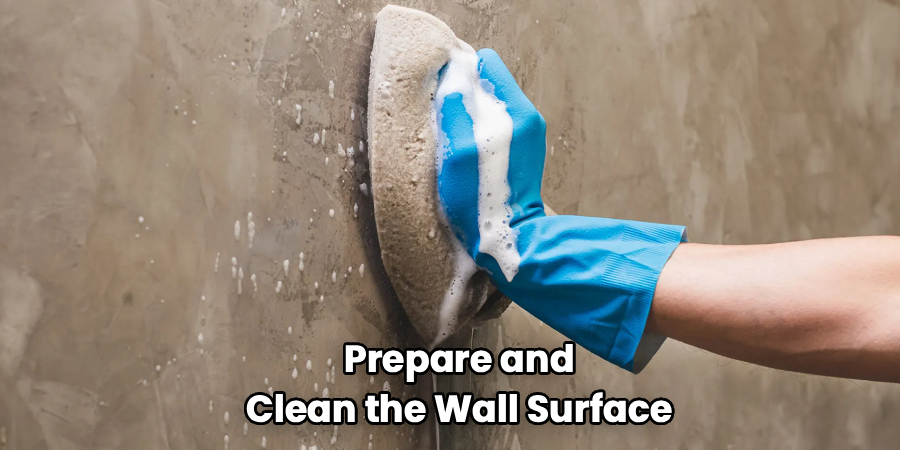
Step 1 – Prepare and Clean the Wall Surface
Before any tile goes up, your wall needs to be clean, dry, and smooth. Grease and dust ruin adhesion, so wipe the wall surface down with a degreasing cleaner and let it dry fully.
Run your hand across the wall. Feel for bumps, old paint flakes, or sticky residue. Sand any glossy paint lightly so the adhesive can grip, and fill small holes or dents with filler.
Turn off the power and remove your outlet covers and switch plates. Tape over the exposed outlets to keep them clean. Knowing how to tile a kitchen wall properly always starts here, because a sloppy surface leads to loose, uneven tiles later.
Take your time. A clean, flat base makes every step that follows far easier.
Step 2 – Plan Your Tile Layout
Now comes the part that saves you from regret: planning. Lay your tiles out on the counter or floor first, just as they’ll sit on the wall. This dry run shows you how the pattern flows before any adhesive commits you.
Find the center of your wall and work outward. You want cut tiles to land at the edges and corners, not smack in the middle where they’ll catch the eye.
Hold a few tiles against the wall and step back. Picture the finished look. Adjust until the spacing feels balanced and natural.
A little planning here prevents awkward slivers of tile in visible spots. Trust me, your future self will thank you for this patience.
Step 3 – Measure and Mark Your Guidelines
Accurate guidelines keep your whole project straight and true. Using your tape measure and level, find a true horizontal line near the bottom of your tiling area.
Snap a chalk line along this mark to create a crisp, level baseline. Don’t trust your countertop to be perfectly level, because most aren’t. A tiny tilt at the bottom multiplies into a crooked mess at the top.
Mark a vertical guideline too, usually at your center point. Check it with the spirit level to confirm it’s truly plumb.
These lines become your roadmap. As you set each tile, you’ll glance at them constantly to stay aligned. A few minutes of careful marking now keeps everything square and professional-looking later.
Step 4 – Mix and Apply the Adhesive
If you’re using thin-set, mix it to a smooth, peanut-butter consistency in your bucket. Pre-mixed mastic skips this step entirely, which is why beginners often love it.
Scoop a small amount onto your notched trowel and spread it on the wall, working in sections no larger than a few square feet. The adhesive starts to skin over fast, so small batches keep it workable.
Hold the trowel at a 45-degree angle and comb the adhesive into even ridges. You’ll hear a soft scraping sound and feel steady resistance. Those ridges grip the tile and help it sit flush.
Resist spreading too much at once. A manageable section gives you time to set tiles cleanly before the adhesive sets.
Step 5 – Set Your Tiles With Spacers
Press your first tile into the adhesive right at your guidelines. Give it a gentle wiggle to seat it into the ridges, and you’ll feel it grab and settle.
Slide tile spacers between each tile to keep your grout lines perfectly even. Work outward from your center mark, following your chalk lines as you go.
Wipe away any adhesive that squeezes up into the grout lines while it’s still wet. Dried adhesive in those gaps is a nightmare to remove later.
Every few tiles, lay your spirit level across the surface. Press in any high tiles and add a touch more adhesive behind low ones. Keeping each row flush as you build saves you from a bumpy, uneven finish.
Step 6 – Cut and Fit the Edge Tiles
Edge tiles and tricky corners need careful cutting. Measure each gap individually, since walls are rarely perfectly square and sizes often vary slightly.
For straight cuts, score the tile with your tile cutter and snap it cleanly. For notches around outlet covers or curves, a wet saw gives you smooth, controlled results. Wear safety glasses and keep your fingers well clear of the blade.
Test-fit each cut piece before adding adhesive. You want a small, even gap at the edges for grout and caulk, not a tile jammed tight against the counter.
Sharp cut edges can be smoothed with a rubbing stone. This careful fitting around obstacles separates a tidy job from an amateur one, so slow down and measure twice.
Step 7 – Let It Cure, Then Grout
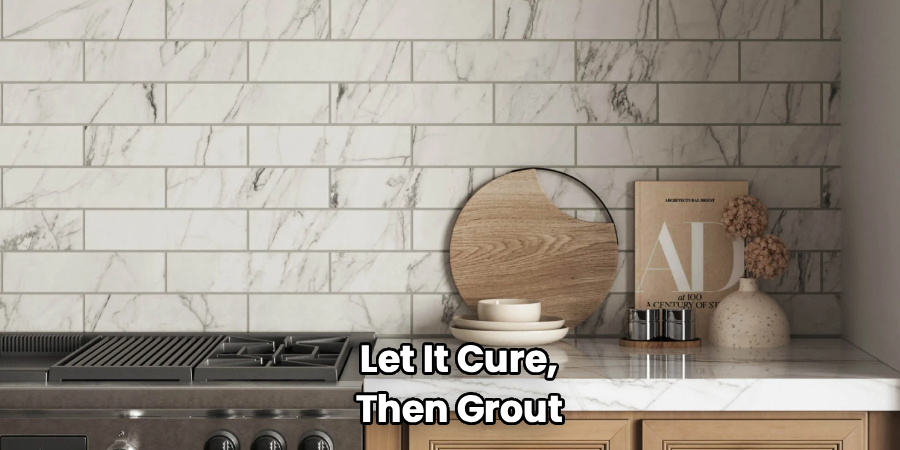
Patience pays off here. Let the adhesive reach full cure time before grouting, usually at least 24 hours. Rushing this can shift your tiles and ruin all your careful work.
Once cured, remove the spacers. Mix your grout to a thick, creamy texture, then press it into the grout lines with a rubber float held at an angle. Work it in firmly so no gaps remain.
Drag the float diagonally across the tiles to pack the joints and scrape off the excess. You’ll feel the float glide smoothly once the lines are full.
Learning how to tile a kitchen wall really comes together in this moment. Suddenly those separate tiles become one clean, unified surface.
Step 8 – Wipe the Haze, Seal, and Clean Up
Wait about 15 to 20 minutes for the grout to firm up slightly. Then wipe the tiles with a damp sponge, rinsing often, to remove excess grout and shape the lines smoothly.
A cloudy grout haze will appear as it dries. Buff it away with a clean, dry cloth once the grout has set for a few hours. The tiles will suddenly gleam.
If you used natural stone or unglazed tile, apply a sealant after the grout fully cures to protect against stains. Run a neat bead of caulk along the joint where the tile meets the countertop.
Reattach your outlet covers, sweep up, and step back to admire your work. You did this yourself, and it shows.
Critical Mistakes When Tiling a Kitchen Wall
A few common slip-ups trip up beginners, so let’s clear them up before you start.
The biggest mistake is skipping proper wall prep. Tiling over a greasy, dusty, or glossy surface leads to tiles that loosen and pop off within weeks. A clean, lightly scuffed wall surface gives the adhesive something to truly grip, so never rush this part.
Another frequent error is trusting your countertop as a level baseline. Most counters tilt slightly, and if you follow that tilt, your tiles drift further off-line with every row. Always snap a true, level chalk line instead.
Many people also spread far too much adhesive at once. It skins over before you can set the tiles, leaving weak bonds and a messy job. Work in small sections you can finish quickly.
Grouting too soon is another classic. If the adhesive hasn’t reached full cure time, your tiles can shift and crack the fresh grout. Give it a full day.
Finally, forgetting to wipe haze and clean grout lines while wet leaves a cloudy film and lumpy joints that are tough to fix once hardened.
Expert Tips
Want results that look truly professional? Start by mixing tiles from different boxes as you work. Color and size can vary slightly between batches, and blending them hides those differences beautifully.
Keep a bucket of clean water and rinse your sponge often during grouting. A dirty sponge just smears grout around instead of cleaning it.
Use a tile leveling system on larger tiles to prevent lippage, where one tile edge sits higher than its neighbor. Smooth, flush tiles catch the light evenly and look flawless.
Always cut a few extra tiles to allow for mistakes, especially your first time. Running short mid-project is frustrating.
Finally, work in good lighting and step back often to check your alignment from a distance. Small drifts are easy to catch early and nearly impossible to fix once everything sets.
Frequently Asked Questions
Do I need to remove old tiles before tiling a kitchen wall?
Not always. You can tile over existing tile if the old surface is solid, flat, and well-bonded. First:
- Clean it thoroughly to remove grease
- Sand the glossy surface so adhesive grips
- Fill any cracked or loose spots
If the old tiles are loose, damaged, or uneven, remove them first. A stable base is essential, so when in doubt, strip it back to the wall.
What kind of adhesive should I use for a kitchen backsplash?
For most kitchen backsplash projects with ceramic tile, a pre-mixed mastic works great and saves you mixing time. For heavier porcelain tile or areas near water, choose a thin-set mortar for a stronger, more moisture-resistant bond. Check your tile’s packaging for the manufacturer’s recommendation. Matching the adhesive to your tile type prevents loose tiles and gives you a durable, long-lasting result.
How long should I wait before grouting?
Give the adhesive at least 24 hours to reach full cure time before you grout. Grouting too early lets tiles shift, which cracks your fresh grout and ruins the finish. Some fast-set adhesives cure quicker, so always check the label. Patience here protects all your hard work, so resist the urge to rush this important resting period.
How do I cut tiles around outlets and corners?
Measure each cut carefully, then use the right tool for the job:
- A tile cutter handles straight scores and snaps
- A wet saw cuts notches, curves, and tougher porcelain
Always wear safety glasses and keep fingers clear of blades. Test-fit each piece before applying adhesive, leaving a small gap for grout. Smooth sharp edges with a rubbing stone for a clean, safe fit.
Do I need to seal my kitchen wall tiles?
It depends on your tile. Glazed ceramic and porcelain tile don’t need sealing, since their surface already resists water and stains. Natural stone and unglazed tiles, however, are porous and should be sealed after the grout fully cures. Sealing the grout lines is also smart in busy kitchens, as it helps repel grease and keeps those lines looking fresh and clean for longer.
Conclusion
Tiling your own kitchen wall is far more achievable than it looks, and the payoff is huge. With careful prep, smart planning, and a little patience, you can create a backsplash that looks like a pro installed it.
Remember the key steps. Clean and prep the wall surface thoroughly, then plan your layout so cut tiles land at the edges. Snap level guidelines, apply adhesive in small sections, and set each tile with spacers while checking your level often. Cut edge tiles carefully, let everything reach full cure time, then grout, wipe the haze, and seal if needed.
The real reward of knowing how to tile a kitchen wall is the confidence it builds. You save money, skip the contractor, and gain a skill that serves you in your home, RV, cabin, or outdoor kitchen for years to come.
So gather your tools, take it one section at a time, and enjoy the process. When you wipe away that final haze and see your finished wall gleam, you’ll know every careful step was worth it.
