
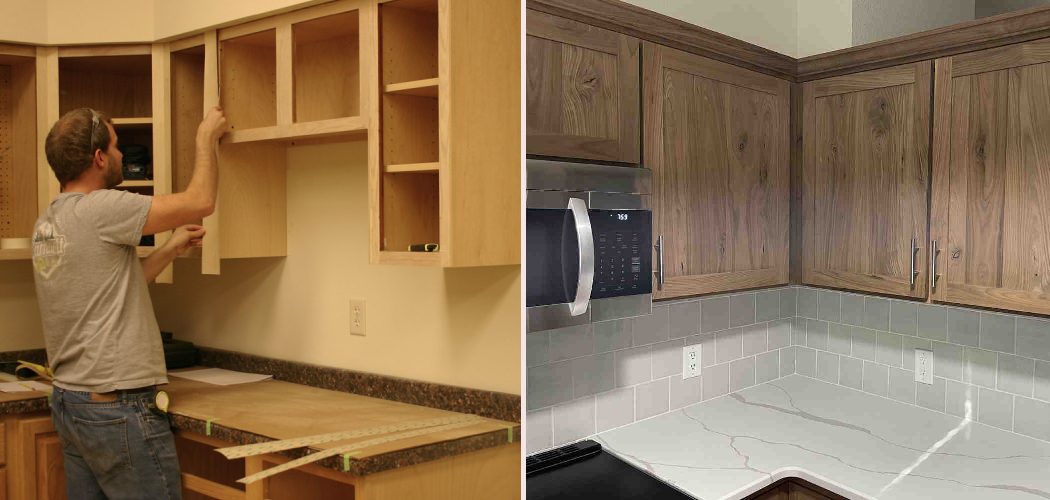
Tired of looking at those dated, worn-out cabinets every time you cook? You don’t need a costly remodel to fall in love with your kitchen again.
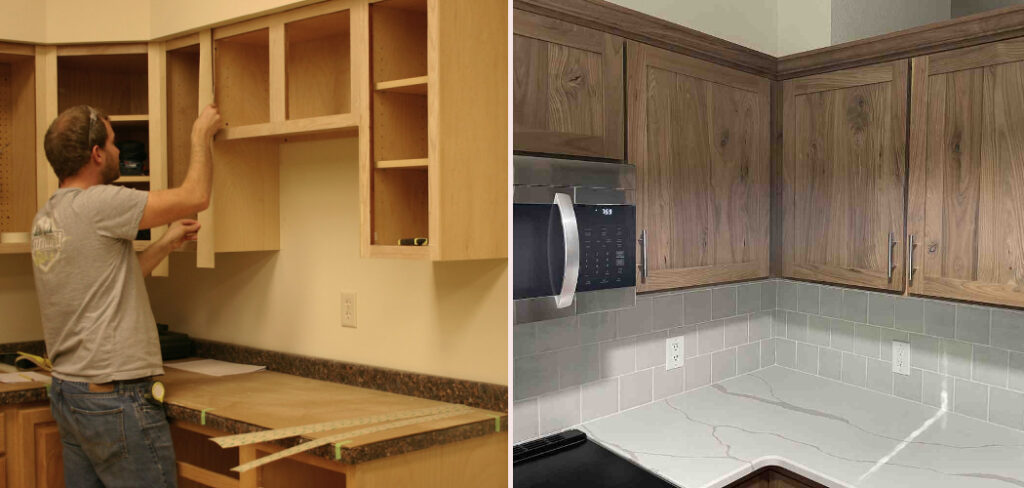
Cabinet refacing gives your space a fresh face without tearing everything out. And the easiest method for beginners? Peel-and-stick veneer. It hides scratches, faded stains, and old laminate with a clean, modern surface you apply yourself.
The best part is that this project fits a tight budget and a busy weekend. With a little patience and a sharp blade, you can transform tired wood into something you’re proud to show off.
This guide walks you through how to reface kitchen cabinets with self stick veneer step by step, so you can tackle the whole job with confidence and zero guesswork.
Why Refacing Kitchen Cabinets With Self Stick Veneer Matters
A full kitchen remodel drains your savings fast. New cabinets alone can cost thousands, plus labor and weeks of mess. Cabinet refacing skips all that.
For homeowners, this skill means a fresh look without the wrecking-ball budget. You keep your sturdy cabinet boxes and simply update the surface that everyone sees.
Kitchen enthusiasts love the creative freedom. You pick warm wood tones, sleek whites, or bold modern finishes, and you control every detail yourself.
For DIY beginners, peel-and-stick veneer is forgiving and easy to learn. There’s no spraying, no toxic fumes, and no special workshop needed. Just a clean surface and a steady hand.
A budget-friendly kitchen makeover also boosts your home’s value. Buyers notice clean, updated cabinets right away. You gain real skills, save serious money, and end up with a kitchen that feels brand new.
Tools and Materials You’ll Need
Gather your supplies first so nothing slows you down mid-project. Start with the star of the show: self-stick veneer in your chosen finish, with enough to cover all doors and frames plus a little extra for mistakes. Grab a measuring tape and a straightedge for accurate cuts, and a sharp utility knife with fresh blades for clean edge trimming.
You’ll want a smoothing tool or plastic scraper to press out air bubbles and lock in a strong adhesive bond. Keep a screwdriver handy for hinge removal, and a degreasing cleaner with microfiber cloths for solid surface prep. Fine-grit sandpaper helps the veneer grip better.
One optional convenience item, a hair dryer or heat gun on low, helps the veneer flex smoothly around tricky corners and curved edges.
Step-by-Step Guide on How To Reface Kitchen Cabinets With Self Stick Veneer
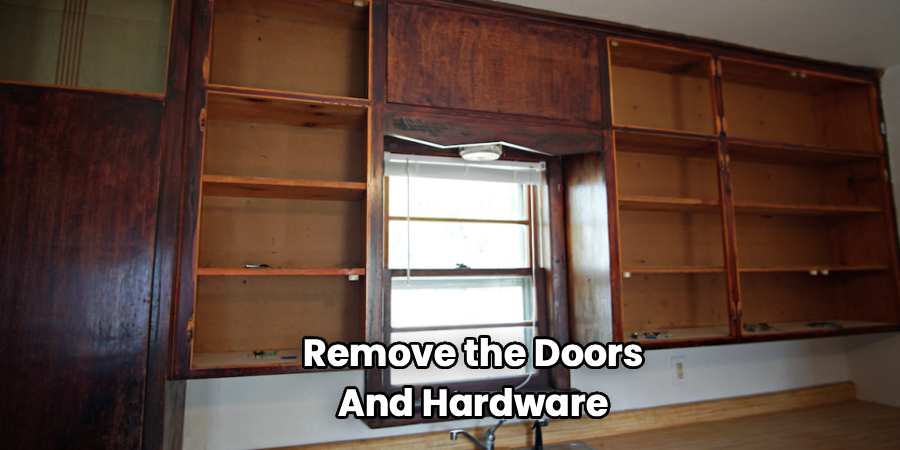
Step 1 – Remove The Doors And Hardware
Begin by clearing the field. Open each cabinet and unscrew the hinges, listening for that satisfying click as every door comes loose from its frame.
Set the doors flat on a covered table or floor where you have room to work. Label each one with a small piece of tape so you remember exactly where it belongs later.
Tackle hinge removal next, then pop off knobs, handles, and pulls with your screwdriver. Drop all the little screws into a labeled bag so none roll away and vanish.
Working on bare doors flat on a table beats wrestling with them on the wall. You get smoother results and far less frustration. This quick prep sets the stage for clean, even veneer all the way through.
Step 2 – Clean Every Surface Thoroughly
Dust and grease are the enemies of a strong adhesive bond. Veneer simply won’t stick to a grimy cabinet, so this step matters more than you’d think.
Spray your degreasing cleaner across each door and the dusty cabinet frames. Wipe everything down with a microfiber cloth, paying close attention to the corners where sticky cooking residue loves to hide.
You’ll feel the difference under your fingers as a slick, grimy surface turns clean and squeaky. Run your hand over each piece to check for any spots you missed.
Let everything dry completely before moving on. A clean surface is the foundation of good surface prep, and it’s the single biggest factor in whether your veneer stays put for years or peels in months.
Step 3 – Sand For A Smooth Foundation
Now grab your fine-grit sandpaper and give every surface a light once-over. You’re not stripping anything; you just want to scuff the shine.
Glossy old laminate and slick paint resist adhesive. A quick sanding roughens the texture so the veneer grabs and holds tight. Move in steady, even strokes until the surface feels slightly dull to the touch.
Pay attention to edges and corners, since those areas peel first when skipped. A fine, powdery dust will gather as you work, so keep a cloth nearby.
Wipe away every speck of dust when you finish, because leftover grit creates bumps under the veneer. Run your palm across the surface one last time. Smooth and dull means you’re ready for the fun part.
Step 4 – Measure And Cut The Veneer
Precision pays off here. Measure each door and frame carefully with your tape, then add about half an inch on every side for safe edge trimming later.
Lay your self-stick veneer face-down on a clean, flat surface. Mark your measurements with a pencil, then line up your straightedge for a guide you can trust.
Drag your sharp utility knife along the straightedge in one confident pass. You’ll hear that crisp slice as the blade cuts clean through. A dull blade tears and frays, so swap in a fresh one if needed.
Cut each piece one at a time, matching it to its labeled door. This careful cabinet refacing prep prevents wasted material and gives you crisp, professional-looking edges on every single panel.
Step 5 – Peel And Apply With Care
Here comes the moment of truth. Peel back a few inches of the backing to expose that sticky adhesive backing, but resist the urge to remove it all at once.
Line up the top edge of the veneer first, then press it down slowly. Smooth as you go, peeling the backing away bit by bit while you work downward.
This slow, controlled method is the secret to learning how to reface kitchen cabinets with self stick veneer without a wrinkled mess. Use your hands to guide each section flat.
The warm wood tones come alive the moment the veneer lands, instantly transforming that tired old door. Work patiently, keep the sheet taut, and don’t rush. Slow and steady wins this race every single time.
Step 6 – Smooth Out Air Bubbles
Air bubbles love to sneak under fresh veneer, but they’re easy to beat. Take your smoothing tool or plastic scraper and work from the center outward.
Feel the smooth drag of the scraper as it pushes trapped air toward the edges. Each pass flattens the surface and strengthens that all-important adhesive bond.
If a stubborn bubble won’t budge, prick it with a tiny pin, then press the air out gently. You’ll barely see the hole afterward.
Run your fingertips across the whole surface to hunt for any soft spots you missed. Bubble removal now saves you from ugly lumps later.
Take your time and check from different angles in the light. A perfectly smooth panel looks factory-made, and it’s well worth those extra few minutes of careful attention.
Step 7 – Trim The Edges Clean
With the veneer firmly stuck, it’s time to finish those overhanging edges. Flip the door so an edge hangs slightly over your work table.
Hold your sharp utility knife at a steady angle and slice along the edge in one smooth motion. The crisp slice trims away the excess for a tight, seamless line.
Work slowly around corners, where the veneer wants to lift or tear. A heat gun on low helps it flex and wrap neatly if you have one.
Fold and press the veneer firmly around each edge so nothing peels back over time. Check that every corner sits flat and tight.
Clean edge trimming separates a sloppy job from a stunning one. Take pride in these details, because crisp edges make your whole laminate update look professional.
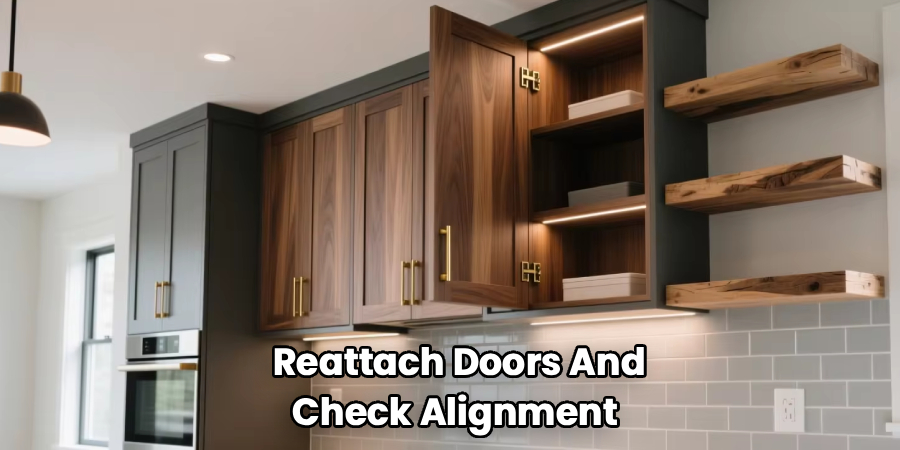
Step 8 – Reattach Doors And Check Alignment
You’re in the home stretch now. Grab your bagged screws and reattach each hinge to its labeled door, then mount the doors back onto the frames.
Take your time with door alignment. A door that hangs crooked stands out instantly, so adjust the hinge screws until everything sits level and even.
Reattach your knobs and handles, or treat yourself to fresh hardware for an extra style boost. New pulls cost little and add big impact.
Open and close each door a few times to test the swing. Listen for smooth, quiet movement with no rubbing or sticking.
Step back and admire your handiwork. Those once-tired cabinets now glow with a fresh, modern finish. With solid finish matching across every panel, your kitchen suddenly feels brand new.
Critical Mistakes to Avoid When Refacing Kitchen Cabinets With Self Stick Veneer
The biggest mistake beginners make is skipping proper surface prep. Veneer needs a clean, lightly sanded surface to grip. If you apply it over grease, dust, or glossy laminate, it will bubble and peel within weeks. Always degrease, sand, and wipe down every panel before you touch the adhesive backing.
Another common slip is rushing the application. Peeling all the backing off at once leads to wrinkles, misalignment, and trapped air that’s nearly impossible to fix. Go slow, line up the top edge first, and smooth as you peel.
Many people also use a dull utility knife. A worn blade tears and frays the veneer instead of slicing clean, leaving ragged edges that scream “amateur.” Swap in fresh blades often for crisp edge trimming.
Forgetting to add extra material for trimming causes headaches too. Cut your pieces a bit oversized, then trim them down for a perfect fit. Finally, don’t ignore air bubbles. Press them out as you go, because trapped pockets harden into permanent lumps once the adhesive bond fully sets. Patience and prep make all the difference.
Expert Tips
Want results that look truly professional? Work in a warm room. Veneer flexes and sticks better at comfortable temperatures, while cold adhesive turns stiff and stubborn.
Always do a dry fit before peeling the backing. Position each piece, check the alignment, and mark your edges. This rehearsal catches mistakes before they cost you material.
Keep a roll of painter’s tape nearby to hold the veneer in place while you line up tricky pieces. It steadies your hands during that first crucial press.
Buy a little more veneer than you think you need. Mistakes happen, and matching the same dye lot later is tough.
Finally, tackle the cabinet frames first and save the doors for last. By the time you reach the doors, your technique will be sharp, and the most visible surfaces will look their absolute best.
Frequently Asked Questions
How Long Does Self Stick Veneer Last On Cabinets?
With proper surface prep and a strong adhesive bond, self-stick veneer can last 10 years or more. Longevity depends mostly on three things:
- Clean, sanded surfaces before application
- Smooth, bubble-free installation
- Avoiding constant moisture and direct heat
Keep your cabinets dry and wipe up spills quickly. Good prep is the real secret to veneer that stays put for the long haul.
Can I Apply Veneer Over Old Laminate Cabinets?
Yes, you can. Peel-and-stick veneer works well over laminate as long as you prep the surface properly. Clean off all grease, then lightly sand the glossy finish so the adhesive grips. Wipe away the dust completely before applying. The key is creating a slightly rough, clean base. Skip this step, and the veneer simply won’t bond well to that slick laminate update.
Do I Need To Remove The Cabinet Doors First?
Removing the doors isn’t strictly required, but it makes the job far easier. Working on flat doors gives you smoother results, better edge trimming, and fewer air bubbles. You’ll also reach corners more comfortably. Label each door and bag the screws during hinge removal so reassembly stays simple. The extra few minutes upfront save you real frustration and deliver a much cleaner finish.
How Do I Fix Air Bubbles Under The Veneer?
Air bubbles are easy to handle. For fresh, soft bubbles, push them toward the nearest edge using a plastic scraper or smoothing tool. For stubborn ones, prick the center with a small pin, then press the trapped air out gently. The tiny hole disappears once smoothed. Catching bubbles early during application always beats fixing hardened lumps later, so smooth carefully as you work.
Is Refacing Cheaper Than Replacing Cabinets?
Absolutely. Refacing costs a fraction of full replacement. New cabinets often run thousands of dollars with labor, while a peel-and-stick veneer project might cost just a hundred or two. You keep your existing cabinet boxes and only update the visible surfaces. It’s the smartest budget-friendly kitchen makeover for anyone wanting a fresh look without draining their savings or living through weeks of construction.
Conclusion
Refreshing your kitchen doesn’t have to mean a giant budget or a messy renovation. With a few simple tools and a free weekend, you can completely change the look of your space.
Remember the key steps. Remove your doors and hardware, then clean and sand every surface for a strong grip. Measure and cut your veneer carefully, apply it slowly to avoid bubbles, and trim the edges clean. Finish by reattaching the doors and checking the alignment.
The payoff is huge. You save thousands of dollars, gain real DIY confidence, and end up with cabinets that look brand new. Each panel you transform reminds you that you did it yourself.
So gather your supplies, pick a finish you love, and give it a try. Once you see how to reface kitchen cabinets with self stick veneer with these easy steps, you’ll wonder why you waited so long. Take it one door at a time, enjoy the process, and get ready to fall in love with your kitchen all over again. You’ve totally got this.
