
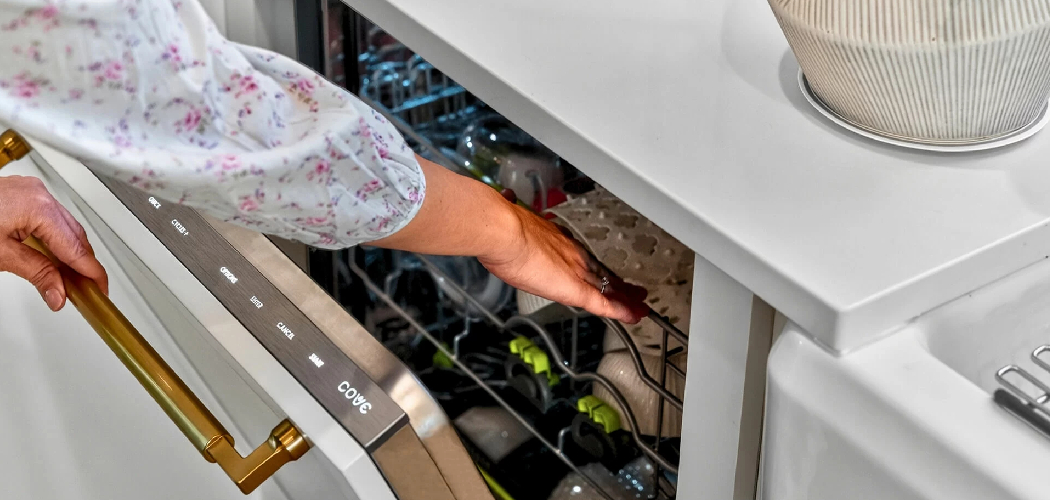
Sliding a new dishwasher into place feels great, until you realize the mounting clips are missing, broken, or simply won’t reach your countertop. Don’t panic. You have plenty of solid ways to lock that unit down without the factory hardware.
Learning how to secure a dishwasher without clips is a handy skill, especially if you’re working with stone countertops, an odd cabinet setup, or a unit that didn’t come with the right brackets. A wobbly dishwasher tips forward when you pull the rack out, and it rattles like crazy during a cycle. Neither is safe or pleasant.

The good news? A few simple methods keep your appliance rock-steady using tools you likely already own. This guide walks you through every approach, step by step, so you finish with a stable, quiet, properly anchored dishwasher.
Why Learning to Secure a Dishwasher Without Clips Matters
Not every kitchen plays by the rules. If you rent, live in a mobile home, or have unusual cabinetry, the standard top-mount clips often won’t work at all. Knowing your options keeps you from feeling stuck.
This skill saves you money too. Calling a technician just to anchor an appliance adds up fast, and the job itself is well within reach for any beginner willing to grab a screwdriver.
There’s a safety side as well. An unsecured dishwasher can tip when loaded, slide during a wash cycle, or vibrate loose over time. Securing it properly protects your floors, your cabinets, and your toes.
Once you understand side mounting, countertop mounting, and a few clever workarounds, you can handle nearly any installation, no matter how quirky your kitchen layout happens to be.
Tools and Materials You’ll Need
You won’t need a workshop full of gear for this one. Most of these items are probably already in your toolbox or junk drawer. Gather everything first so you’re not crawling out from under the counter mid-task.
- Phillips and flathead screwdrivers
- Cordless drill with bits for pilot holes
- A level to check the unit sits straight
- Measuring tape
- Wood shims for filling gaps and leveling
- Short wood screws and an anchor kit
- Side-mount dishwasher brackets (if using the side method)
- Work gloves and safety glasses
- Flashlight or headlamp to see under the counter
One optional convenience item: a magnetic stud finder. It helps you locate the solid cabinet frame quickly so your screws bite into something sturdy instead of empty space.
Step-by-Step Guide on How to Secure a Dishwasher Without Clips
Step 1 – Position and level the dishwasher
Start by sliding the unit into its opening, but don’t rush it. Guide the supply line, drain hose, and power cord through their openings as you push, so nothing kinks or snags behind the machine.
Once it’s roughly in place, set your level on top of the door frame. Check both side to side and front to back.
Adjust the leveling feet at the base by turning them with your fingers or a wrench. Twist clockwise to raise, counterclockwise to lower. You’ll feel the unit settle as the bubble centers.
A level dishwasher is the foundation for everything that follows. Skip this and your door won’t close right, so take your time here.
Step 2 – Inspect your mounting options
Now look closely at what you’re working with. Open the door and peek along the top edge for any mounting tabs, then check the sides of the unit for pre-drilled holes.
Knowing how to secure a dishwasher without clips starts with reading your specific setup. Run your hand along the cabinet frame on both sides to feel for solid wood.

If you have stone or quartz countertops, top screws are off the table, so side mounting becomes your best friend. If your side cabinets are flimsy or set too far back, you’ll lean on shims and floor anchoring instead.
Take a moment to plan your approach before drilling a single hole. A little thought now saves headaches later.
Step 3 – Fill gaps with wood shims
Most dishwashers leave small gaps between the unit and the surrounding cabinets. These spaces let the appliance wobble and shift, so you’ll close them up.
Slide wood shims into any gaps along the sides, gently tapping them in until they sit snug. You want a firm friction fit, not a forced wedge that pushes the unit out of level.
Press your palm against the dishwasher side and feel for movement. If it still rocks, add another shim until it holds steady.
These thin wedges do quiet, important work. They stop side-to-side sway and give your screws something solid to anchor against, creating a stable fit before you fasten anything down.
Step 4 – Use the side mounting method
Side mounting is the go-to when top clips won’t work. Attach your side-mount dishwasher brackets to the holes on the upper sides of the unit, securing them with the included screws.
Position the brackets so they rest flat against the inner walls of your adjacent cabinets. Hold one in place and mark where your screw will go with a pencil.
The metal bracket should sit flush, with no gap behind it. If there’s a space, slip a shim in to back it up.
This method anchors the dishwasher to the strong vertical cabinet frame rather than the countertop. It’s especially valuable for stone counters, and it grips firmly once the screws drive home.
Step 5 – Drill pilot holes carefully
Before driving any screw into your cabinet, drill pilot holes. This small step prevents the wood from splitting and makes the screws go in straight and tight.
Choose a drill bit slightly thinner than your screw. Mark each spot through the bracket hole, then drill just deep enough to guide the screw, not all the way through the cabinet wall.
Go slow and keep the drill steady. You’ll feel the bit bite into the wood and hear a clean, even sound rather than a harsh grinding.
Wipe away the little curls of sawdust as you go. Clean pilot holes give you a secure, professional-feeling grip that holds for years.
Step 6 – Drive the screws and anchor the unit
With pilot holes ready, it’s time to fasten everything. Drive your wood screws through each bracket into the cabinet frame, snugging them until the head sits flush against the metal.
Don’t overtighten. Cranking too hard can strip the wood or pull the bracket out of shape. Stop when you feel firm resistance.
If your side cabinets are thin or hollow, switch to your anchor kit. The anchors expand behind the wall, gripping where plain screws would pull loose.
Give the unit a gentle shake when you’re done. It should feel planted and solid, with zero forward tilt. That reassuring lack of movement tells you the dishwasher is properly anchored.
Step 7 – Reduce vibration with the toe kick
The toe kick is the panel at the bottom front, and it does more than hide the gap. A well-fitted toe kick braces the lower unit and cuts down on vibration during a cycle.
Slide the panel into place and check that it sits flush against the floor. If it leaves a gap, add a thin shim behind it for a snug press.
Secure it with the provided screws or clips into the leveling feet brackets. Tap the front of the dishwasher lightly and listen.
A muffled, solid thud means it’s braced well. A hollow rattle means you need another shim. This small detail keeps your kitchen quiet.
Step 8 – Check door alignment and balance
Open and close the door a few times now that the unit is anchored. It should swing smoothly, latch with a satisfying click, and stay shut on its own.
If the door sags or won’t close evenly, your dishwasher may have shifted out of level during mounting. Recheck with your level and tweak the feet as needed.
Look at the gaps around the door edges too. Even spacing on all sides signals proper door alignment, while an uneven gap points to a tilt.
Pull out the lower rack fully and watch the front. If the unit holds firm without tipping, your hard work paid off and everything is balanced right.

Step 9 – Test, clean up, and run a cycle
You’re in the home stretch. Reconnect the water supply and power, then run a short rinse cycle to check your work in action.
Listen as it fills, washes, and drains. A steady hum with no banging or creeping movement means the unit is secure. Watch the front during the spray phase for any rocking.
Check underneath and behind for leaks while the cycle runs, keeping a towel handy just in case. A dry floor is a good sign.
Once it finishes clean and quiet, tidy up your shims, wipe away sawdust, and store your tools. Step back and admire a dishwasher that sits solid, level, and ready for daily use.
Critical Mistakes When Securing a Dishwasher Without Clips
Even a simple job goes wrong when you skip the basics, so let’s cover the slip-ups that trip up beginners.
The most common mistake is skipping the leveling step. People rush to anchor the unit, then wonder why the door won’t latch or the dishwasher tips forward. Always level it first, both directions, before driving a single screw. Everything else depends on this foundation.
Another frequent error is screwing into the wrong spot. Driving screws into thin cabinet panels or empty air leaves the unit loose within weeks. Find the solid cabinet frame, use pilot holes, and switch to an anchor kit when the wood feels flimsy.
Many folks also overtighten their screws, stripping the wood or warping the brackets until they no longer grip. Snug is the goal, not crushing force. Stop the moment you feel firm resistance.
Forgetting about vibration is another oversight. Without shims and a properly fitted toe kick, the dishwasher creeps and rattles across the floor during every cycle. Those small wedges make a big difference in stability and noise.
Finally, never skip the test run. Always check for leaks and movement before calling the job done.
Expert Tips
A few smart habits make this whole project smoother. Always double-check your level after you tighten each screw, because fastening can nudge the unit slightly out of position. A quick recheck catches problems before they set.
Keep your shims trimmed flush once the unit is anchored. Score them with a utility knife and snap off the excess so nothing pokes out past the cabinet edge.
For extra stability on slippery floors, place a strip of rubber shelf liner under the front leveling feet. It grips the surface and fights vibration without any drilling at all.
If you ever plan to remove the dishwasher later, snap a quick photo of your bracket placement and shim spots. That picture turns a future reinstall into a five-minute job instead of a guessing game.
Frequently Asked Questions
Can I really secure a dishwasher without the factory clips?
Yes, absolutely. The clips are just one anchoring method, not the only one. Side-mount brackets, wood shims, an anchor kit, and a well-fitted toe kick all hold a dishwasher just as firmly. The key is anchoring to the solid cabinet frame and keeping the unit level. Many kitchens, especially those with stone counters, rely on side mounting instead of top clips every single day.
What if I have stone or quartz countertops?
Stone and quartz countertops won’t accept top screws, so skip countertop mounting entirely. Use side mounting instead, attaching brackets to the unit’s side holes and screwing them into your adjacent cabinet frames. If the sides are too far to reach, fill the gaps with wood shims and anchor the unit through the toe kick area. This keeps a stable fit without ever touching your beautiful stone surface.
How do I stop my dishwasher from vibrating or moving?
Vibration usually means the unit isn’t snug enough. To fix it:
- Push wood shims into any side gaps for a firm friction fit
- Make sure the leveling feet sit solidly on the floor
- Fit the toe kick panel flush against the floor
- Add rubber shelf liner under the front feet for extra grip
These steps brace the dishwasher so it stays quiet and planted during every cycle.
Do I need to drill into my cabinets?
In most cases, yes, but the holes are small and hidden. Use pilot holes to prevent splitting, and drive screws into the solid cabinet frame for side mounting. If you rent and can’t drill, lean on wood shims and a tightly fitted toe kick to hold the unit in place. A snug friction fit plus floor leveling can keep a dishwasher steady without any permanent holes.
How tight should the mounting screws be?
Snug, not crushing. Drive each screw until the head sits flush against the bracket and you feel firm resistance, then stop. Overtightening strips the wood, warps the bracket, and actually loosens your grip over time. Give the unit a gentle shake afterward. If it feels planted with no forward tilt, your screws are tight enough. A little restraint here makes the hold last for years.
Conclusion
You now have everything you need to lock that appliance down with confidence. From leveling the unit and inspecting your mounting options, to filling gaps with shims, attaching side brackets, drilling clean pilot holes, and bracing the toe kick, each step builds toward a solid, quiet result.
The main takeaways are simple. Level first, always. Anchor to the solid cabinet frame, not flimsy panels. Use shims to kill vibration, keep your screws snug rather than crushing, and never skip the test cycle before you call it done.
The best part? You handled it yourself, saved a service fee, and gained skills that work in any tricky kitchen. Whether you rent, own a mobile home, or just have unusual cabinetry, you’re no longer limited by missing hardware.
So grab your drill and give it a go. Mastering how to secure a dishwasher without clips is one of those satisfying wins that leaves your kitchen safer, quieter, and built to last. You’ve got this.

About
Nick Hall has spent the last seven years working at the intersection of kitchen design and home repair — first as a design assistant at a residential renovation studio, then as a freelance writer covering everything from cabinet layouts to leaky faucet fixes.
Her approach is simple: kitchens should look good and function well. That means she’s just as comfortable talking about color palettes and counter materials as she is walking readers through how to fix a wobbly cabinet hinge or troubleshoot a garbage disposal.
Nick has worked directly with homeowners on small-space kitchen makeovers, budget-conscious renovations, and the kind of everyday repairs that don’t need a contractor — just the right instructions. She writes from experience, not theory, and tests most of the fixes and tips she shares before publishing them.
When she’s not writing, Nick is usually hunting for mid-century kitchen finds at estate sales or helping friends plan their own renovations. She lives in Columbus, Ohio.