
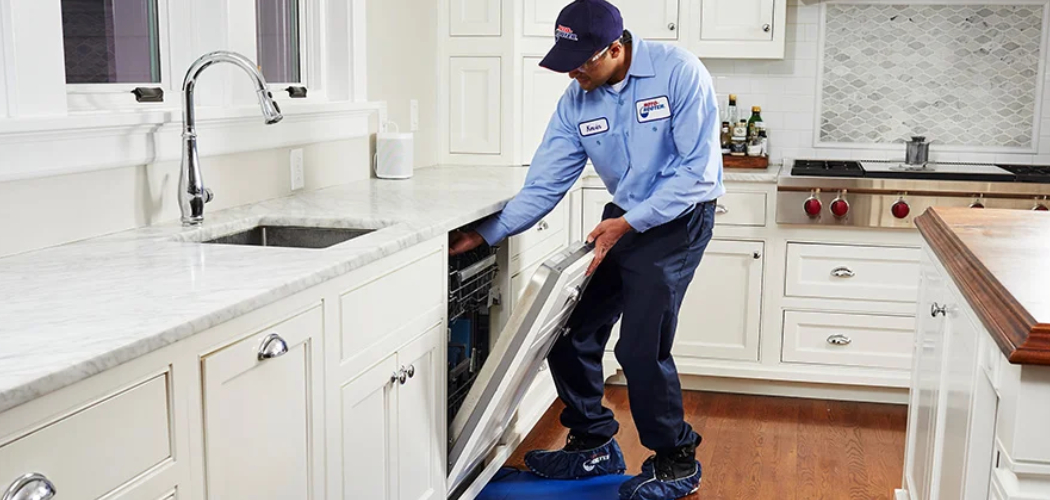
Ever opened your dishwasher to find a pool of murky water sitting at the bottom? That standing water means something is blocking the flow, and most of the time the culprit is a clogged drain hose.
The good news is you don’t need to call a technician or spend a fortune. With a few basic tools and a little patience, you can handle this yourself in an afternoon.
Learning how to unclog a dishwasher hose saves you money, gets your kitchen back to normal fast, and gives you real confidence with home repairs.
In this guide, I’ll walk you through every step, from cutting the power safely to flushing the hose and testing a fresh cycle, so your dishwasher drains clean and clear again.

Why Learning to Unclog a Dishwasher Hose Matters
A dishwasher that won’t drain throws off your whole routine. Dirty dishes pile up, foul smells creep into your kitchen, and the standing water only gets worse the longer you wait.
Knowing how to clear the clog yourself means you fix the problem on your schedule, not when a repair person finally shows up. You also dodge a service fee that often costs more than a whole month of groceries.
This skill matters even more if you live in an RV, camper, or cabin. Compact dishwashers and tight drainage setups in mobile kitchens clog easily, and help isn’t always nearby.
For everyday home users and DIY beginners, this is one of the most useful repairs you can master. It’s simple, satisfying, and it keeps your kitchen running smoothly without the stress.
Tools and Materials You’ll Need
You won’t need a fancy toolkit for this job. Most of these items are probably sitting in a drawer or under your sink already.
- Old towels or rags to catch dirty water
- A shallow bowl or baking pan
- A flathead and Phillips screwdriver
- Pliers or a nut driver for hose clamps
- A flexible bottle brush or drain snake
- White vinegar and baking soda for flushing
- A bucket for draining water
- Rubber gloves to keep your hands clean
- A flashlight to see into tight spaces
One optional convenience item: a wet/dry shop vacuum. It makes pulling standing water and stubborn debris out of the hose far easier, though you can manage fine without one.
Step-by-Step Guide on How to Unclog a Dishwasher Hose
Step 1 – Cut the power and water supply
Safety comes first, always. Before you touch anything, unplug the dishwasher or switch off its breaker at the electrical panel.
Water and electricity make a dangerous mix, so don’t skip this. Once the power is off, locate the water supply valve, usually found under your sink, and turn it off too.
Now lay down old towels around the base of the dishwasher and under the sink. You’ll be dealing with dirty water, and trust me, it spills more than you’d expect.
Keep a bucket and a shallow pan nearby. The smell of stagnant water can be a little unpleasant, so crack a window if you’d like some fresh air while you work.
Step 2 – Check the sink drain and disposal
Before diving into the dishwasher itself, rule out the easy stuff. Many drainage problems start at the sink, not the hose.
Run your garbage disposal for a few seconds and listen. A clogged disposal often backs water up into the dishwasher, mimicking a hose clog.
If you recently installed a new disposal, check the knockout plug. This small plastic piece must be removed for the dishwasher to drain, and forgetting it is a surprisingly common cause of standing water.
Watch how the sink drains too. Slow draining or a sink backup points to a blockage in the shared plumbing rather than the dishwasher. Clearing these first can save you a lot of unnecessary work.
Step 3 – Inspect the air gap
If your kitchen has an air gap, that little chrome cylinder near the faucet deserves a look. It prevents dirty water from flowing back into your clean dishwasher.
Twist off the cap and lift out the cover. Shine your flashlight inside and check for trapped food debris or grease buildup.
You might find a slimy plug of gunk sitting right there. Scoop it out with your fingers or a small brush, then rinse the area with warm water.
A clogged air gap often causes water to bubble up onto your counter during a rinse cycle. Clearing it sometimes solves the whole problem before you even reach the hose, so don’t overlook this quick check.
Step 4 – Remove and clean the filter
Now open the dishwasher and pull out the bottom rack. At the base, you’ll find the filter, usually a cylindrical piece you twist to unlock.
Lift it out gently. You’ll likely see food debris, grease, and grime caught in the mesh, and the smell can be strong, so brace yourself.
Rinse the filter under warm running water and scrub it with an old toothbrush. Work out every bit of stuck residue until the mesh looks clean again.
While the filter is out, wipe the sump area underneath with a rag. A clogged filter alone can cause slow draining and gurgling sounds, so cleaning it thoroughly often makes a noticeable difference right away.

Step 5 – Locate and disconnect the drain hose
Time to reach the main event. The drain hose typically runs from the bottom of the dishwasher to the sink drain or disposal under your sink.
Pull the dishwasher out slightly if needed, then trace the corrugated hose with your flashlight. Place your bucket and towels directly beneath the connection points.
Loosen the hose clamp with pliers or a nut driver, then gently work the hose free. Be ready, because trapped water will gush out, and it won’t smell great.
Knowing how to unclog a dishwasher hose really comes down to this access step. Once the hose is detached on both ends, you can finally inspect and clear the blockage inside.
Step 6 – Flush and clear the hose
With the hose free, look through one end toward a light. A blockage shows up as a dark spot where light can’t pass.
Run warm water through the hose over a sink or bucket. The pressure alone often pushes out loose food debris and grease buildup with a satisfying rush.
For stubborn clogs, pour a mix of baking soda and vinegar inside, wait ten minutes, then flush again. You’ll hear it fizz as it breaks down the gunk.
If the drain hose clog still won’t budge, gently feed a flexible brush or a straightened drain snake through. Go slowly and avoid forcing it, since too much pressure can puncture or tear the hose.
Step 7 – Check for kinks and damage
While the hose is out, run your hands along its full length. A kink or sharp bend can restrict flow just as badly as a clog.
Straighten any tight curves you find. Hoses sometimes get pinched when the dishwasher is pushed back too far against the wall.
Look closely for cracks, soft spots, or worn areas too. Hold it up to the light and check for any signs of leaking or thinning.
A damaged hose won’t drain properly no matter how clean it is. If you spot real damage, replacing the hose is cheap and easy. Catching this now saves you from finding another puddle next week, so give it a careful once-over.
Step 8 – Reattach the hose and clamps
Now reconnect everything securely. Slide the hose back onto both fittings, making sure it sits snug and fully seated.
Tighten each hose clamp firmly with your pliers or nut driver. A loose clamp leads to leaks, which create a whole new mess under your sink.
Double-check that the hose has a slight upward loop where it connects to the drain. This loop prevents dirty water from flowing back into your clean dishwasher.
Make sure the hose isn’t kinked again as you push the dishwasher back into place. Take it slow and keep that gentle curve intact. A solid, leak-free connection here is what keeps your repair working for the long haul.
Step 9 – Restore power and test a cycle
You’re nearly done. Turn the water supply valve back on, then plug in the dishwasher or flip the breaker.
Run a short rinse cycle with the dishwasher empty. Stand close and listen for smooth draining, with no gurgling or backup into the sink.
Open the door midway and peek inside. The bottom should look clear, with no standing water collecting at the base.
Check under the sink too, feeling around the hose connections for any drips. A dry floor means your clamps are tight and your repair holds.
If the water drains cleanly and quickly, congratulations. You now understand exactly how to unclog a dishwasher hose and got your kitchen back without any hired help.

Critical Mistakes When Unclogging a Dishwasher Hose
A few simple slip-ups can turn this easy fix into a frustrating mess, so let’s cover the ones that trip people up most.
The biggest mistake is skipping the power and water shutoff. Working on a live appliance risks electric shock, and forgetting the water valve guarantees an unexpected flood. Always disconnect both before you start, no exceptions.
Another common error is forcing a snake or brush too hard through the hose. The corrugated plastic tears easily, and a punctured hose means a new leak and an extra trip to the store. Work gently and let warm water and vinegar do most of the heavy lifting.
Many beginners also ignore the simple stuff first. They tear into the hose when the real problem is a clogged filter, a forgotten garbage disposal knockout plug, or a backed-up air gap. Check those quick fixes before pulling anything apart.
Finally, people often reattach the hose with loose clamps or a kinked bend. A poorly seated connection drips constantly, and a pinched hose blocks flow all over again. Tighten every clamp firmly and keep that gentle upward loop intact for a drain that actually works.
Expert Tips
A little prevention keeps clogs from coming back. Scrape your plates well before loading, since food debris is the number one cause of a drain hose clog.
Clean your filter every couple of weeks. It only takes a minute, and it stops grease buildup before it ever reaches the hose.
Run a hot cycle with a cup of white vinegar once a month. This flushes out residue, freshens the inside, and keeps everything draining smoothly.
If you have hard water, watch for mineral deposits around the connections. Wiping them down occasionally prevents slow draining over time.
Keep your dishwasher pulled out just enough to avoid pinching the hose against the wall. That tiny bit of breathing room prevents kinks and saves you from a repeat repair down the road.
Frequently Asked Questions
How do I know if my dishwasher hose is clogged?
Watch for a few telltale signs:
- Standing water at the bottom after a cycle
- Slow draining or water that lingers
- Gurgling sounds during the rinse cycle
- A foul smell from trapped food debris
- Water backing up into your sink
If you notice several of these together, a drain hose clog is the likely cause, especially when your dishwasher is not draining properly.
Can I unclog the hose without removing it?
Sometimes, yes. Start by cleaning the filter and clearing the air gap, since these often solve the problem without touching the hose. You can also pour baking soda and vinegar down the dishwasher drain, wait, then run a rinse cycle. If standing water remains after these steps, the clog is likely deeper in the hose, and removing it becomes necessary.
What causes a dishwasher hose to clog?
Food debris and grease buildup are the usual culprits. Bits of food slip past the filter, mix with grease, and slowly form a sticky blockage inside the hose. A forgotten garbage disposal knockout plug, mineral deposits from hard water, and kinks in the hose can all contribute too. Scraping dishes and cleaning the filter regularly prevents most of these clogs.
Is it safe to use chemical drain cleaners?
I’d avoid them. Harsh chemical drain cleaners can damage the rubber and plastic parts inside your dishwasher and hose. They also sit in standing water, creating fumes and a risk if they splash on your skin. Stick with safer options like warm water, baking soda, and white vinegar. These break down grease buildup effectively without harming your appliance or your hands.
When should I call a professional?
Call a pro if you’ve cleared the filter, air gap, and hose but still see standing water. This often points to a failing drain pump or a deeper plumbing issue beyond the hose. Persistent leaks, electrical problems, or repeated sink backups also warrant expert help. There’s no shame in calling someone once you’ve ruled out the simple fixes yourself.
Conclusion
A dishwasher full of dirty standing water feels like a big problem, but as you’ve seen, the fix is well within your reach.
Let’s recap the main takeaways. Always start by cutting the power and water for safety. Then work through the easy checks first, like the sink drain, garbage disposal knockout plug, air gap, and filter, before touching the hose.
When the hose is the issue, disconnect it carefully, flush it with warm water and vinegar, and clear stubborn blockages gently with a brush or snake. Inspect for kinks and damage, reattach every clamp firmly, and test a short rinse cycle to confirm clean draining.
Now that you know how to unclog a dishwasher hose, you can tackle this repair anytime without waiting on a technician or paying a service fee. That’s real money saved and real confidence gained.
So grab your towels and screwdriver, and give your dishwasher the quick fix it needs. You’ve got this, and your sparkling clean dishes are just one cycle away.

About
Nick Hall has spent the last seven years working at the intersection of kitchen design and home repair — first as a design assistant at a residential renovation studio, then as a freelance writer covering everything from cabinet layouts to leaky faucet fixes.
Her approach is simple: kitchens should look good and function well. That means she’s just as comfortable talking about color palettes and counter materials as she is walking readers through how to fix a wobbly cabinet hinge or troubleshoot a garbage disposal.
Nick has worked directly with homeowners on small-space kitchen makeovers, budget-conscious renovations, and the kind of everyday repairs that don’t need a contractor — just the right instructions. She writes from experience, not theory, and tests most of the fixes and tips she shares before publishing them.
When she’s not writing, Nick is usually hunting for mid-century kitchen finds at estate sales or helping friends plan their own renovations. She lives in Columbus, Ohio.