
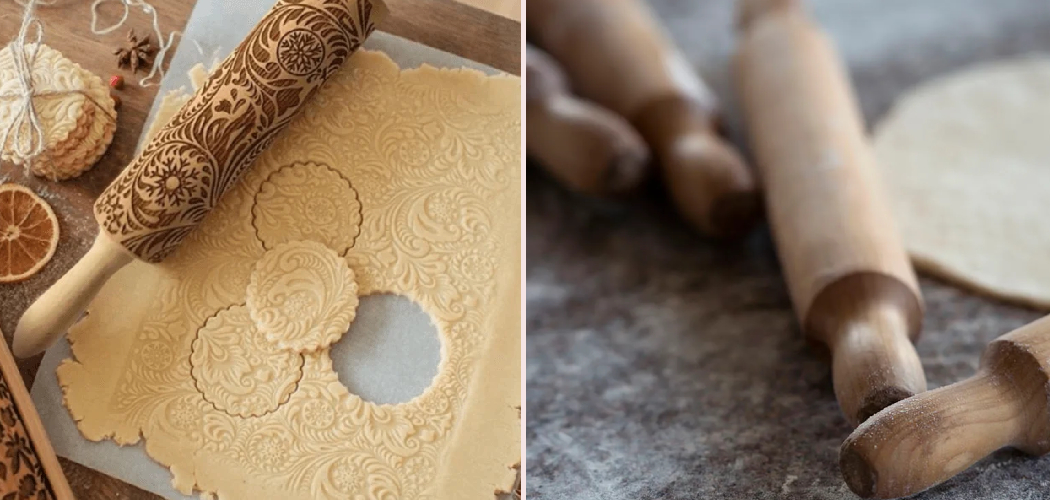
Uneven dough ruins good baking. Thick spots stay raw while thin edges burn. The fix is simple: master your rolling pin. Learning how to use rolling pin technique turns lumpy, frustrating dough into smooth, even sheets every time.
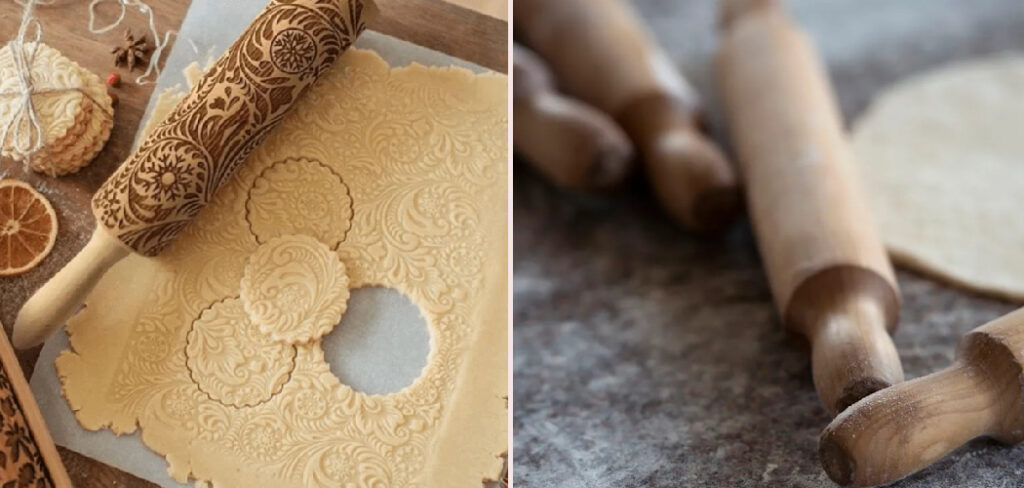
You don’t need years of practice or fancy gear. You need the right grip, steady pressure, and a few smart habits. Once you have them, pie crusts, cookies, and pizza bases come out flat, consistent, and ready to bake.
A rolling pin is one of the most useful tools in your kitchen. Used well, it saves time and gives you bakery-quality results at home. Used poorly, it leaves you with sticky messes and cracked dough.
This guide walks you through each step, so you can roll dough with confidence and get even results on your first try.
Why Using a Rolling Pin Matters
Uneven dough bakes unevenly. Thin spots scorch. Thick spots stay doughy. A rolling pin solves both by flattening dough to one consistent thickness across the whole sheet.
Good rolling controls texture. A flaky pie crust needs gentle, even pressure. A crisp cookie needs uniform thickness so every batch bakes at the same rate. Master the pin, and you control the outcome.
It saves money too. You skip pre-made crusts and frozen dough, and you make fresh pastry for a fraction of the cost. One tool handles pies, cookies, pasta, biscuits, and flatbreads.
The pin also builds skill. Once your hands learn the motion, you roll faster and cleaner with every batch. That confidence carries into every recipe you try.
A rolling pin is small, cheap, and powerful. Use it well, and your baking improves immediately.
Tools and Materials You’ll Need
Gather everything before you start. The right setup makes rolling fast and clean.
- Flatten dough evenly — a wood, marble, or stainless steel rolling pin
- Roll on a stable base — a large, flat countertop or pastry board
- Stop dough from sticking — flour for dusting the surface and pin
- Measure even thickness — a ruler or rolling pin guide rings
- Lift and move dough — a bench scraper or wide spatula
- Keep dough cold — a chilled bowl of dough straight from the fridge
- Protect your surface — a silicone pastry mat
- Control sticky dough — parchment or wax paper
- Save cleanup time (optional) — a pastry cloth and pin cover
Pick a pin that feels balanced in your hands. A heavy pin does more of the work for you, while a light pin gives you finer control. Either works well once you learn the motion.
Step-by-Step Guide on How to Use Rolling Pin
Step 1 – Chill and Prep Your Dough
Cold dough rolls better. Warm dough sticks, tears, and stretches out of shape. Pull your dough from the fridge and let it rest for five minutes, just until it softens enough to flatten without cracking.
Shape it into a rough disc or rectangle first. This gives the pin a head start and helps you roll an even shape from the beginning.
Press the dough gently with your palm to flatten it slightly. You’ll feel it give without crumbling when the temperature is right.
If the dough feels sticky or soft, return it to the fridge for ten more minutes. Patience here saves you frustration later. Learning how to use rolling pin technique starts with dough that’s cold, firm, and ready to work.
Step 2 – Flour Your Surface and Pin
Sticky dough is your biggest enemy. Beat it with flour. Scatter a light, even layer across your countertop or pastry board, then dust your rolling pin the same way.
Don’t overdo it. Too much flour dries the dough and changes the texture. A thin coating is enough to stop sticking while keeping the dough soft.
Rub the flour into the pin with your hand so it clings to the surface. You want every inch coated, especially the center where the dough presses hardest.
Keep a small bowl of flour nearby. You’ll re-dust as you roll, since the dough picks up flour with each pass. A floured surface keeps the dough moving freely and stops tears before they start.
Step 3 – Position the Pin and Dough
Place your dough in the center of the floured surface. Set the rolling pin in the middle of the dough, not at the edge. Center pressure spreads the dough out evenly in all directions.
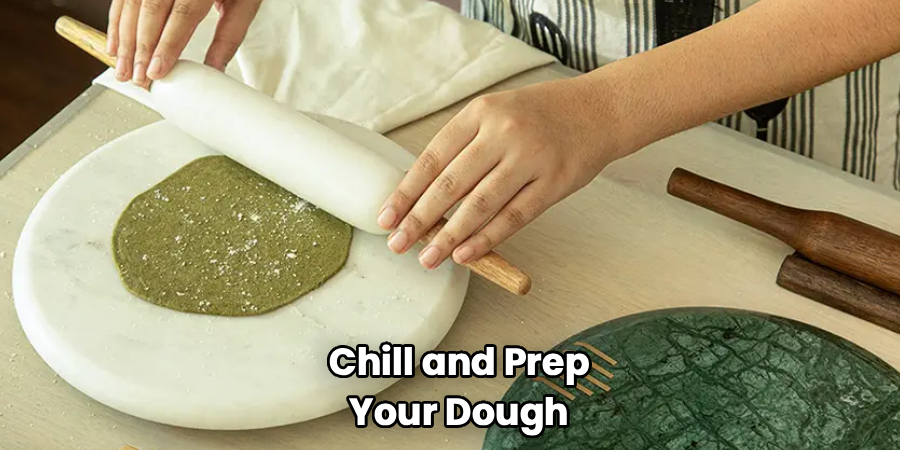
Grip the pin with both hands. If it has handles, hold those. If it’s a straight French pin, place your palms flat on the surface near each end.
Keep your shoulders relaxed and stand square to the counter. Your whole upper body drives the motion, not just your wrists.
Test your grip with a gentle push. The pin should glide smoothly without wobbling. A steady, centered start sets up every roll that follows and keeps your dough from spreading into a lopsided shape.
Step 4 – Roll From the Center Outward
Push the pin away from you with steady, even pressure. Start at the center and roll toward the far edge, then return to the center and roll toward you. Always work outward from the middle.
This center-out motion keeps thickness even and stops the edges from getting too thin. You’ll feel the dough flatten and spread under each pass.
Use your body weight, not just arm strength. Lean into the pin gently and let gravity help you. Forced pressure cracks the dough; smooth pressure flattens it.
Lift the pin between strokes instead of dragging it back. Dragging stretches and tears the dough. Each clean pass should leave the surface smooth and the thickness a little closer to even.
Step 5 – Rotate the Dough as You Go
Roll a few passes, then turn the dough a quarter turn. This keeps the shape round and the thickness consistent across the whole sheet.
Rotating also stops the dough from sticking. Each turn loosens it from the surface and lets you re-flour any spots that grabbed on.
Use a bench scraper to lift and turn large or delicate dough. Slide it under, lift gently, and rotate. This protects thin dough from tearing under your fingers.
Keep checking the shape as you turn. If one side gets too thin, roll the thicker areas more and leave the thin part alone. Steady rotation gives you a round, even sheet instead of a stretched, uneven blob that bakes badly.
Step 6 – Check the Thickness
Stop and measure. Even thickness is what separates good baking from great baking. Run your fingers across the surface to feel for thick or thin spots.
For most pie crusts, aim for about an eighth of an inch. Cookies vary by recipe, so check your instructions. A ruler gives you an exact read, but your hands learn the feel fast.
Hold the dough up to the light if it’s thin enough. Thin spots glow brighter, showing you where to ease off the pressure.
If you want perfect consistency, slide guide rings onto your pin. They set a fixed thickness and stop you from over-rolling. A quick thickness check now saves you from a half-raw, half-burned bake later.
Step 7 – Lift and Transfer the Dough
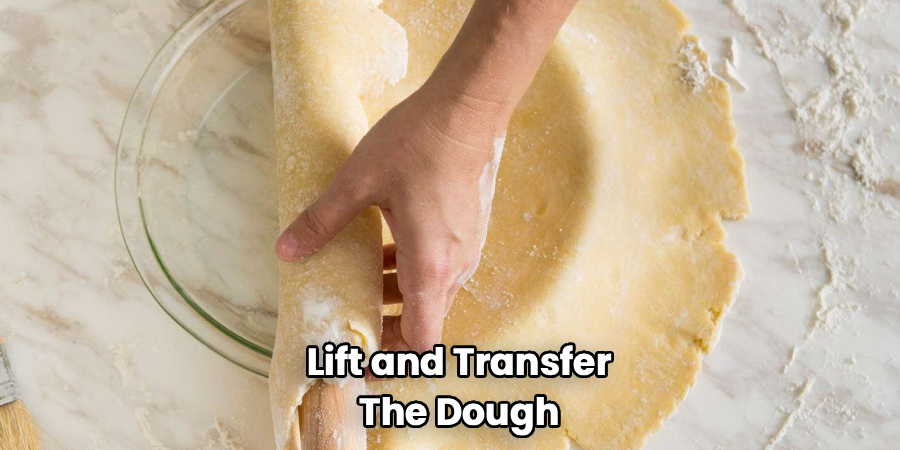
Rolled dough is fragile. Move it the right way and it stays intact. Slide a bench scraper under one edge to loosen the whole sheet from the surface.
For pie crust, drape the dough over your rolling pin. Roll it loosely onto the pin, lift it, and unroll it over your pan. The pin carries the weight so the dough doesn’t stretch or tear.
For cookies or flatbread, lift gently with a wide spatula or your floured hands. Work fast, since dough softens as it warms.
Settle the dough into place without pulling. Stretching it now causes shrinkage during baking. A smooth transfer keeps your even thickness intact all the way into the oven.
Step 8 – Clean and Store Your Pin
Care for your pin and it lasts for decades. Wipe a wood or marble pin with a damp cloth right after use. Never soak wood in water; it cracks and warps.
Scrape off stuck dough with a bench scraper before it hardens. Dried dough is far harder to remove later.
Dry the pin completely before you store it. Trapped moisture damages wood and dulls the finish over time.
Store the pin flat in a drawer or upright in a holder, away from heat and direct sun. A simple cover keeps dust off between bakes. Treat your pin well, and it stays smooth, balanced, and ready every time you reach for it.
Critical Mistakes When Using a Rolling Pin
The most common mistake is rolling warm dough. Warm dough sticks to everything, tears under pressure, and shrinks in the oven. Always chill your dough first, and return it to the fridge the moment it softens too much. Cold dough holds its shape and rolls clean every time.
The second mistake is pressing too hard. Beginners often force the pin down, which cracks the dough and pushes it unevenly. Use steady, gentle pressure and let your body weight do the work. Smooth, light passes flatten dough far better than heavy, forced ones.
Third, many people roll only in one direction. This stretches the dough lopsided and leaves thin edges with a thick center. Always roll from the center outward and rotate the dough a quarter turn between passes. This keeps the shape round and the thickness even.
Fourth, over-flouring dries the dough out. Too much flour changes the texture and leaves crusts tough instead of flaky. Use a light dusting and re-flour only when the dough starts to stick.
Finally, dragging the pin back across the dough tears it. Lift the pin between strokes instead of pulling it back. Each clean pass protects the surface and keeps your dough smooth and intact.
Expert Tips
Roll between two sheets of parchment paper for sticky dough. You skip the flour entirely and keep the texture soft, then peel the paper off when you’re done.
Chill your rolling pin in the fridge before working with butter-heavy pastry. A cold pin keeps the butter firm, which gives you a flakier crust.
Mark your target thickness with guide rings or two stacked rulers on each side. The pin rides on top and stops at the exact height you want.
Work fast with delicate dough. The longer it sits out, the softer and stickier it gets. Keep your movements quick and confident.
Rotate often, even when the shape looks fine. Frequent turns prevent sticking and catch uneven spots before they grow. These small habits turn good rolling into great results every time you bake.
Frequently Asked Questions
What Type of Rolling Pin Is Best for Beginners?
A straight French-style wooden pin is best for beginners. It gives you direct control and teaches you proper pressure and feel. Here’s how the main types compare:
- French (tapered) pin — best control, great for pastry
- Classic handled pin — easy grip, good all-rounder
- Marble pin — stays cold, ideal for butter doughs
Start with wood, then add others as your skills grow.
How Much Flour Should I Use When Rolling Dough?
Use a light, even dusting, just enough to stop the dough from sticking. Too much flour dries the dough and makes crusts tough instead of flaky. Coat your surface and pin with a thin layer, then re-flour only when the dough starts to grab. If you want to skip flour entirely, roll the dough between two sheets of parchment paper for the same non-stick result.
Why Does My Dough Keep Sticking to the Rolling Pin?
Your dough is likely too warm or your pin isn’t floured enough. Warm dough turns soft and sticky fast, so chill it before rolling. Dust both the pin and surface with a thin layer of flour, and re-dust as you work. A pin cover or pastry cloth also helps. If sticking continues, roll the dough between parchment sheets for a clean, mess-free result.
How Thick Should I Roll Pie Crust?
Roll pie crust to about an eighth of an inch thick. This thickness bakes evenly, holds its shape, and gives you a crisp, flaky result. Check by running your fingers across the surface to feel for thick or thin spots. For exact results, slide guide rings onto your pin or stack two rulers as a thickness guide. Even thickness is the key to a crust that bakes through without burning.
Can I Use a Rolling Pin Without Handles?
Yes. A handle-free French pin gives you more control, not less. Place your palms flat near each end and push from the center outward. Your hands feel the dough directly, so you sense thick spots and adjust pressure instantly. Many bakers prefer this style for pastry because it rolls smoother and lighter. It takes a few tries to learn, but the control is worth it.
Conclusion
Rolling dough well comes down to a few simple habits. Chill your dough, flour your surface, and start the pin in the center. Roll outward with steady pressure, rotate often, and check your thickness as you go. Then transfer the dough carefully so it keeps its even shape all the way to the oven.
The payoff is real. You get flat, consistent dough that bakes evenly every time. Pie crusts turn flaky, cookies bake uniformly, and flatbreads come out smooth. One small tool gives you bakery-quality results at home.
Don’t worry if your first sheet isn’t perfect. Each batch teaches your hands the motion, and your rolling gets faster and cleaner with practice. Soon the whole process feels natural.
Now you know how to use rolling pin technique from prep to cleanup. Dust your counter, grab your pin, and roll your next batch with confidence. Your baking, and everyone who tastes it, will notice the difference.
