
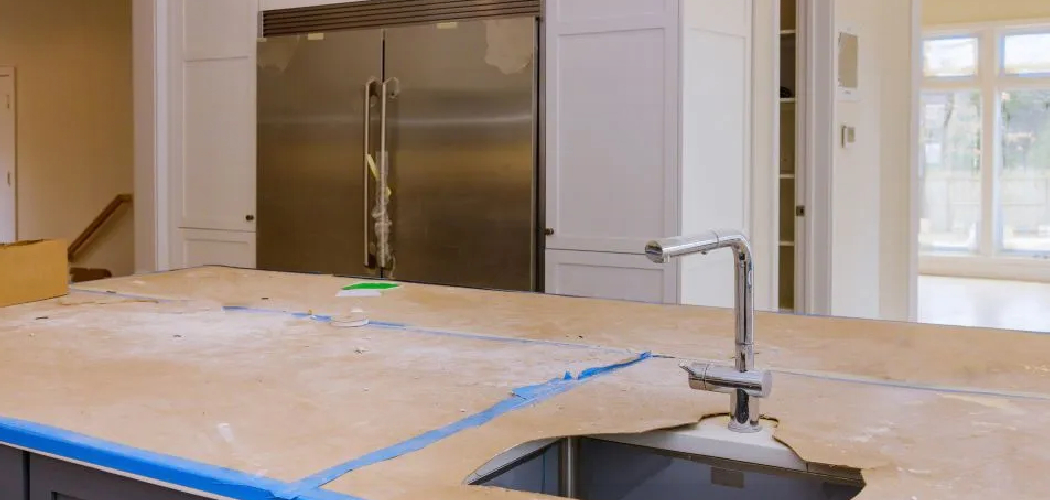
A worn countertop can make your whole kitchen feel dated, even if the cabinets and layout still work well. The good news is that you do not always need a full demolition to get a fresh, cleaner look. If you want to learn how to change kitchen countertops without replacing, refinishing is one of the most budget-friendly ways to update laminate, wood, or cultured stone surfaces with paint, epoxy, or concrete-style coatings.
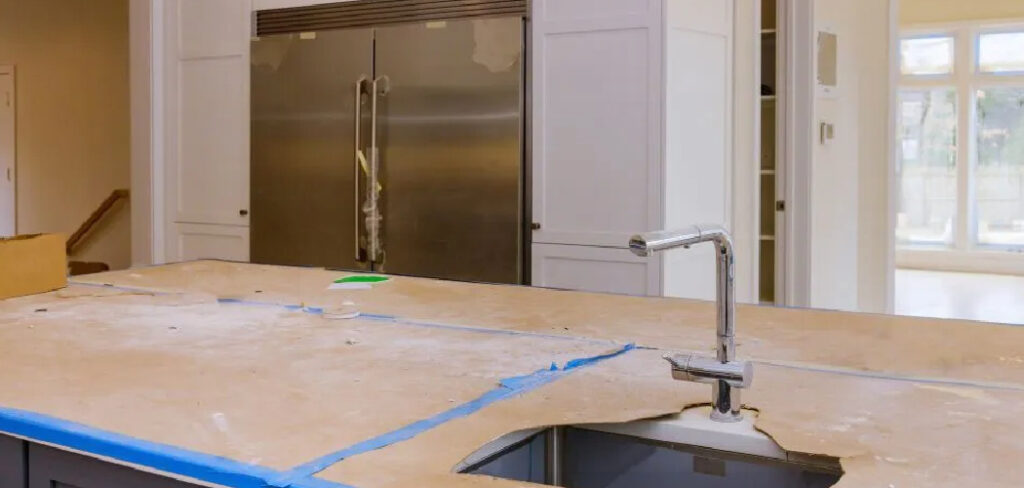
This approach saves money, cuts mess, and gives you a chance to transform your kitchen over a weekend or two. In this guide, you will learn when refinishing makes sense, what tools you need, how the process works step by step, and how to avoid common DIY mistakes.
Why Refinishing Matters
Refinishing matters because replacement is expensive, disruptive, and often more work than most DIYers expect. Removing old counters can affect sinks, backsplashes, plumbing, and even cabinet edges. A refinishing project keeps the basic structure in place while giving the surface a new color, sheen, and feel.
For beginners, this type of kitchen upgrade offers a practical way to build confidence with home improvement. You can improve the look of your space without learning advanced carpentry or handling heavy slabs. It also makes sense if your current countertop is structurally sound but stained, faded, or visually outdated. When done with good prep and the right coating system, refinishing can create a durable surface that looks far better than the original finish.
Tools & Materials
Before you start, gather everything so you do not have to stop mid-project while coatings are drying. Most countertop refinishing jobs use similar tools, though exact products depend on whether you choose countertop paint, epoxy, or a stone-look kit.
You will usually need a degreasing cleaner, microfiber cloths, painter’s tape, plastic sheeting, a putty knife, wood filler or countertop repair compound, medium and fine sandpaper, a sanding block or orbital sander, a tack cloth, primer, countertop paint or epoxy kit, foam rollers, angled brushes, mixing sticks, disposable gloves, a respirator or mask rated for fumes, and a clear topcoat if your system requires one. An optional but helpful item is a small work light, which makes it easier to spot drips, pinholes, and rough patches before the coating cures.
Step-by-Step Guide on How to Change Kitchen Countertops Without Replacing
Step 1 – Check Whether Your Countertop Is a Good Candidate
Start by looking closely at the countertop you already have. Refinishing works best on surfaces that are solid, stable, and mostly level. Minor scratches, dull spots, faded color, and light burns can usually be repaired. Deep water damage, swelling, loose sections, or major cracks usually mean refinishing will not last.
Run your hand across the surface and pay attention to texture. If it feels greasy, flaky, or soft in any area, you may need more than a cosmetic fix. Look around the sink edge and seams where moisture often causes hidden problems. Taking ten quiet minutes to inspect now can save you from coating over damage that will show through later or fail within months.
Step 2 – Clean and Degrease Every Inch
Kitchen counters collect more than crumbs. They hold cooking oil, soap film, hand residue, and old cleaning products that can keep paint or epoxy from bonding. Scrub the entire surface with a strong degreaser, especially around the stove, sink, and prep zones where buildup tends to feel slick or waxy.
Rinse well and let the surface dry fully before moving on. Then clean it again if needed. This part may feel repetitive, but a clean base matters more than the color you choose. If you are serious about how to change kitchen countertops without replacing, think of cleaning as the foundation of the whole project. A beautiful finish applied over grease will often peel, fisheye, or chip much sooner than expected.
Step 3 – Repair Chips, Gouges, and Seam Damage
Once the counter is clean, focus on the flaws that coatings cannot hide. Small dents and chipped corners stand out even more after you add a glossy finish. Use a repair compound or filler that suits your surface, and press it firmly into damaged spots with a putty knife. Smooth it as much as possible so you have less sanding later.
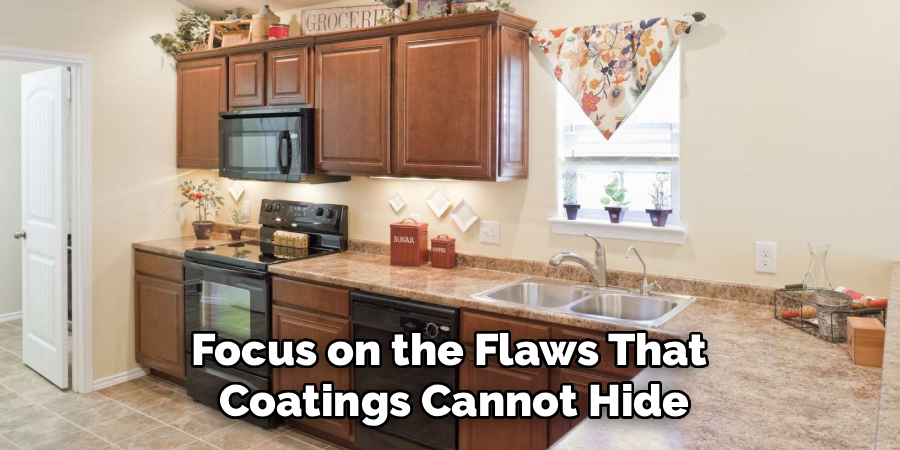
Let the repair cure fully based on the product directions. After it hardens, sand it flush with the surrounding area until it feels even under your fingertips. Good repairs should disappear when you close your eyes and move your hand across the countertop. This is also the time to recaulk areas that need fresh sealing, though final caulk work often comes after the coating process is complete.
Step 4 – Sand for Better Adhesion
Sanding gives the new finish something to grip. You are not trying to remove the whole existing countertop surface. You only need to dull the shine and create light texture across every area that will be coated. If your countertop is laminate, this step is especially important because smooth laminate resists adhesion.
Use medium grit first, then follow with a finer grit to even out the scratch pattern. Wipe away dust as you go so you can see missed spots. Corners, backsplash joints, and edges often stay glossy if you rush. The countertop should feel uniformly matte, not slick. A faint dusty smell and chalky look are good signs that the surface is ready for primer or the next bonding step in your refinishing system.
Step 5 – Mask the Kitchen and Prime Carefully
Before you open any coating product, protect the room. Tape off walls, sink rims, faucets, cabinet faces, and appliances near the workspace. Use plastic sheeting or paper to shield anything you do not want splattered. Refinishing products can drip or mist farther than you expect, especially when you are rolling quickly.
Then apply primer if your system calls for one. Use thin, even coats rather than heavy passes. Watch how the surface absorbs or sheds the product. If primer pools near edges or around seams, smooth it out right away. This stage starts to reveal what the finished countertop may look like, and it is often where first-time DIYers feel the project becoming real. Give the primer full drying time before you move on, even if it feels dry to the touch.
Step 6 – Apply the Base Coat or Color Layer
Now you are finally adding the visual change. Whether you picked a bright solid white, a warm stone-look beige, or a charcoal concrete style, work in small sections and keep a wet edge. Roll slowly to avoid bubbles, and use a brush only where the roller cannot reach cleanly. Thick coats may seem faster, but they often create ridges and longer cure times.
This is the point where many people feel they have learned how to change kitchen countertops without replacing because the transformation becomes visible. Still, patience matters. Let each coat settle, inspect it under angled light, and only add the next layer when the first is ready. A smooth, even color layer gives you a better final texture and helps decorative effects look more natural instead of patchy or forced.
Step 7 – Add Decorative Effects if Desired
If you want a faux granite, marble, or stone finish, this is where you build depth. Many countertop kits include mineral flecks, sponging techniques, or veining tools. Keep your touch light. Subtle contrast usually looks more believable than dramatic swirls spread over every inch of the counter.
Step back often and look at the whole surface, not just the section under your hand. A pattern that seems too soft up close may look balanced from across the room. If you are creating veining, follow a loose, organic path rather than repeating the same shape. Real stone is irregular. The goal is not perfection but variation. When the decorative layer catches light and has visual movement without looking busy, you are in the right range.
Step 8 – Seal and Let It Cure Fully
The topcoat protects the work you have done. It adds durability, moisture resistance, and the final sheen, whether satin, semi-gloss, or glossy. Apply it evenly and do not overwork it. Repeated rolling can trap bubbles or pull at the layer beneath, especially with epoxy or thick sealers.
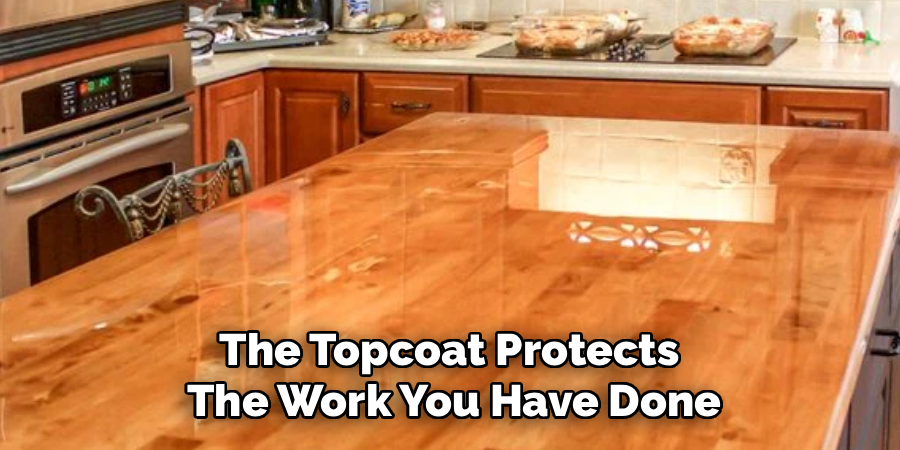
After the final coat goes on, curing becomes the real job. Dry is not the same as ready for use. Some countertops feel firm within a day but still need several days, or even a week, before they can handle heavy kitchen use. Keep small appliances, cutting boards, and hot pans off the surface until the manufacturer’s cure window ends. A little patience here protects the finish from dents, clouding, and early wear.
Common Mistakes
One common mistake is rushing surface prep. Many DIYers get excited about the color change and treat cleaning and sanding like minor chores. In reality, poor prep is the main reason refinished countertops peel, bubble, or chip. If the surface still has grease, gloss, or dust, even a premium product can fail.
Another frequent problem is applying coats too thickly. Heavy layers may look smooth at first, but they often sag at the edges, trap solvent, and cure unevenly. Thin, controlled coats almost always produce a stronger finish and a more professional look.
A third mistake is ignoring repair work before painting or sealing. Small chips and seam damage do not disappear under fresh coating. In fact, gloss and reflected light tend to make flaws easier to see. Fix the shape first, then focus on color.
Many beginners also underestimate curing time. They use the counter too soon, set down a coffee maker, or wipe the surface aggressively within a day or two. That can leave marks, dents, or dull spots that are hard to correct. The final mistake is choosing refinishing for a countertop that is already failing structurally. If the substrate is swollen or unstable, no coating system can solve the underlying issue.
Expert Tips
Choose your finish based on how you use your kitchen, not just on photos. A high-gloss epoxy look can feel dramatic and polished, but it also shows scratches, dust, and imperfections more easily than a softer satin finish. If you cook often, durability and easy touch-up matter more than trend appeal.
Test your coating system on a scrap board or hidden section first. That lets you practice roller pressure, decorative effects, and drying times before you commit to the full counter. It also helps you see the true color under your kitchen lighting, which can shift warm or cool depending on the room.
Finally, plan the project around temperature, airflow, and time. Good ventilation helps products cure cleanly, and a free weekend gives you room to move slowly. The best results usually come from steady hands and an unhurried pace.
FAQs
Can you refinish laminate countertops successfully?
Yes, you can refinish laminate countertops if the surface is still solid and well attached. Laminate responds well to proper cleaning, sanding, and bonding products. The key is preparation. If the laminate is peeling, swollen, or cracked deeply near seams, the finish may not hold up well for long-term use.
Is epoxy better than countertop paint?
Epoxy usually creates a harder, glossier finish and can mimic stone with more depth. Countertop paint is often easier for beginners because it is simpler to apply and control. The best choice depends on your comfort level, desired look, and patience with curing time. Both can work well when the prep is done correctly.
How long does a refinished countertop last?
A refinished countertop can last several years if you prep carefully and treat it well. Lifespan depends on the product system, how much daily wear the surface gets, and whether you protect it from heat, standing water, and sharp tools. Using cutting boards and trivets can make a big difference in preserving the finish.
Can I use my kitchen during the project?
You can use parts of the kitchen, but the countertop itself should stay clear and untouched while you work. Refinishing creates dust during prep and fumes during coating, so it helps to limit traffic in the area. Plan simple meals ahead of time and expect the workspace to be partly out of service for several days.
Do refinished countertops look obviously DIY?
They can look very polished if you take your time with repairs, sanding, and thin even coats. Most DIY-looking results come from visible drips, rough texture, overdone patterns, or rushed prep. Neutral colors, subtle stone effects, and a clean topcoat often create the most convincing finish for a beginner project.
Conclusion
Updating your counters does not always require a full remodel. If the surface is sound and you are willing to put time into prep, refinishing can deliver a major visual upgrade with far less cost and disruption than replacement. The process is simple in concept: clean deeply, repair flaws, sand well, apply the right coating system, and let it cure fully.
The biggest lesson is that patience creates the finish. Careful prep, thin coats, and realistic drying time matter more than any single product label. Whether you choose a painted finish or a glossy epoxy look, you can give your kitchen a cleaner, newer feel without tearing everything out.
Now that you understand how to change kitchen countertops without replacing, you can plan your project with more confidence and fewer surprises. Start with a small test area, follow each step closely, and give yourself time to do the job well.

About
Nick Hall has spent the last seven years working at the intersection of kitchen design and home repair — first as a design assistant at a residential renovation studio, then as a freelance writer covering everything from cabinet layouts to leaky faucet fixes.
Her approach is simple: kitchens should look good and function well. That means she’s just as comfortable talking about color palettes and counter materials as she is walking readers through how to fix a wobbly cabinet hinge or troubleshoot a garbage disposal.
Nick has worked directly with homeowners on small-space kitchen makeovers, budget-conscious renovations, and the kind of everyday repairs that don’t need a contractor — just the right instructions. She writes from experience, not theory, and tests most of the fixes and tips she shares before publishing them.
When she’s not writing, Nick is usually hunting for mid-century kitchen finds at estate sales or helping friends plan their own renovations. She lives in Columbus, Ohio.