
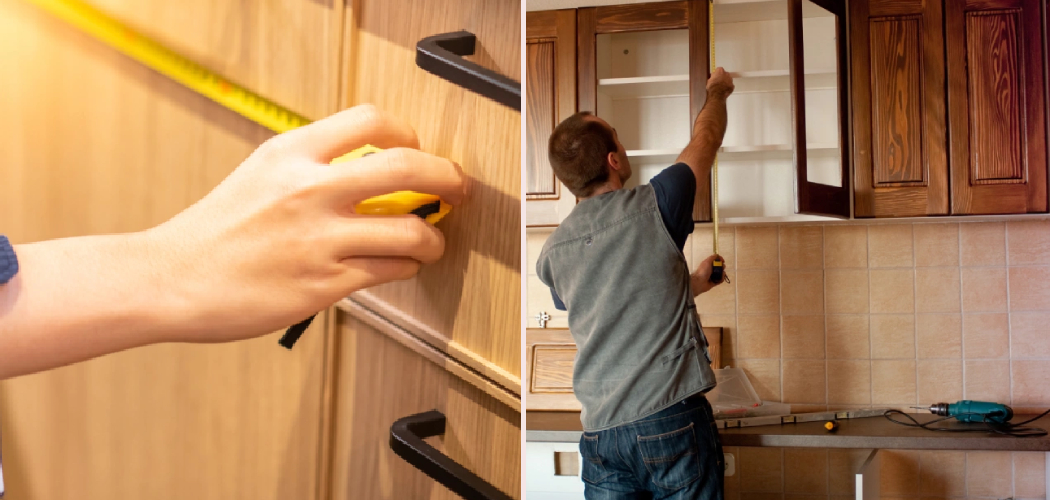
A cabinet project can go smoothly or turn stressful based on one thing: your measurements. If you get the room dimensions right from the start, you can avoid ordering the wrong cabinet sizes, running into appliance clearance issues, or finding out too late that a wall is out of square.

Learning how to measure kitchen for cabinets helps you plan with more confidence, compare layout options, and speak clearly with a contractor, designer, or supplier.
In this guide, you’ll learn what tools to gather, what dimensions matter most, how to measure each part of the room, and which mistakes to avoid before you place an order.
Why This Skill Matters
Measuring your kitchen well does more than give you numbers on paper. It helps you understand how your room really works. You can see where doors swing, where windows interrupt wall space, and where plumbing or outlets may affect cabinet placement. That kind of detail makes planning much easier.
This skill also protects your budget. A wrong measurement can lead to filler strips that look awkward, cabinets that don’t fit, or delays while replacements are ordered. When you measure carefully, you make better layout choices and reduce surprises during installation. Even if a professional will confirm your dimensions later, having accurate notes helps you ask smarter questions and stay involved in the project.
Tools You’ll Need
Before you start, gather everything in one place so you can measure without stopping every few minutes.
- A steel tape measure, preferably 25 feet long
- A notepad or printed kitchen sketch
- Pencils with erasers
- Graph paper for a cleaner floor plan
- A level to check wall and floor unevenness
- A step stool for reaching upper areas safely
- A calculator for quick dimension checks
- Painter’s tape to mark reference points if needed
- A phone or camera to photograph walls, corners, and utilities
- A laser measure as an optional convenience for faster long-wall measurements
Try to work in good lighting. Small details like outlet locations, trim edges, and pipe placement are easy to miss in a dim room.
Step-by-Step Guide on How to Measure Kitchen for Cabinets
Step 1 – Clear the Space and Create a Rough Sketch
Start by making the room easy to read. Move small items off counters, pull rugs away from walls, and clear anything that blocks baseboards or corners. You do not need an empty kitchen, but you do need a clear line of sight to the walls, openings, and fixed features.
Next, draw a rough outline of the kitchen on paper. Keep it simple. Mark each wall, corner, doorway, window, and major appliance location. Add labels like sink wall, range wall, or refrigerator wall so your notes stay organized.
This sketch becomes your working map. It does not need to look polished, but it should be easy to follow later. A clean sketch now saves you from confusion once numbers start filling the page.
Step 2 – Measure Each Wall from Corner to Corner
Measure the full length of every wall at base level. Place the tape tightly into one corner and extend it to the next stopping point, whether that is another corner, a door casing, or the end of the wall. Write each number directly on your sketch the moment you take it.
Then measure the same wall again higher up, around countertop or upper-cabinet height. Walls are not always straight. A room may look square, yet one wall can bow slightly in the middle or taper near the ceiling. These small shifts affect fit, especially for stock cabinets.
This is one of the most important parts of learning how to measure kitchen for cabinets because wall length shapes your whole layout. If two readings differ, note both and flag the wall for closer review.
Step 3 – Record Ceiling Height and Floor Changes
Now measure the height of the room in several spots, not just one. Check from the finished floor to the ceiling at each corner and near the center of longer walls. Write down every reading, even if the differences seem small. A half inch can matter when you are planning tall pantry cabinets or stacked uppers.

Pay close attention to the floor. Walk slowly through the kitchen and notice any slight dip, rise, or soft creak underfoot. Use a level if you have one to check whether the floor slopes near walls or appliance areas. An uneven floor can change how cabinets sit and how countertop lines look.
These measurements help you spot installation challenges early. They also tell you whether you may need shims, trim adjustments, or extra planning around ceiling gaps.
Step 4 – Mark Doors, Windows, and Trim Accurately
Openings break up usable wall space, so measure them with care. For each door and window, record width, height, and distance from the nearest corner. Measure to the outside edge of casing or trim if that trim will affect cabinet placement. Also note which way doors swing and how far they open into the room.
Windows need extra detail. Measure from the floor to the bottom of the window trim, then from the countertop line if a counter already exists. That tells you whether a sink base, backsplash, or upper cabinet can fit below or beside the window.
Stand back and picture daily movement in the room. A cabinet that fits on paper may still feel cramped if it crowds a doorway or blocks a wide swing path.
Step 5 – Measure Appliances and Their Required Clearances
Do not assume standard appliance sizes will match what you have or what you plan to buy. Measure the actual width, height, and depth of the refrigerator, range, dishwasher, microwave, or wall oven. Then note any needed clearance around doors, handles, ventilation, and pull-out trays.
For example, a refrigerator may be listed at one width but need extra breathing room on the side or back. A dishwasher opening must work with nearby base cabinets and still allow the door to drop fully. A range may need space between combustible surfaces, depending on the model and hood setup.
When people ask how to measure kitchen for cabinets, appliance spacing is often where mistakes happen. Good cabinet plans depend on both the appliance size and the safe working room around it.
Step 6 – Note Plumbing, Electrical, and Vent Locations
Look closely at the utility points in your kitchen. Measure the location of plumbing supply lines, drain pipes, gas lines, outlets, switches, vents, and dedicated appliance hookups. Record their position from the nearest corner and from the floor. These details matter because cabinet backs, drawers, and shelves may need cutouts or spacing changes.
Pay special attention to the sink wall. Plumbing often sits inside the base cabinet zone, but not always in the center. If a drain line is offset or a shutoff valve sticks out farther than expected, it can affect drawer bases or pull-out storage options.
Take photos as you go. A quick image of pipes, outlets, and vent paths can help you verify your notes later and reduce confusion during planning or installation.
Step 7 – Measure Existing Cabinets if You Are Replacing Them
If you are replacing old cabinets without changing the full layout, measure what is already there. Record the width of each base cabinet, wall cabinet, filler strip, and pantry unit. Also note countertop overhang, toe kick height, and the gap between the counter and the uppers. These dimensions give you a useful starting point.
Still, do not rely on old cabinets as proof that the room is square or that every opening is correct. Past installers may have trimmed pieces to make things fit. Remove one false assumption at a time by comparing existing cabinet sizes to the room measurements you already took.
This step helps you understand what worked before, what felt cramped, and where you may have room to improve storage or flow.
Step 8 – Double-Check Every Number and Label Everything Clearly
Once your first round is done, go back through the room and verify every key dimension. Re-measure wall lengths, appliance spaces, opening widths, and utility locations. It may feel repetitive, but this second pass is where many costly errors get caught. One upside-down number or missed trim edge can throw off an entire cabinet run.
Use clear labels on your sketch. Write inches in a consistent format and avoid crowding multiple numbers into the same spot. If a measurement needs explanation, add a short note beside it such as “to trim,” “to center of outlet,” or “floor slopes here.”
A good measurement sheet should make sense even a week later. If your notes are easy to read, your planning process will be easier too.
Common Mistakes
One common mistake is measuring only once. Kitchens have enough corners, trim, and built-in features that a single reading is rarely enough. You should always confirm important numbers, especially along long walls and around appliance openings. A second check often catches simple errors before they become expensive ones.
Another mistake is ignoring uneven surfaces. Many first-time planners measure one wall length and assume the rest of the room is straight and level. In real homes, floors dip, ceilings shift, and walls bow. If you skip those checks, cabinets may fit tightly in one area and leave awkward gaps in another.
People also forget to measure beyond the cabinet boxes themselves. Door swing, window trim, outlet placement, plumbing lines, and refrigerator depth all affect the final plan. A layout can look perfect on paper but fail in use if a dishwasher door hits a handle or a pantry cabinet blocks a switch.
Finally, messy notes cause real trouble. If your sketch is hard to read, numbers can get mixed up fast. Clear labels, photos, and a consistent measuring method make the whole project more accurate and less stressful.
Expert Tips
Measure in inches and stay consistent from start to finish. Mixing feet, fractions, and shorthand notes can lead to easy mistakes. If a number lands between marks, write the exact fraction instead of rounding unless your cabinet supplier tells you otherwise.
Take photos of each wall straight on and from the side. Those images help you remember trim details, outlet placement, and how the room actually feels. If you are planning a full remodel, mark the centerline of the sink, range, and major windows on your sketch. Those reference points make it easier to build a balanced layout.
If you feel stuck, create one clean final drawing after your rough notes are complete. A neat version helps you catch missing dimensions before you move into design or ordering.

FAQ
Do I measure the room before or after removing old cabinets?
Measure before removal if you can, because existing cabinets can show appliance locations, plumbing access, and current spacing. Then measure again after removal if the project allows it. The second round gives you a clearer view of wall condition, floor level, and hidden issues. Using both sets of measurements gives you the most complete picture.
Should I measure to the drywall or to the trim?
Measure both when trim affects placement. For overall wall length, note the full room dimension. For windows, doors, and any cabinet that will sit near casing or molding, measure to the outside edge of the trim as well. That way, you know the true usable space and can avoid interference during installation.
How accurate do my measurements need to be?
Your measurements should be as exact as possible, down to the nearest one-eighth inch if needed. Kitchen cabinets are built to fit specific openings, and small errors add up quickly across a long wall. Accurate notes help with layout planning, filler sizing, and appliance spacing, even if a professional later confirms everything before ordering.
What if my kitchen walls are not square?
That is very common, especially in older homes. Measure each wall in more than one place and note any differences. Also check the corners, floor level, and ceiling height. If the room is out of square, a designer or installer can plan fillers, scribe pieces, or slight adjustments so the final cabinet layout still looks straight and clean.
Can I use a laser measure instead of a tape measure?
Yes, but it works best when paired with a tape measure. A laser tool is fast and useful for long wall spans, especially if you are working alone. Still, a tape measure is often better for trim details, appliance openings, and tight corners. Using both tools gives you speed and accuracy where each matters most.
Conclusion
Measuring a kitchen for new cabinets is not complicated, but it does require patience and a clear system. When you sketch the room, measure every wall carefully, account for openings and utilities, and double-check your notes, you build a strong base for the entire project. That effort helps you avoid wasted money, awkward gaps, and layout problems that are hard to fix later.
The key is to think beyond simple wall length. You need to understand the room’s shape, the floor and ceiling conditions, appliance clearances, and the real usable space around doors and windows. Once you break the task into steps, it becomes much more manageable.
If you take your time and stay organized, learning how to measure kitchen for cabinets can give you the confidence to plan smarter and move into your cabinet project with fewer surprises.

About
Nick Hall has spent the last seven years working at the intersection of kitchen design and home repair — first as a design assistant at a residential renovation studio, then as a freelance writer covering everything from cabinet layouts to leaky faucet fixes.
Her approach is simple: kitchens should look good and function well. That means she’s just as comfortable talking about color palettes and counter materials as she is walking readers through how to fix a wobbly cabinet hinge or troubleshoot a garbage disposal.
Nick has worked directly with homeowners on small-space kitchen makeovers, budget-conscious renovations, and the kind of everyday repairs that don’t need a contractor — just the right instructions. She writes from experience, not theory, and tests most of the fixes and tips she shares before publishing them.
When she’s not writing, Nick is usually hunting for mid-century kitchen finds at estate sales or helping friends plan their own renovations. She lives in Columbus, Ohio.